Products
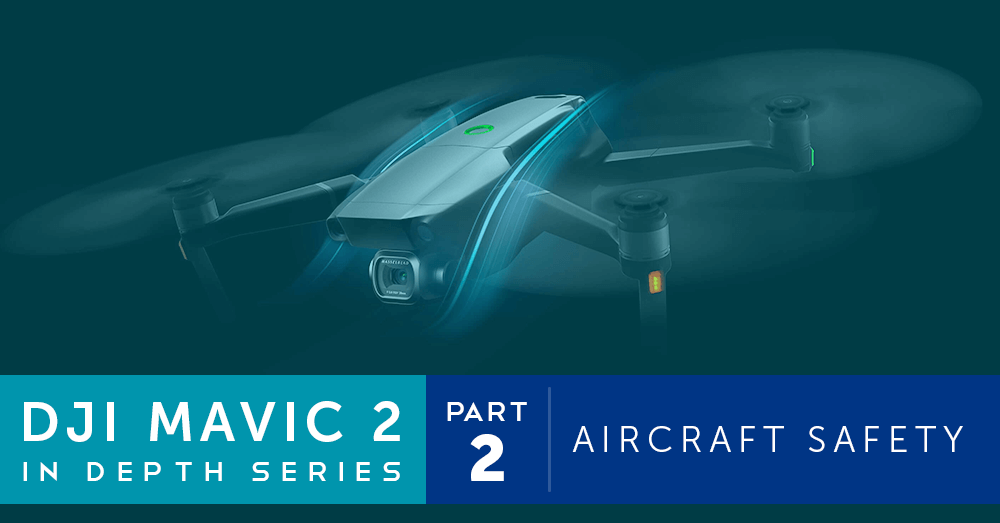
DJI Mavic 2 in Depth Series – Part 2 – Aircraft Safety
In the second part in our Mavic 2 Pro and Zoom in-depth series, we're looking at the safety systems on the two new drones. Click the link for more information. ... Read More

Omnidirectional Obstacle Sensing on the Mavic 2

Mavic 2 APAS (Advanced Pilot Assistance Systems)
Mavic 2 RTH (Return to Home)
Smart RTH
Smart RTH is used to automatically bring the drone back to its Home Point at the touch of a button. In the DJI GO 4 app or on the Mavic 2 Remote Controller, tap the RTH button to begin the drone’s return.
Low Battery RTH
The Low Battery RTH is activated when your Mavic’s battery is reduced to a level where the RTH may be affected. A warning will be given on the DJI GO 4 app that the RTH will begin. If no action is taken within ten seconds, the drone will return to the Home Point. The RTH process can be cancelled, however, this may result in insufficient battery being left to effectively land the drone. If the drone cannot reach its Home Point it will begin to automatically land to prevent damage.
Failsafe RTH
In Failsafe RTH, the Mavic 2 will return to the Home Point if the signal is lost between the drone and Remote Controller for more the two seconds. If activated, the drone will begin the RTH process retracing its flight route recorded by the Forward Vision System during flight. If the signal between the drone and controller is re-established, the Mavic 2 will hover in place for ten seconds and await the pilot input. If no action is made, the drone will begin the RTH in a straight line.
Mavic 2 Landing Protection
An additional feature also available on the Mavic 2 during the RTH is the Landing Protection. When using the Smart RTH, the Mavic 2 will check the Home Point is suitable for the drones landing to land gently. If the ground is not suitable, the drone will hover and await instruction from the pilot. If the drone is in Low Battery RTH or Failsafe RTH, the Mavic will assess the ground from 2 m away and await instruction from the pilot. If capable, the drone will assess the ground and land as it would in the Smart RTH.
Mavic 2 Aircraft Safety Systems Specifications
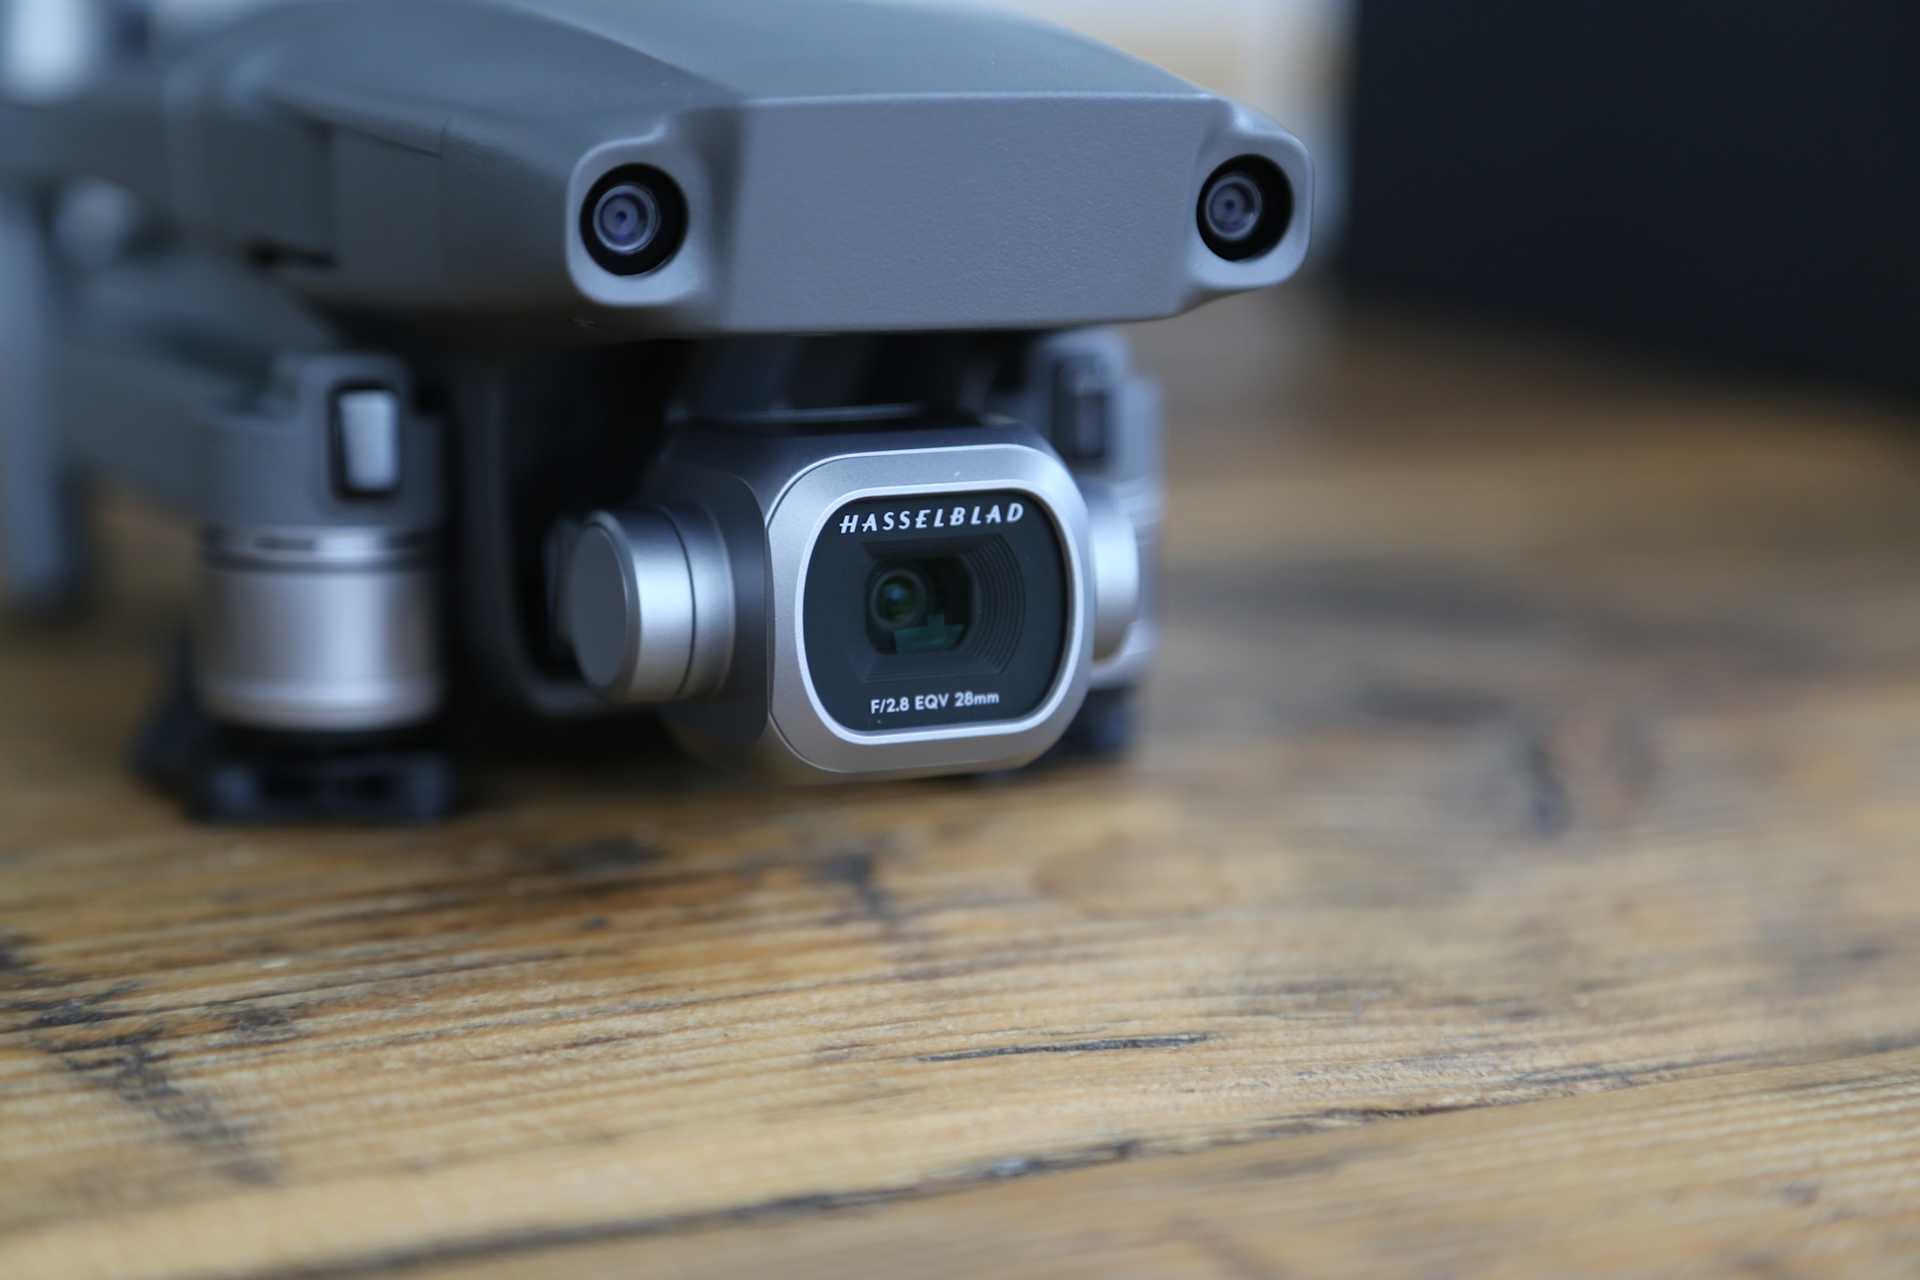
Take a look at the specifications of the sensing system on the DJI Mavic 2 drones:
Aircraft Safety
#### Sensing System | Omnidirectional Obstacle Sensing |
#### Forward | Precision Measurement Range: 0.5 - 20 m Detectable Range: 20 - 40 m Effective Sensing Speed: ≤ 14m/s FOV: Horizontal: 40°, Vertical: 70° |
#### Backward | Precision Measurement Range: 0.5 - 16 m Detectable Range: 16 - 32 m Effective Sensing Speed: ≤ 12m/s FOV: Horizontal: 60°, Vertical: 77° |
#### Upward | Precision Measurement Range: 0.1 - 8 m |
#### Downward | Precision Measurement Range: 0.5 - 11 m Detectable Range: 11 - 22 m |
#### Sides | Precision Measurement Range: 0.5 - 10 m Effective Sensing Speed: ≤ 8m/s FOV: Horizontal: 80°, Vertical: 65° |
#### Operating Environment | Forward, Backward and Sides: Surface with clear pattern and adequate lighting (lux > 15) Upward: Detects diffuse reflective surfaces (>20%) (walls, trees, people, etc.) Downward: Surface with clear pattern and adequate lighting (lux > 15) Detects diffuse reflective surfaces (>20%) (walls, trees, people, etc.) |
Summary of the Mavic 2 Safety Systems
The DJI Mavic 2 Pro and Zoom have the most impressive safety mechanisms we’ve seen on DJI’s consumer and professional models to date. The Omnidirectional Obstacle Sensing helps keeps your Mavic safe in complex environments, even when using Intelligent Modes; ActiveTrack 2.0 and Tripod Mode. DJI’s dedication to keeping their equipment safe if refreshing to see, for a technology company. Improvements are steadily being seen across each iteration of the Mavic Series as well as DJI wider releases. In the next post in our in-depth series, we'll be looking at camera on the Mavic 2 Pro and Zoom drones.
Mavic 2 Frequently Asked Questions
Here are the answers to the FAQs we’ve had so far on the Mavic 2 drones: How do I clean the vision system? It’s recommended a lens cloth is used to clean sensors. How do I calibrate the vision system? To calibrate the system, use the DJI Assistant 2, following the onscreen prompts. Each camera will need to be calibrated. Our full guide can be found in the Heliguy Knowledge Base here. When should I calibrate the vision system? If the drone is crashed or you notice any flying irregularities. How do I ensure the best results from the vision system?
Avoid flying over a monochrome surface
Don’t fly over reflective or transparent surfaces such as snow or water
Don’t fly over moving surfaces such as grass or shrubs
Don’t fly in an area where lighting dramatically changes
Don’t fly in dark areas
Don’t fly over repeated patterns such as tiles
Don’t fly around small obstacle such as power lines
To discuss the new DJI Mavic 2 Pro and Zoom or any DJI, please give one of our team a call on 0191 296 1024 or email us at info@heliguy.com.
Keep checking back to Heliguy’s Insider Blog for more announcements, insights into drones and, of course, the latest news from the drone industry.
