News
How to use the new DJI RC Pro with Mavic 3
<span>A step-by-step tutorial to teach you how to use the new DJI RC Pro controller with the Mavic 3 drone. Also learn flying basics and how to </span><span>take photo and video.</span> ... Read More
This step-by-step tutorial will teach you how to use the new DJI RC Pro controller with the Mavic 3 drone.
RC Pro Controller - Before You Start
Remote controller first use:
The built-in battery of the remote controller is set to sleep mode by default.
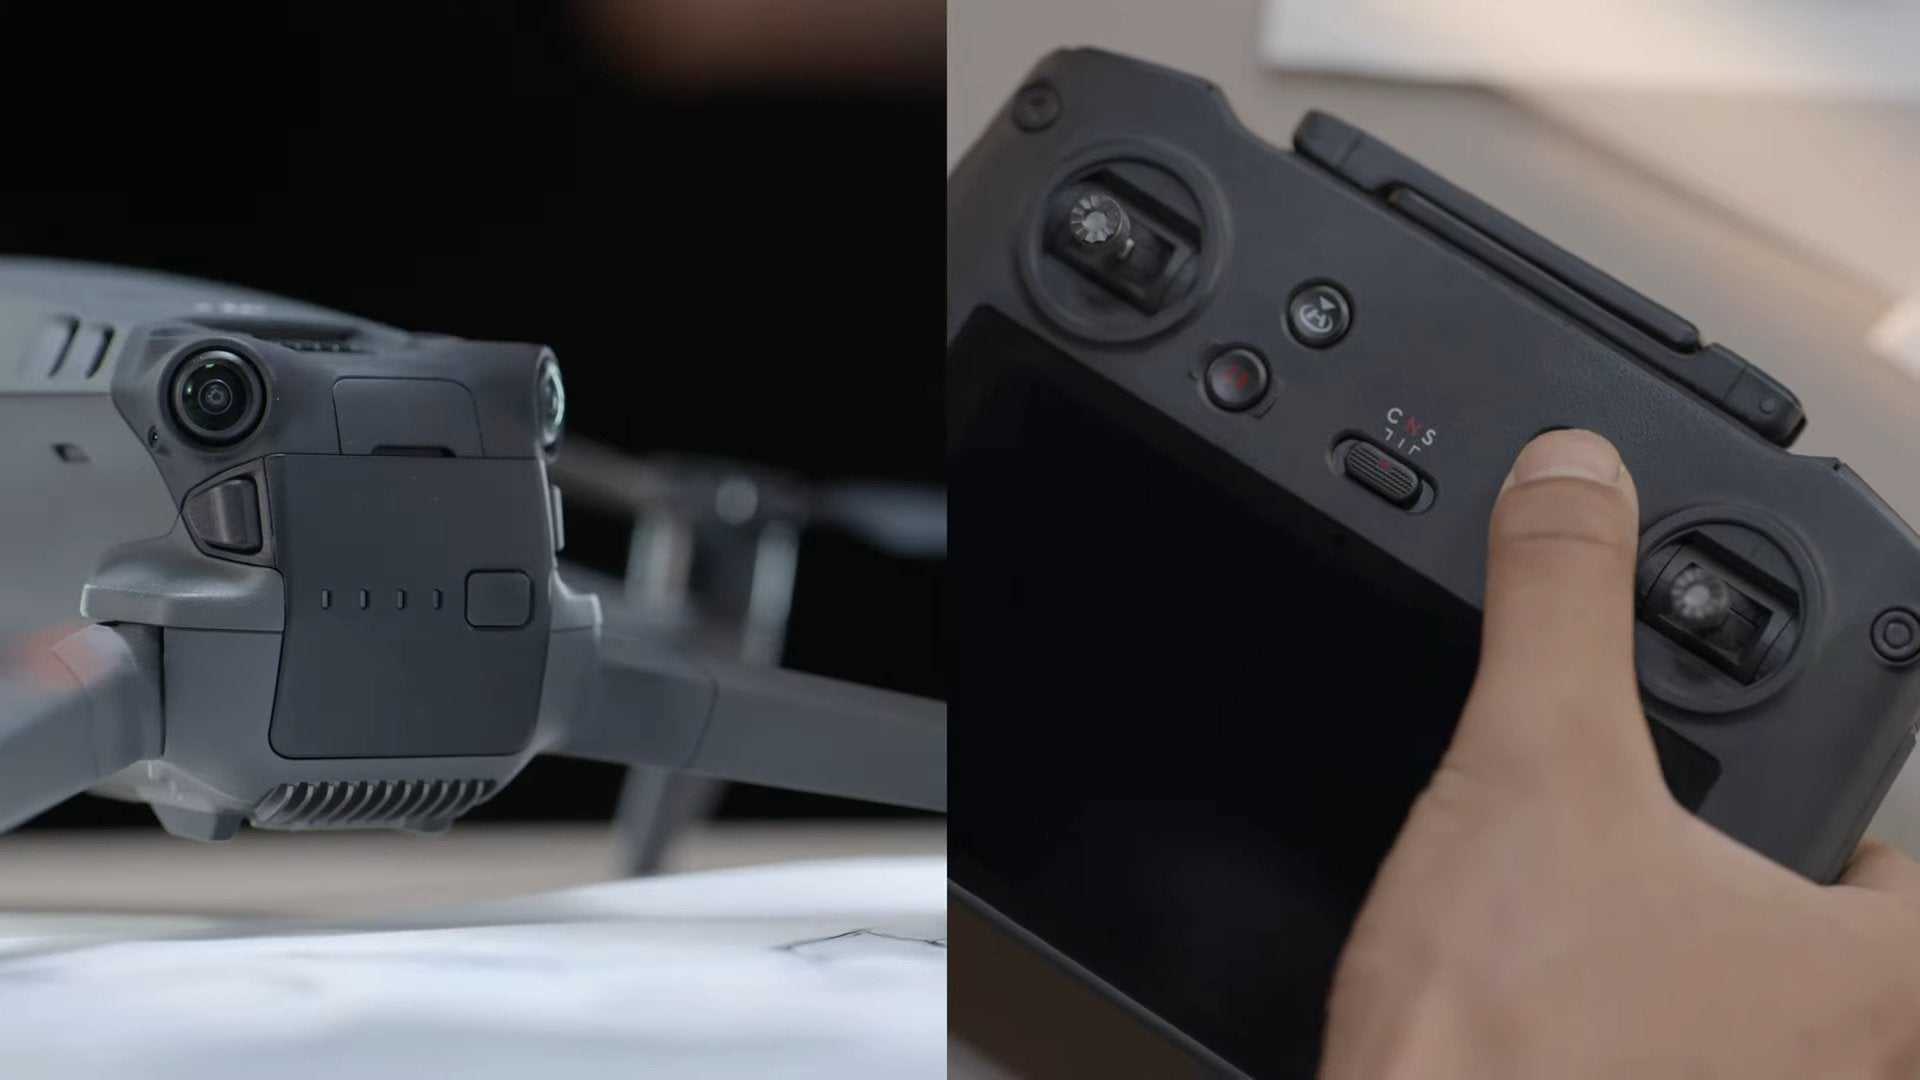
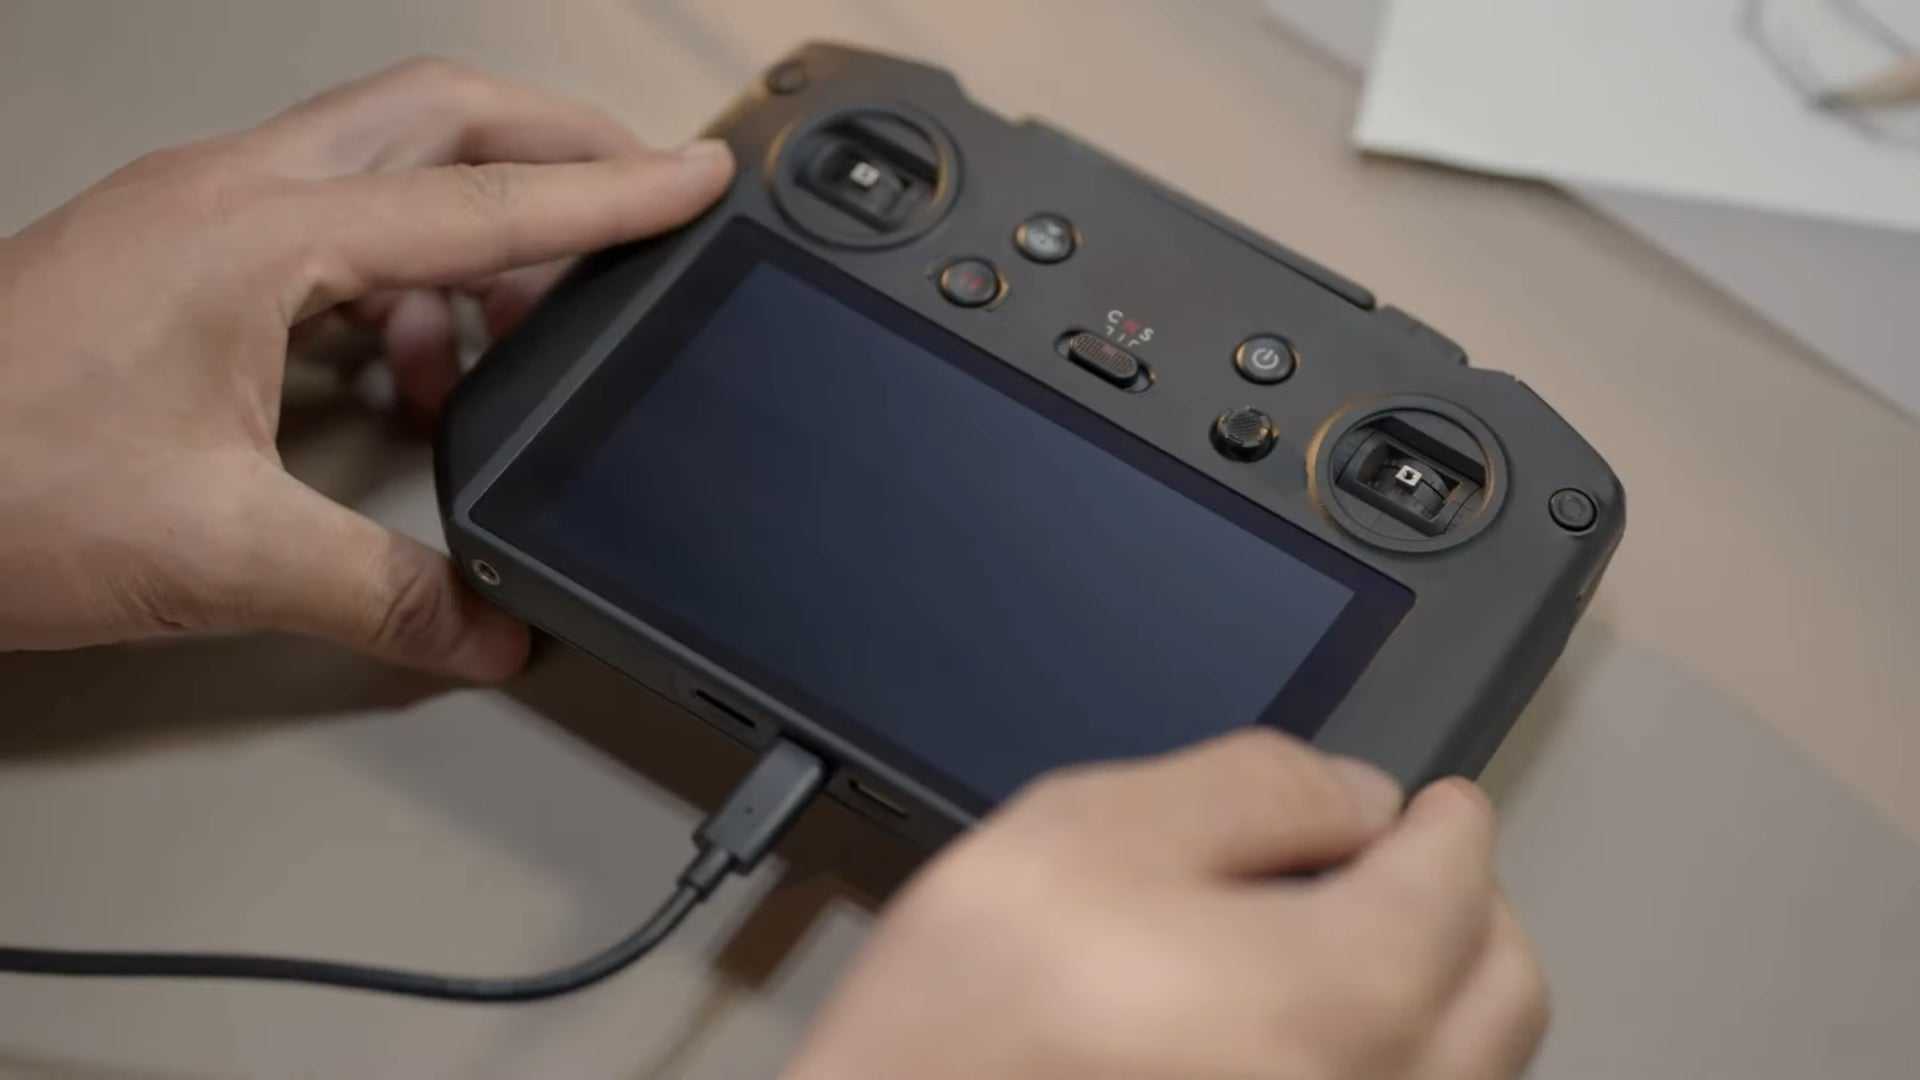
Before using, connect the remote controller and charger via USB-C cable for approximately one minute to activate the battery.
Activating the DJI RC Pro
Press the power button, and then press again and hold for approximately two seconds to power on the remote controller.
Select the language after powering on the remote controller.
Connect the remote controller to the internet via WiFi.
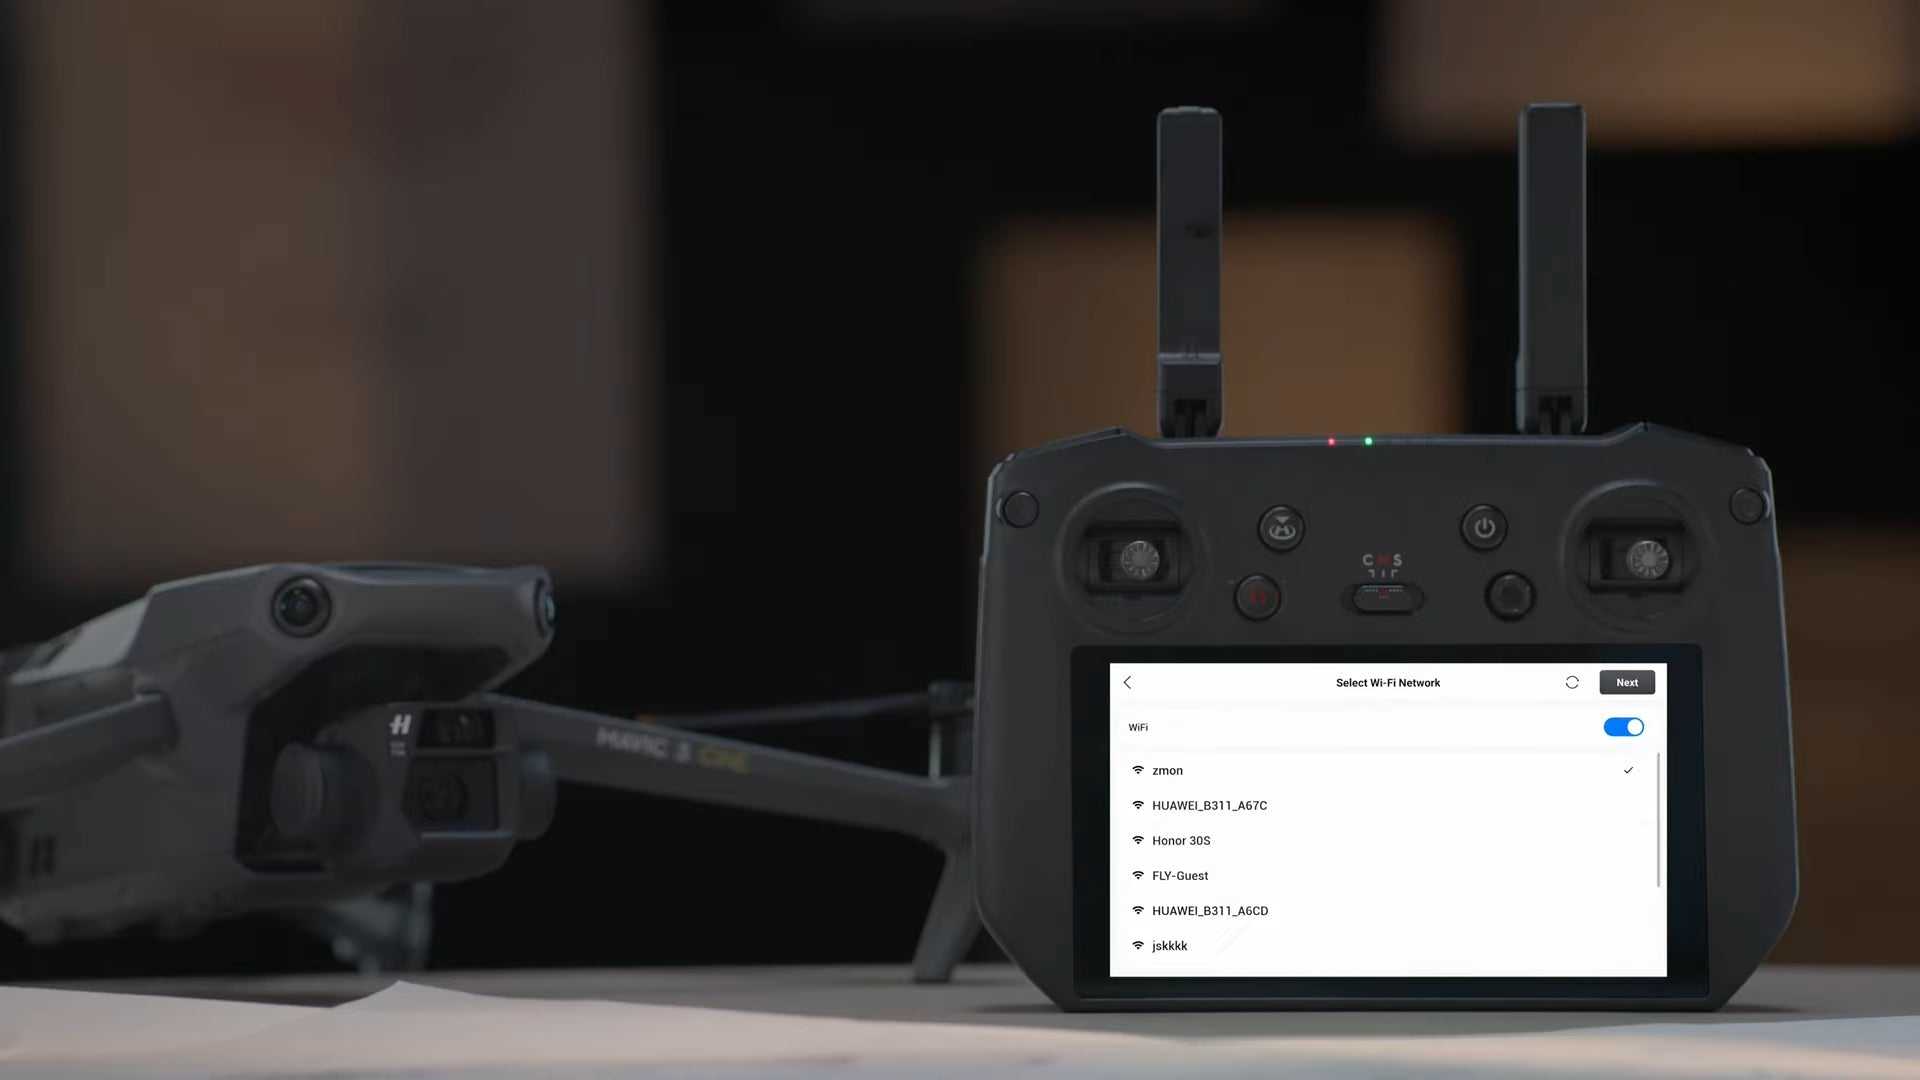
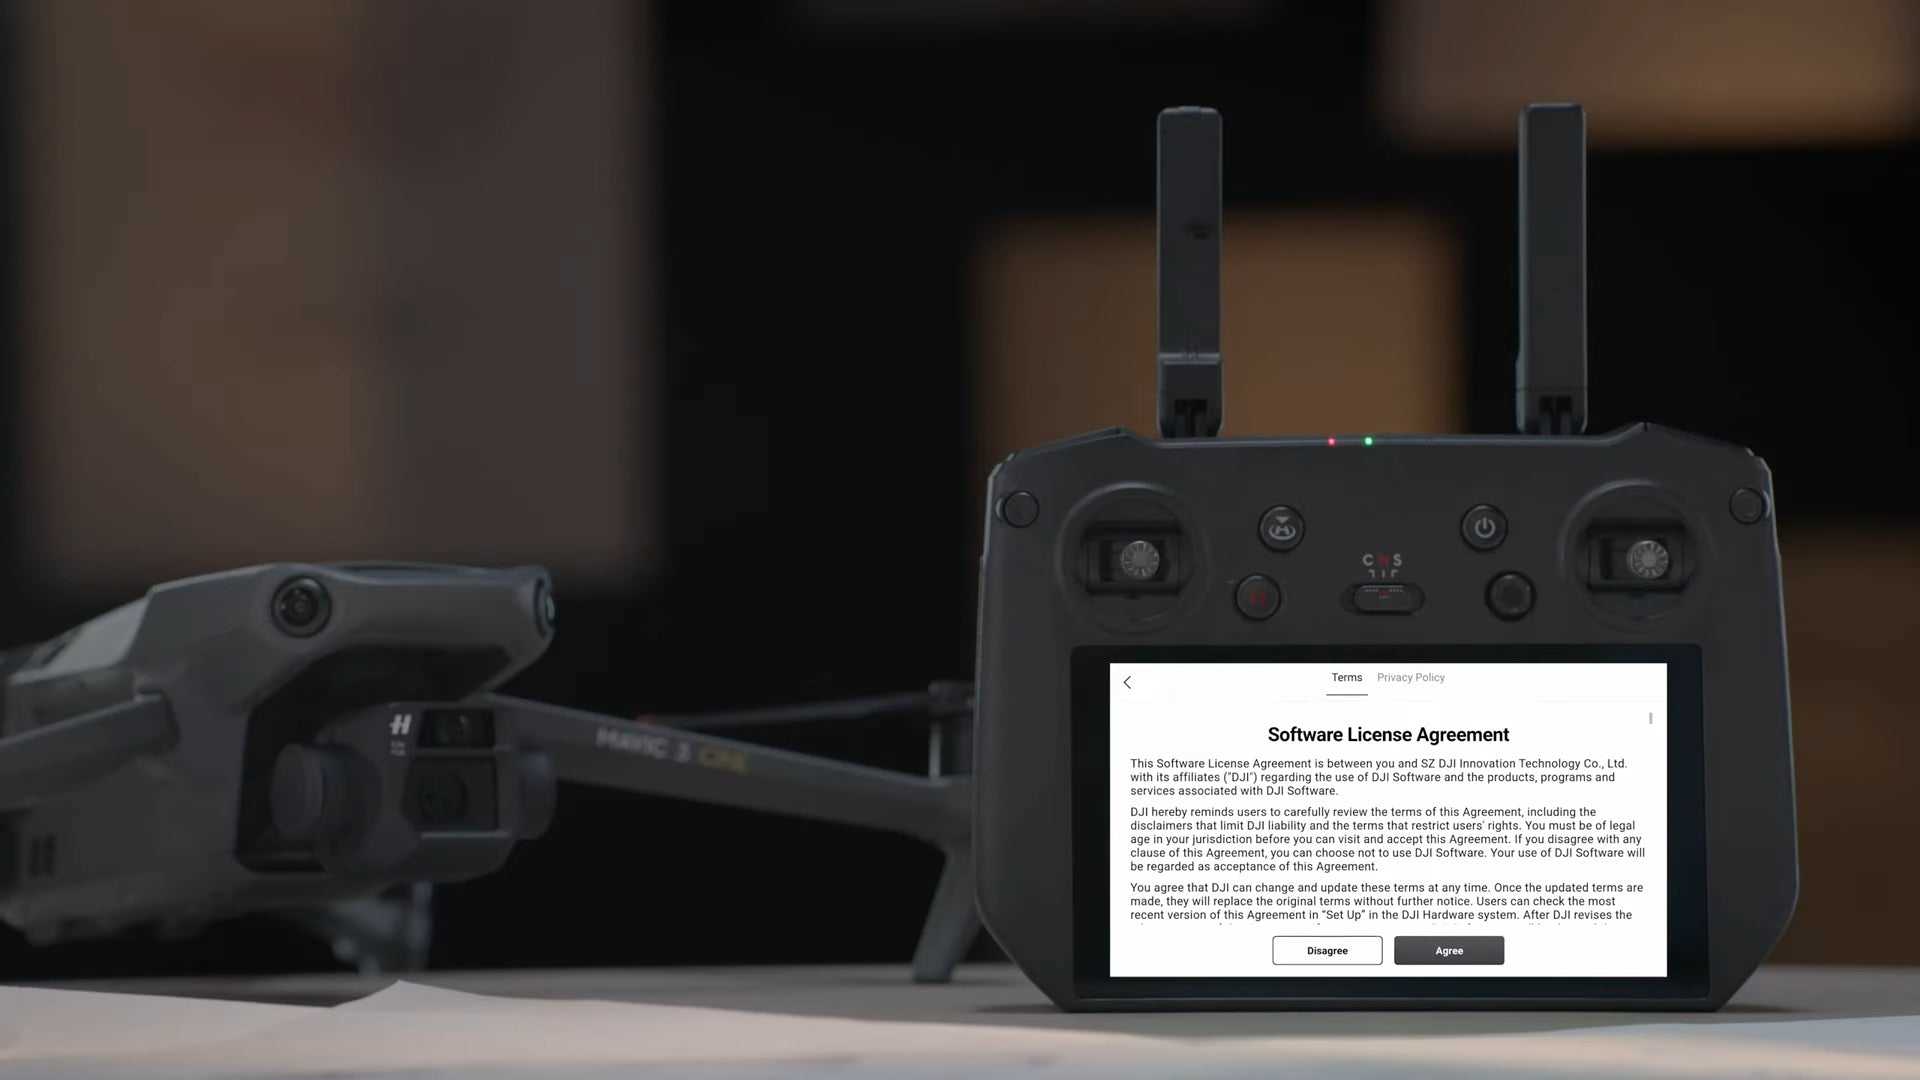
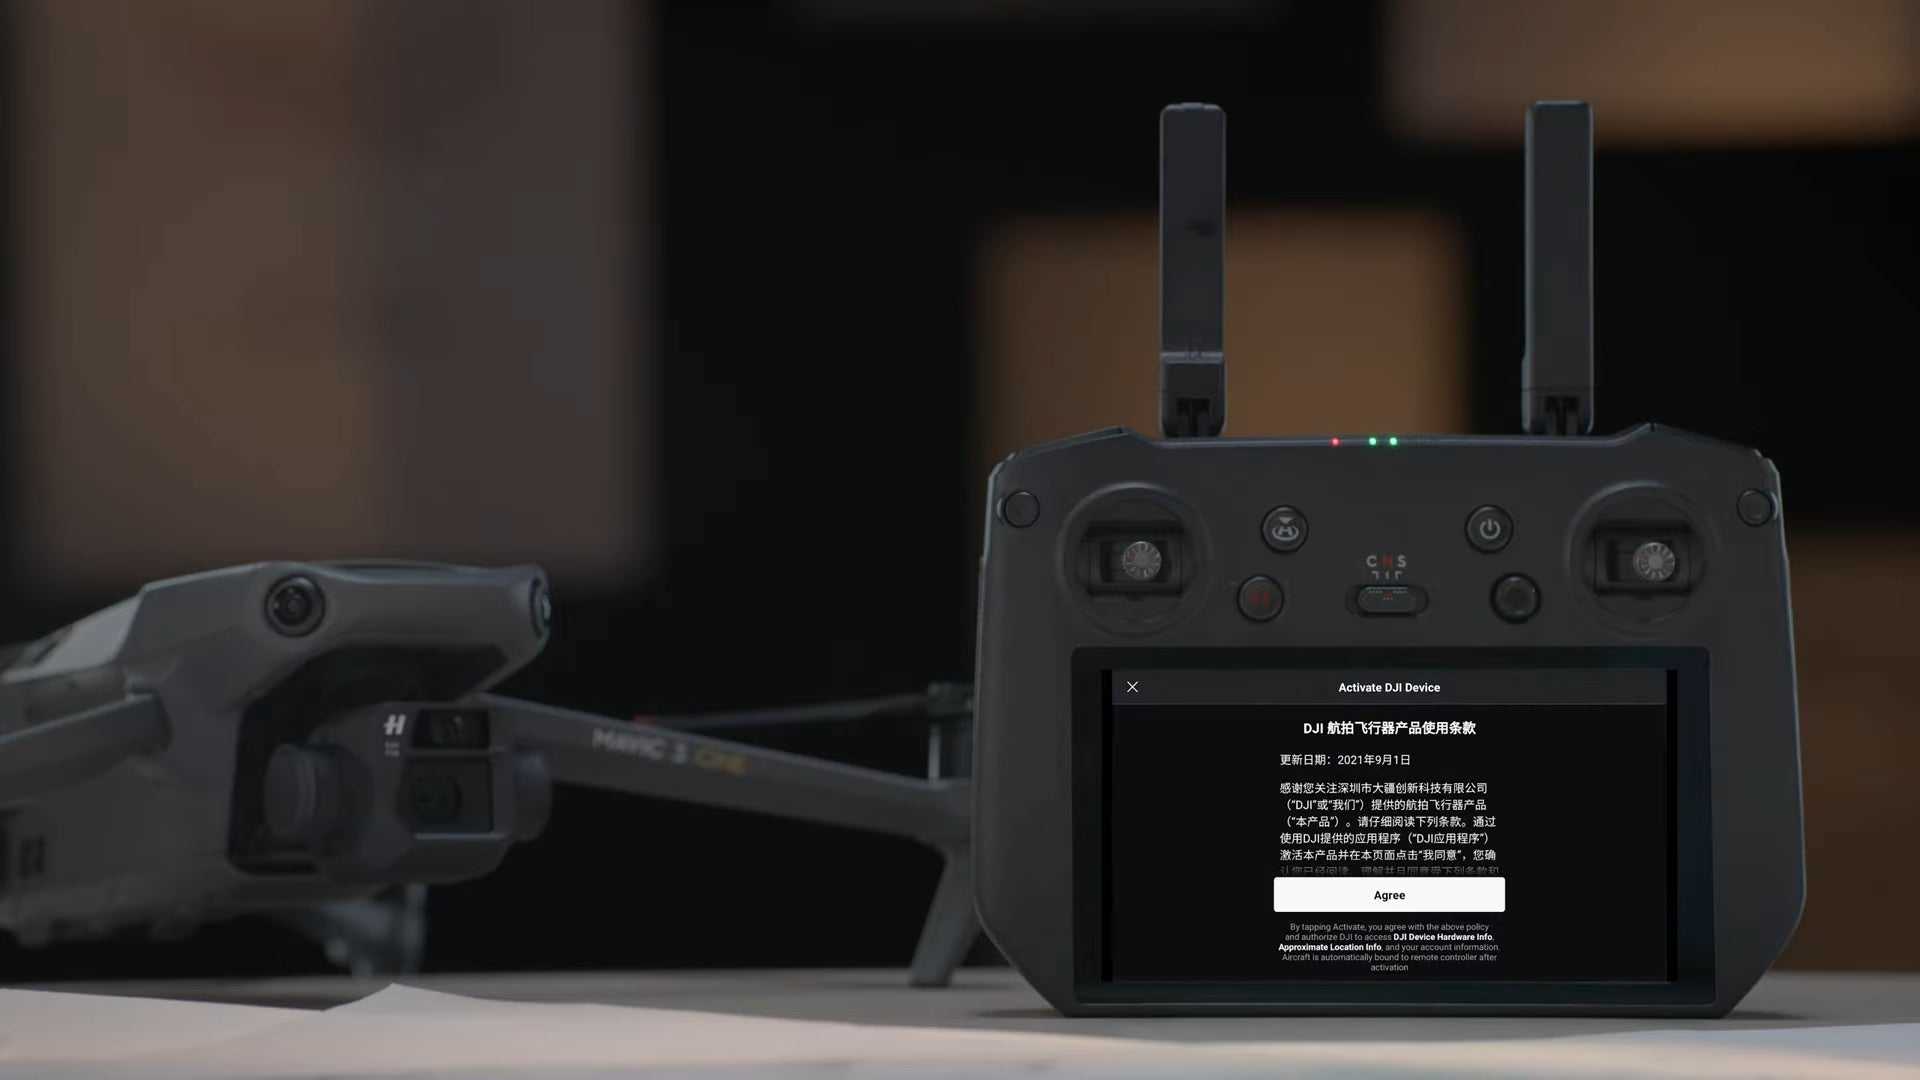
After connecting, read the software agreement and tap agree to continue.
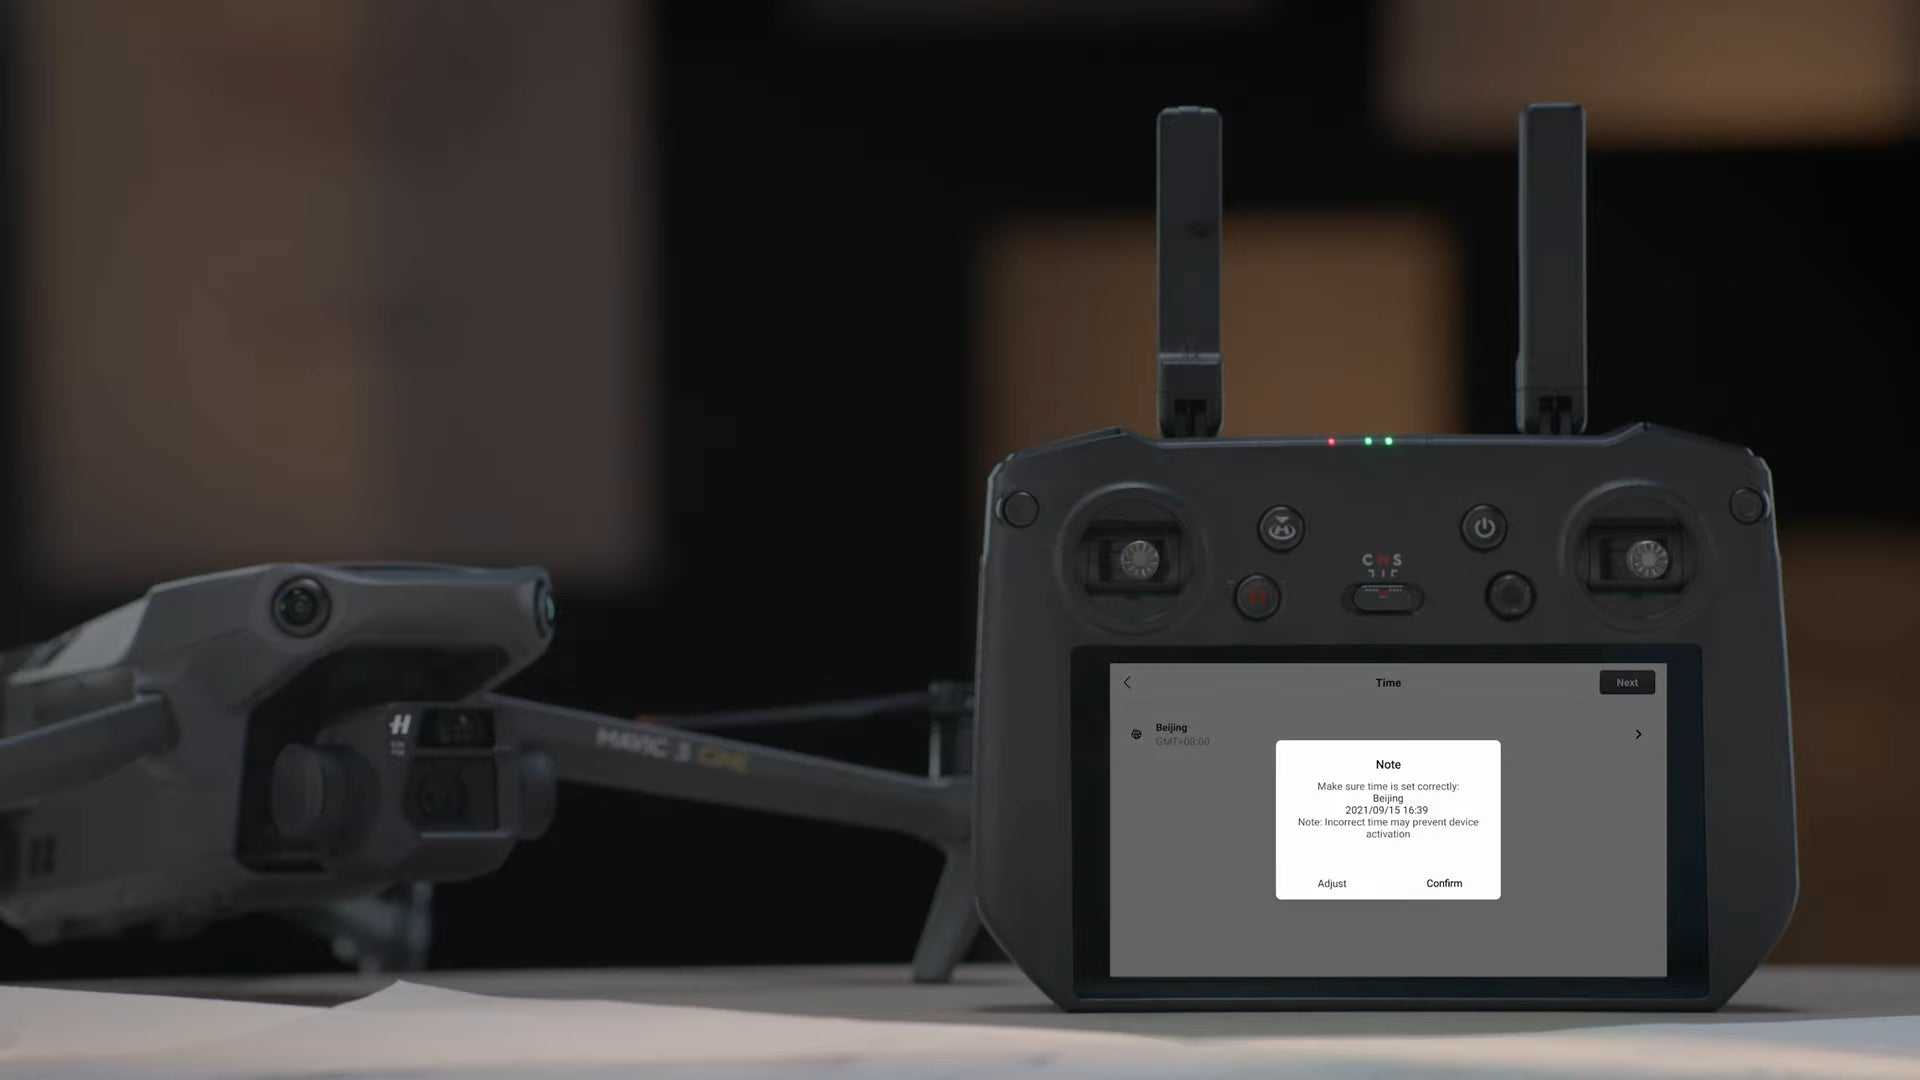
Select the time zone, date and time.
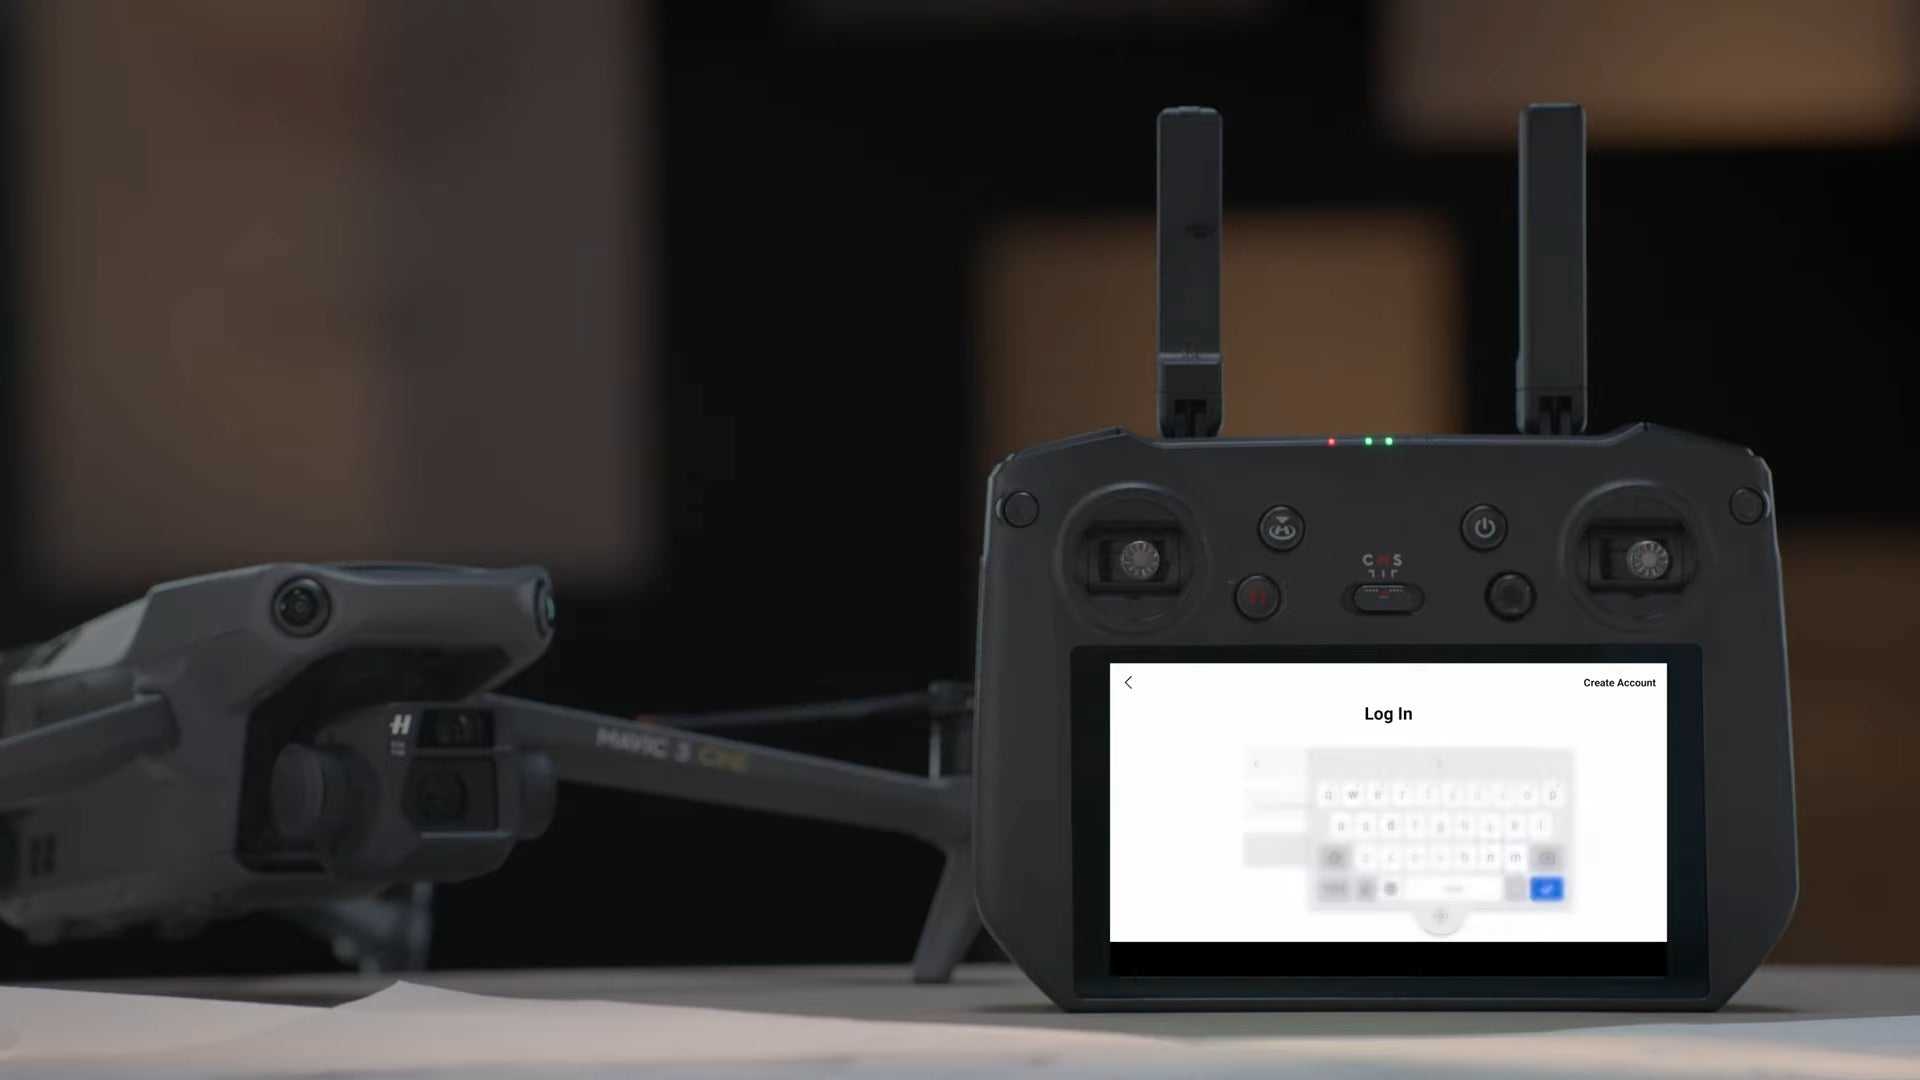
Log-in with your DJI account, if you have one already.
New users please register before logging in.
After successfully logging in an activation prompt will appear on the screen.
Tap to activate.
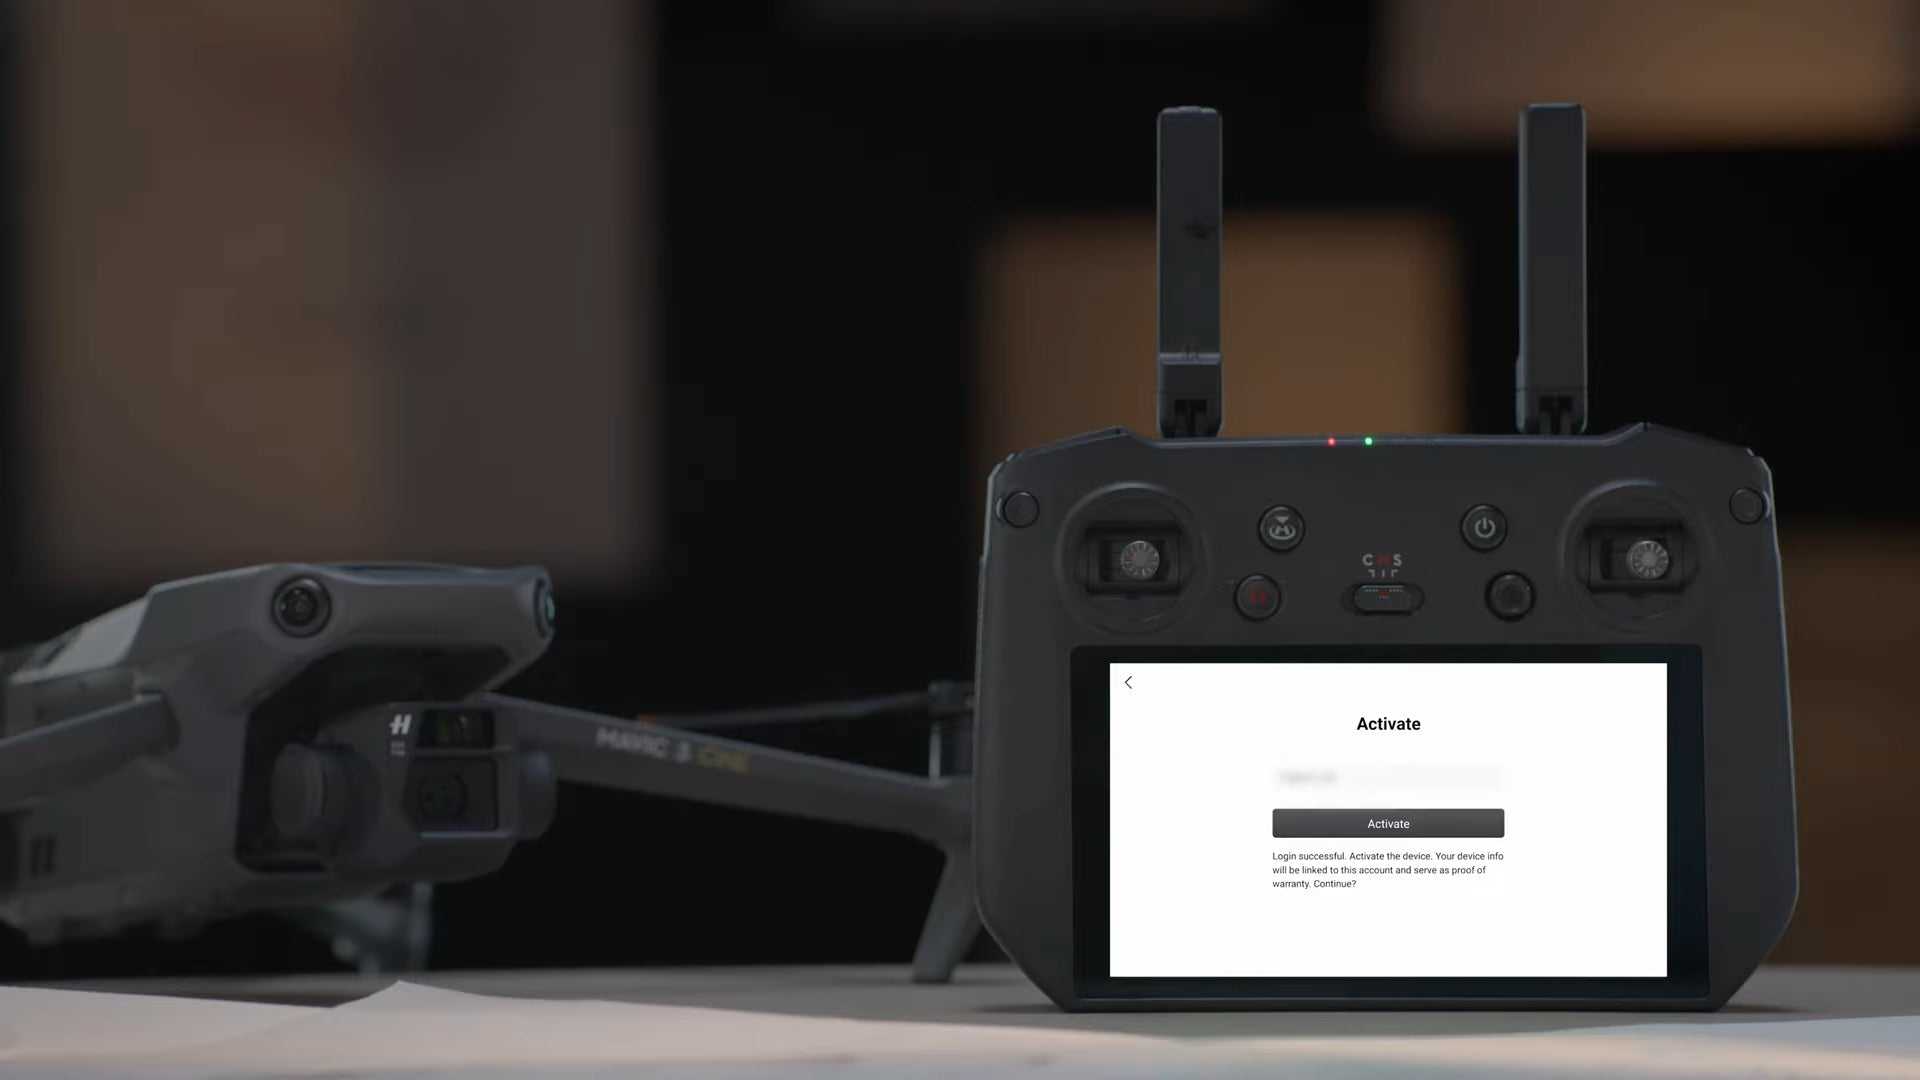
Successful activation will result in a notice on the screen.
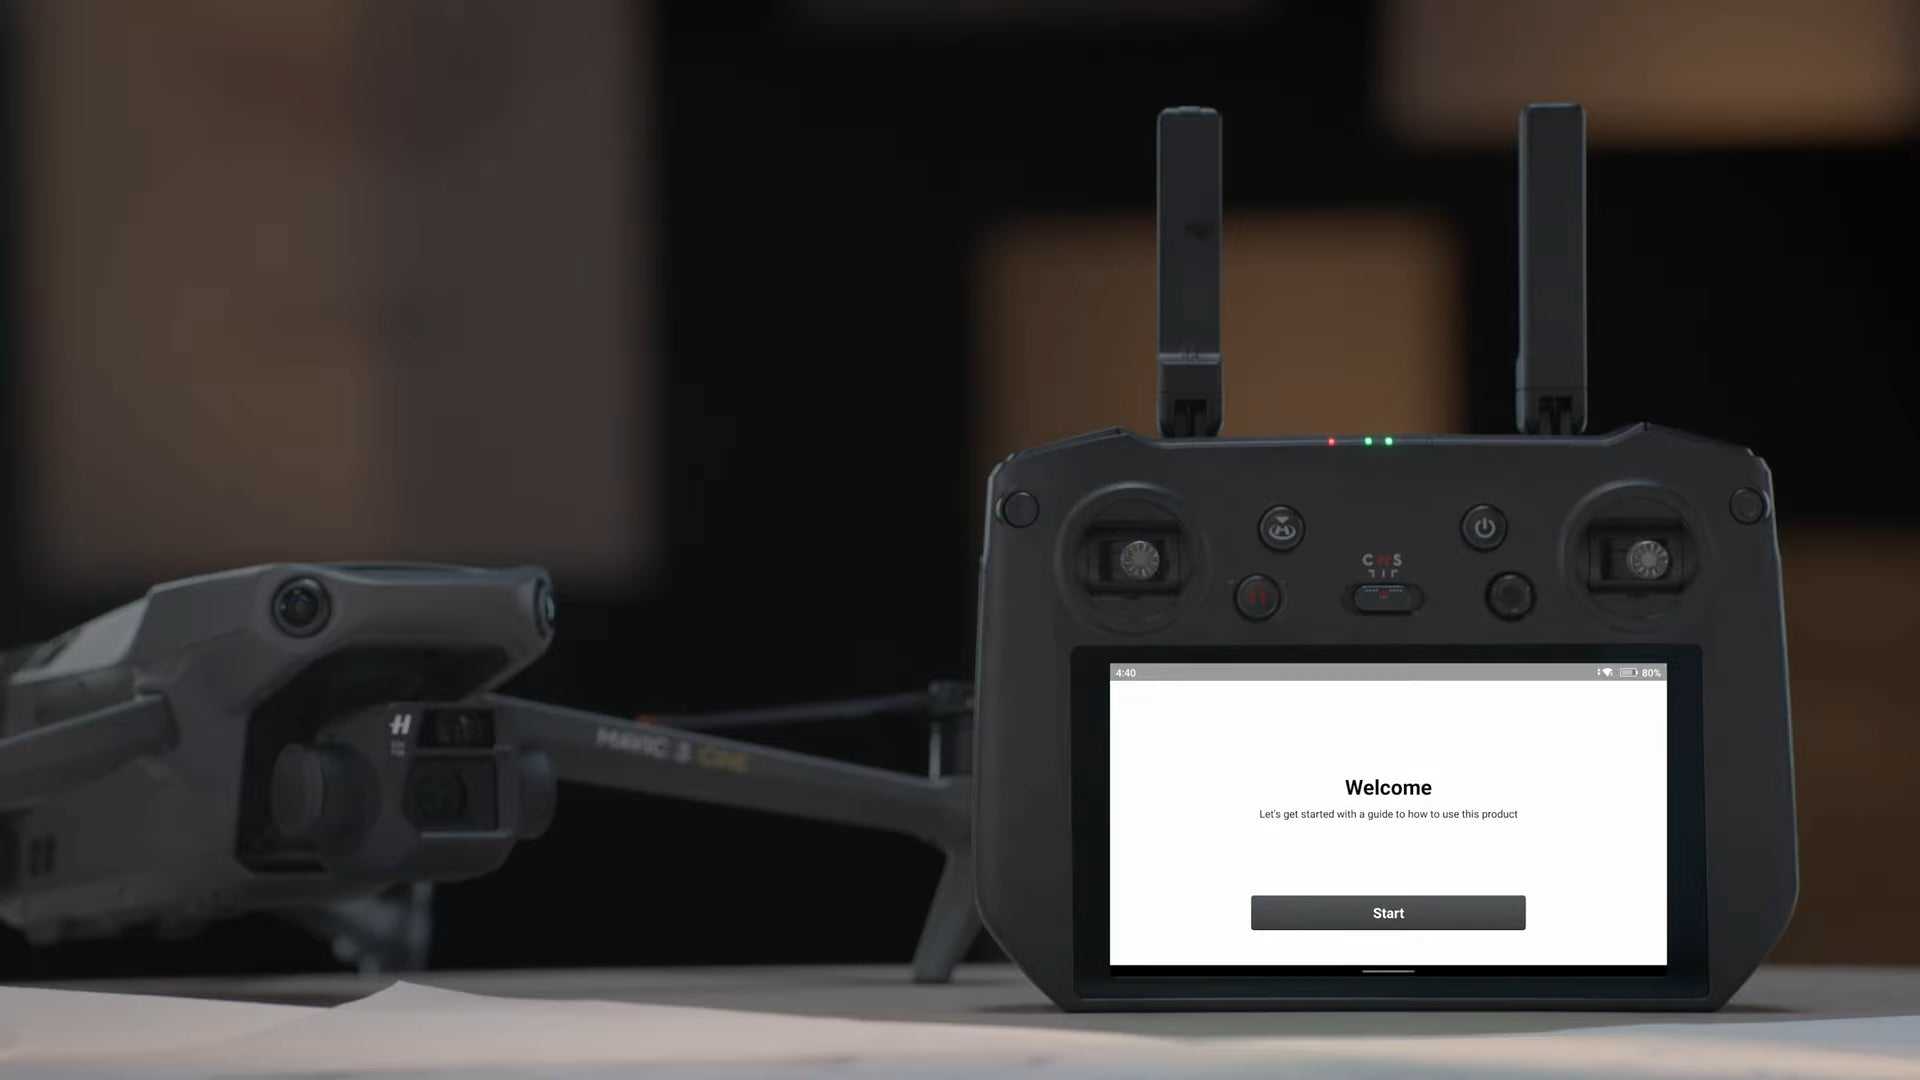
Linking instructions
Power on the aircraft and remote controller.
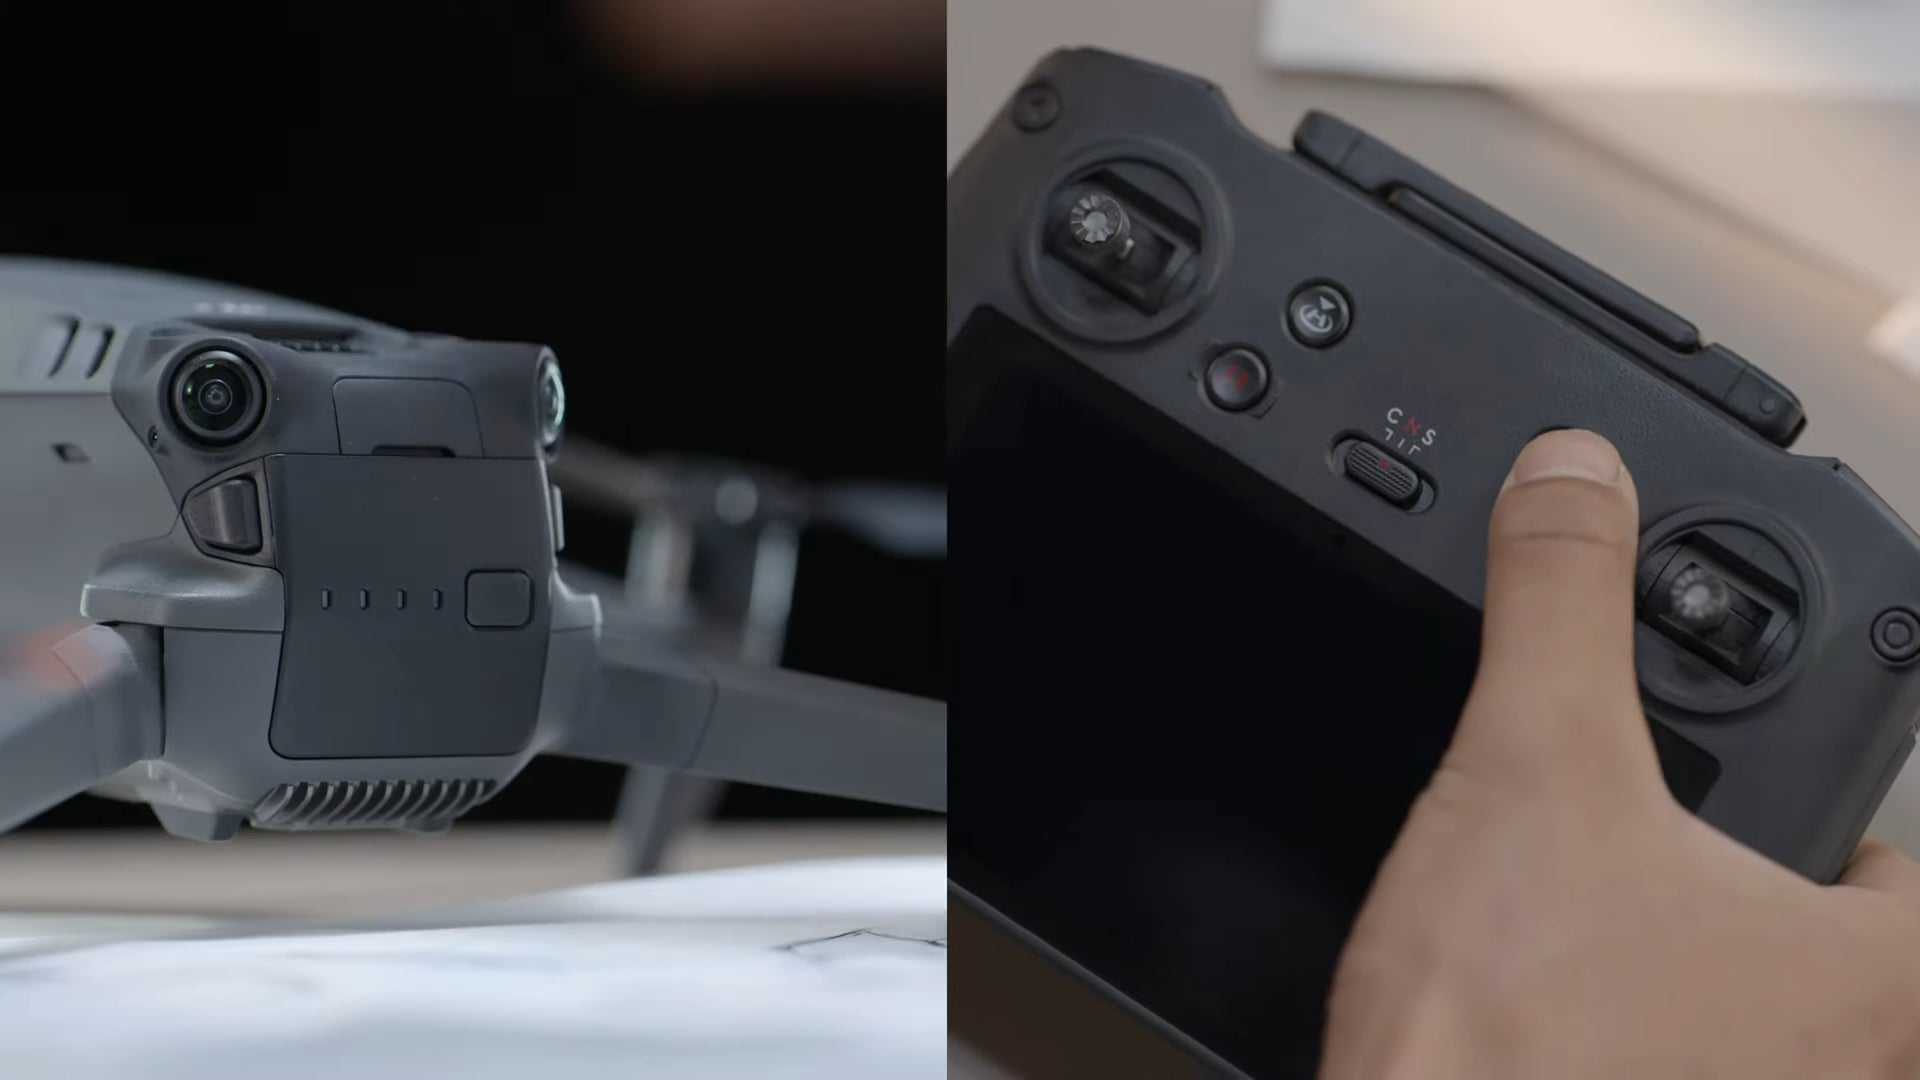
A prompt that says 'connection guide' will appear on the lower right corner of the screen, indicating that linking is required between the aircraft and remote controller before use.
Tap 'connection guide' on the screen and follow the instructions to complete linking.
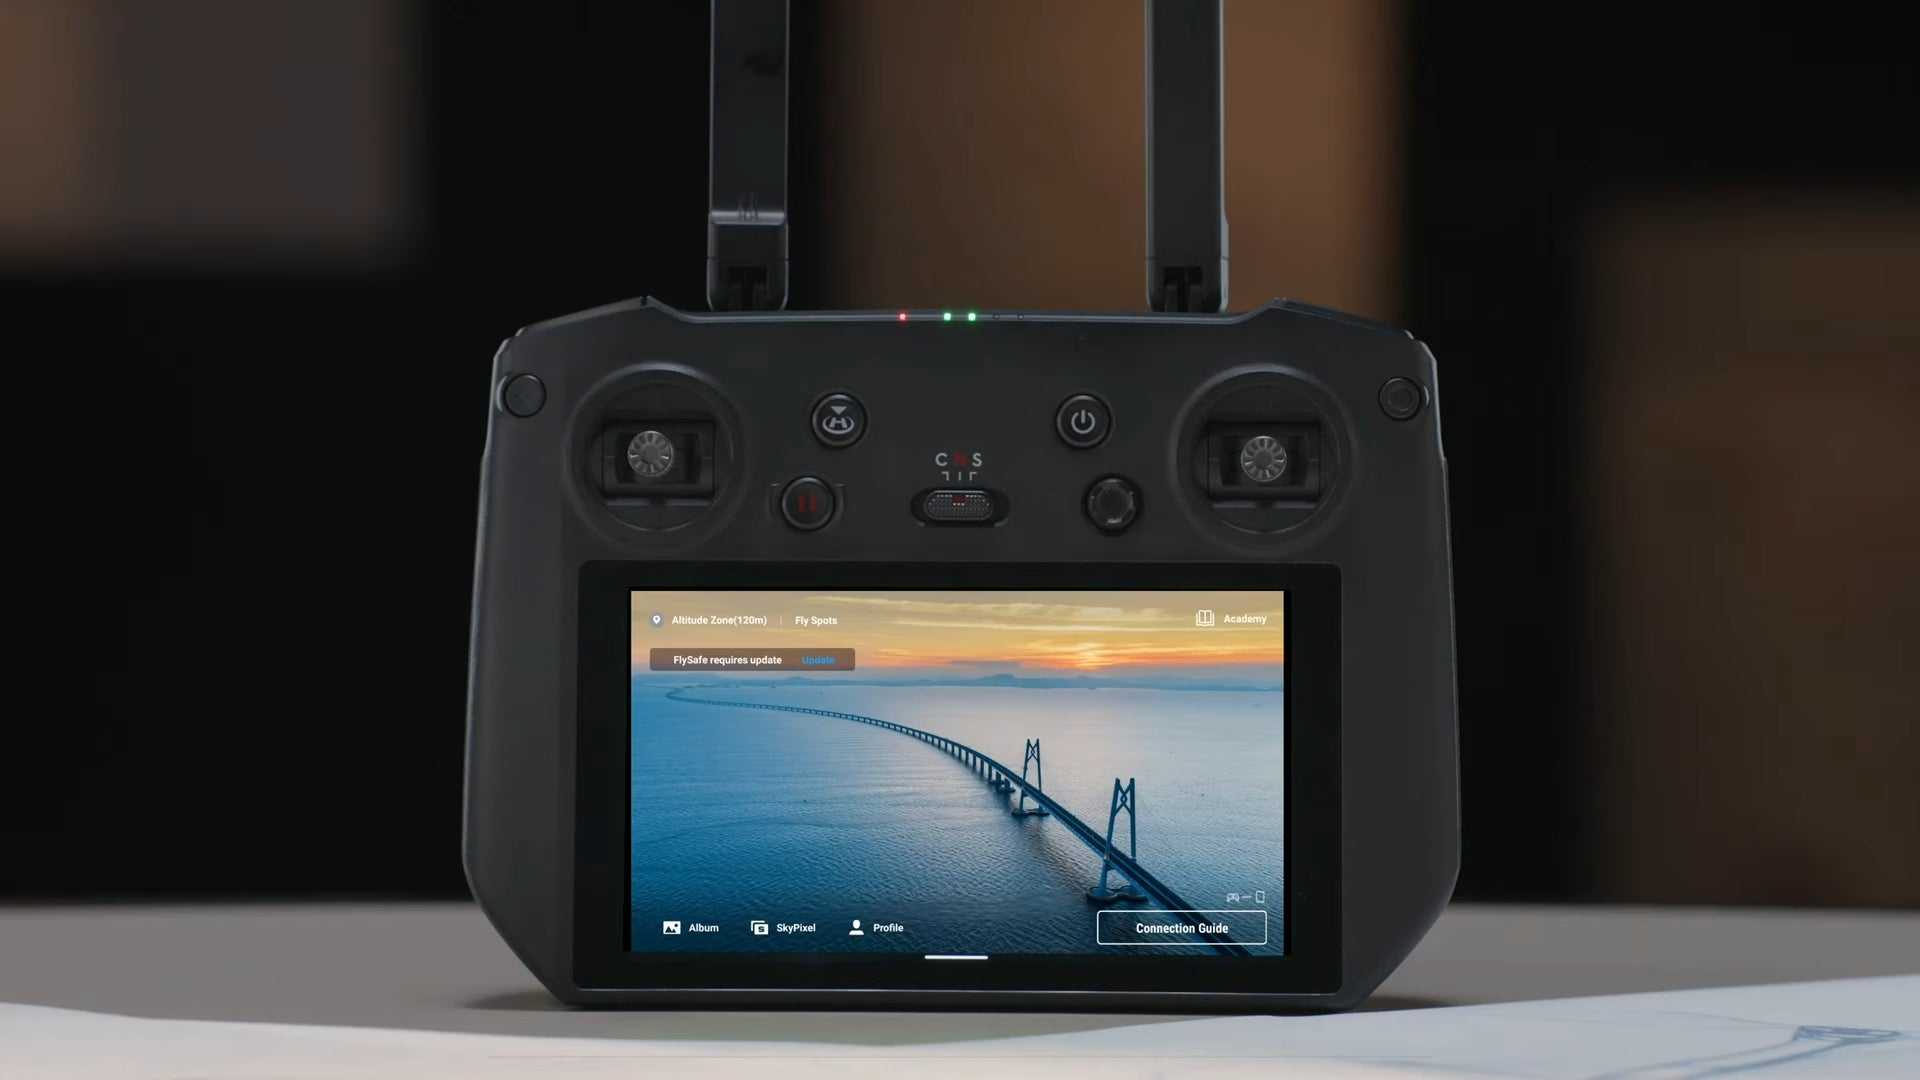
Follow on-screen instructions to power on the aircraft.
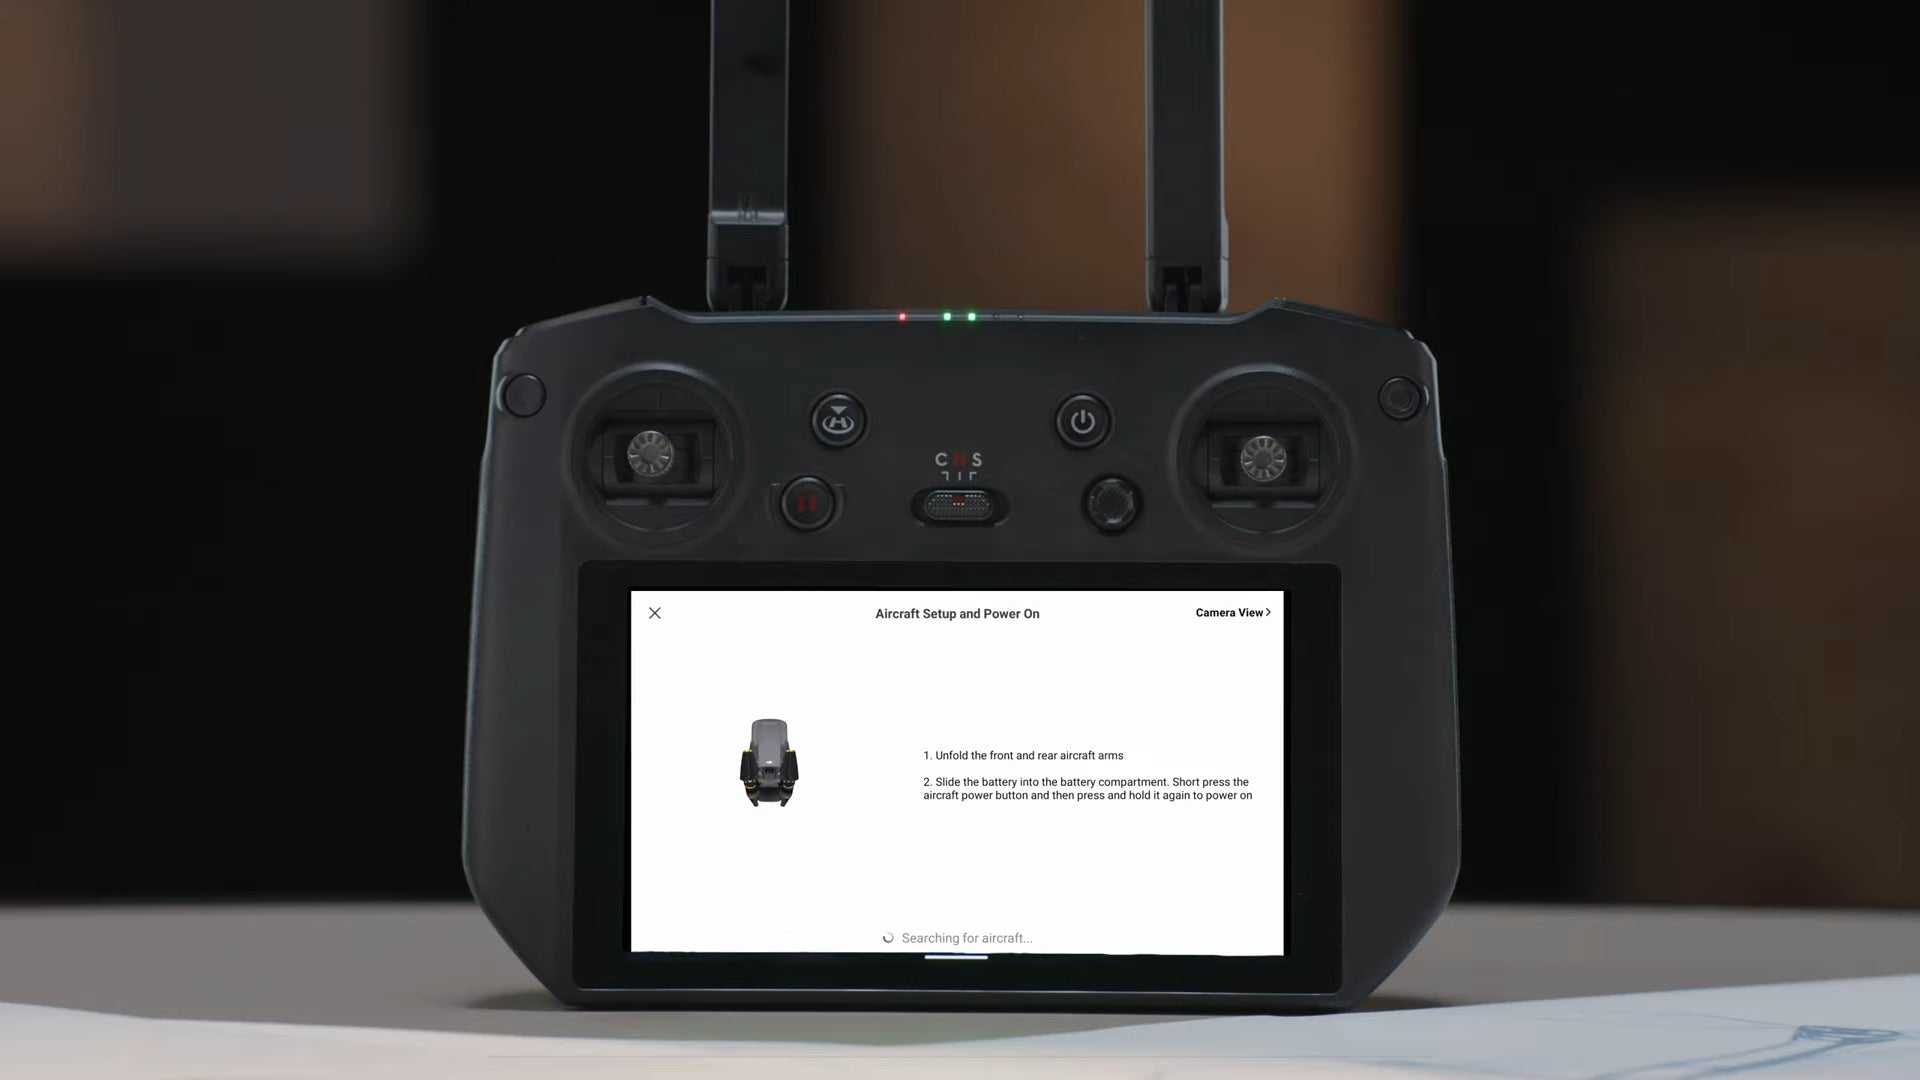
When the remote controller beeps and the battery LED indicators are blinking in sequence it means it is ready for linking.
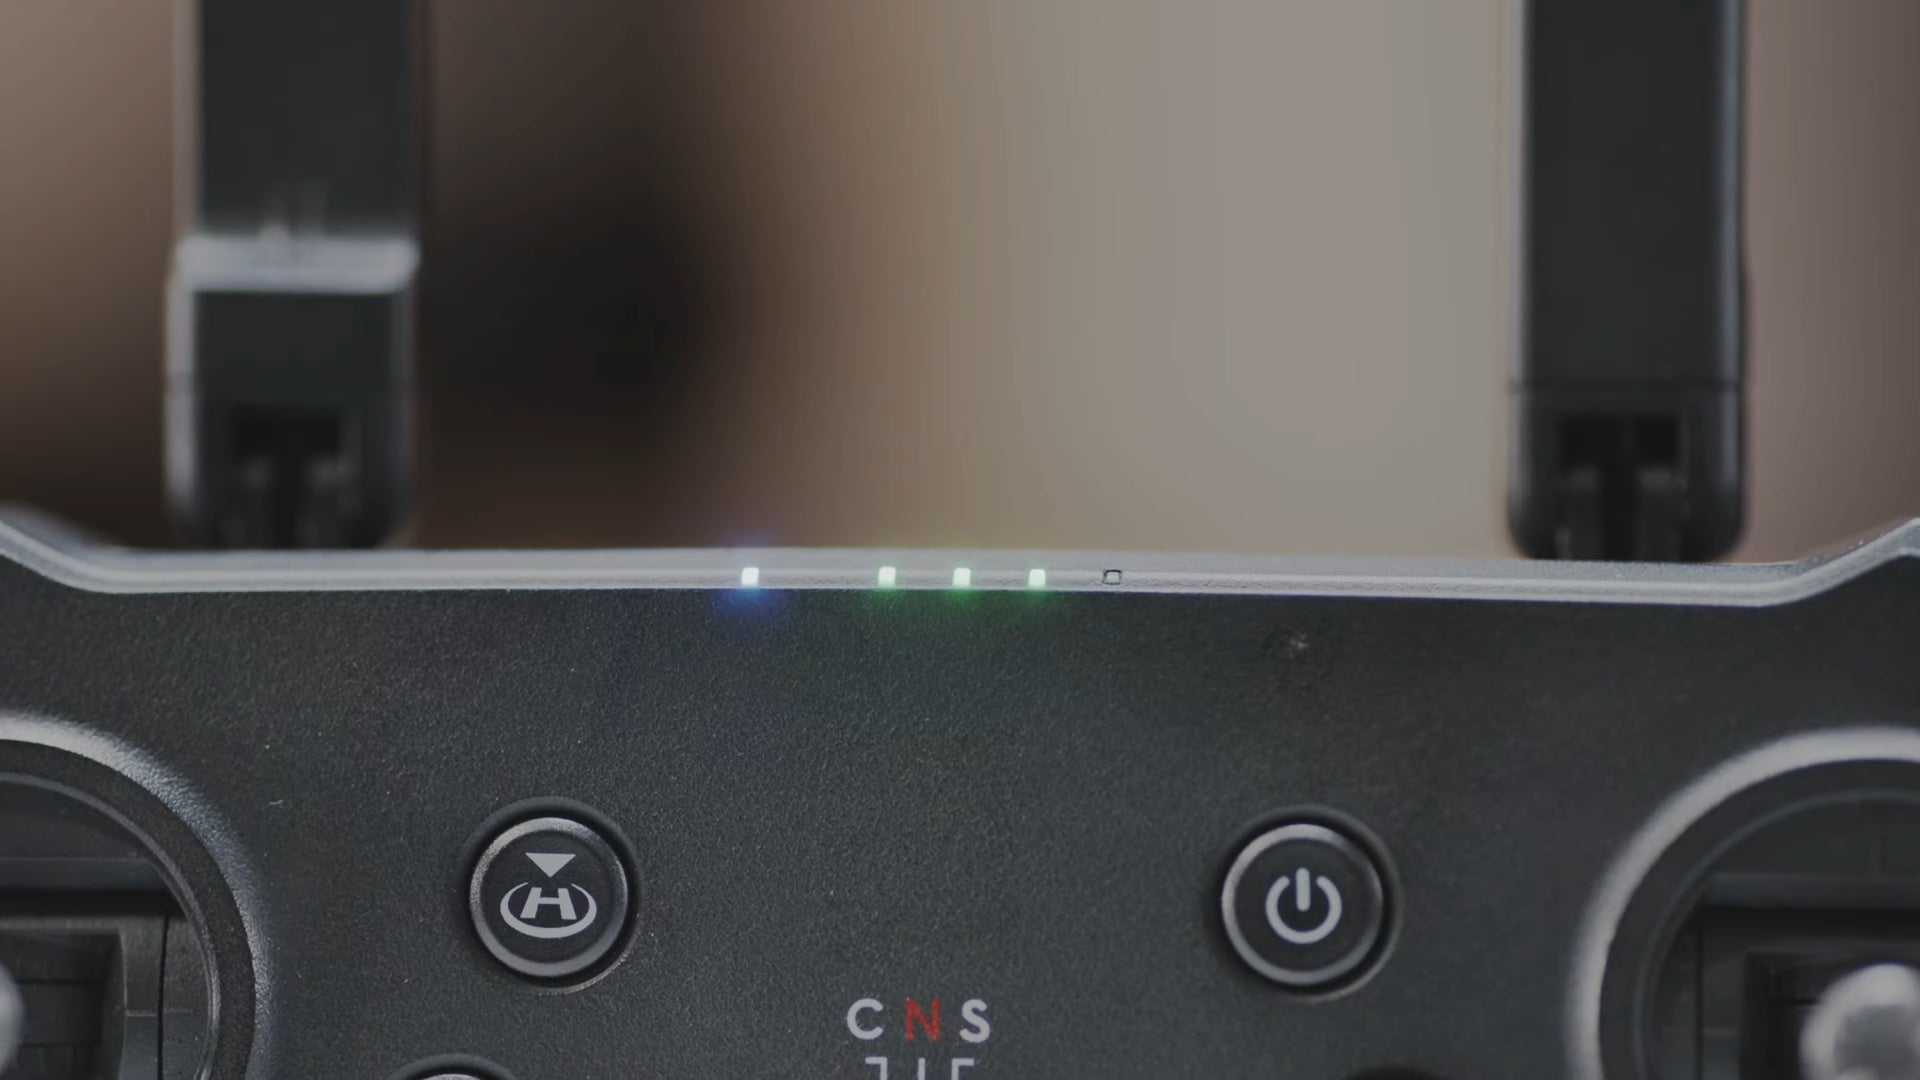
Press and hold the aircraft power button for approximately four seconds.
Release after there's a loud beep, followed by two short beeps.
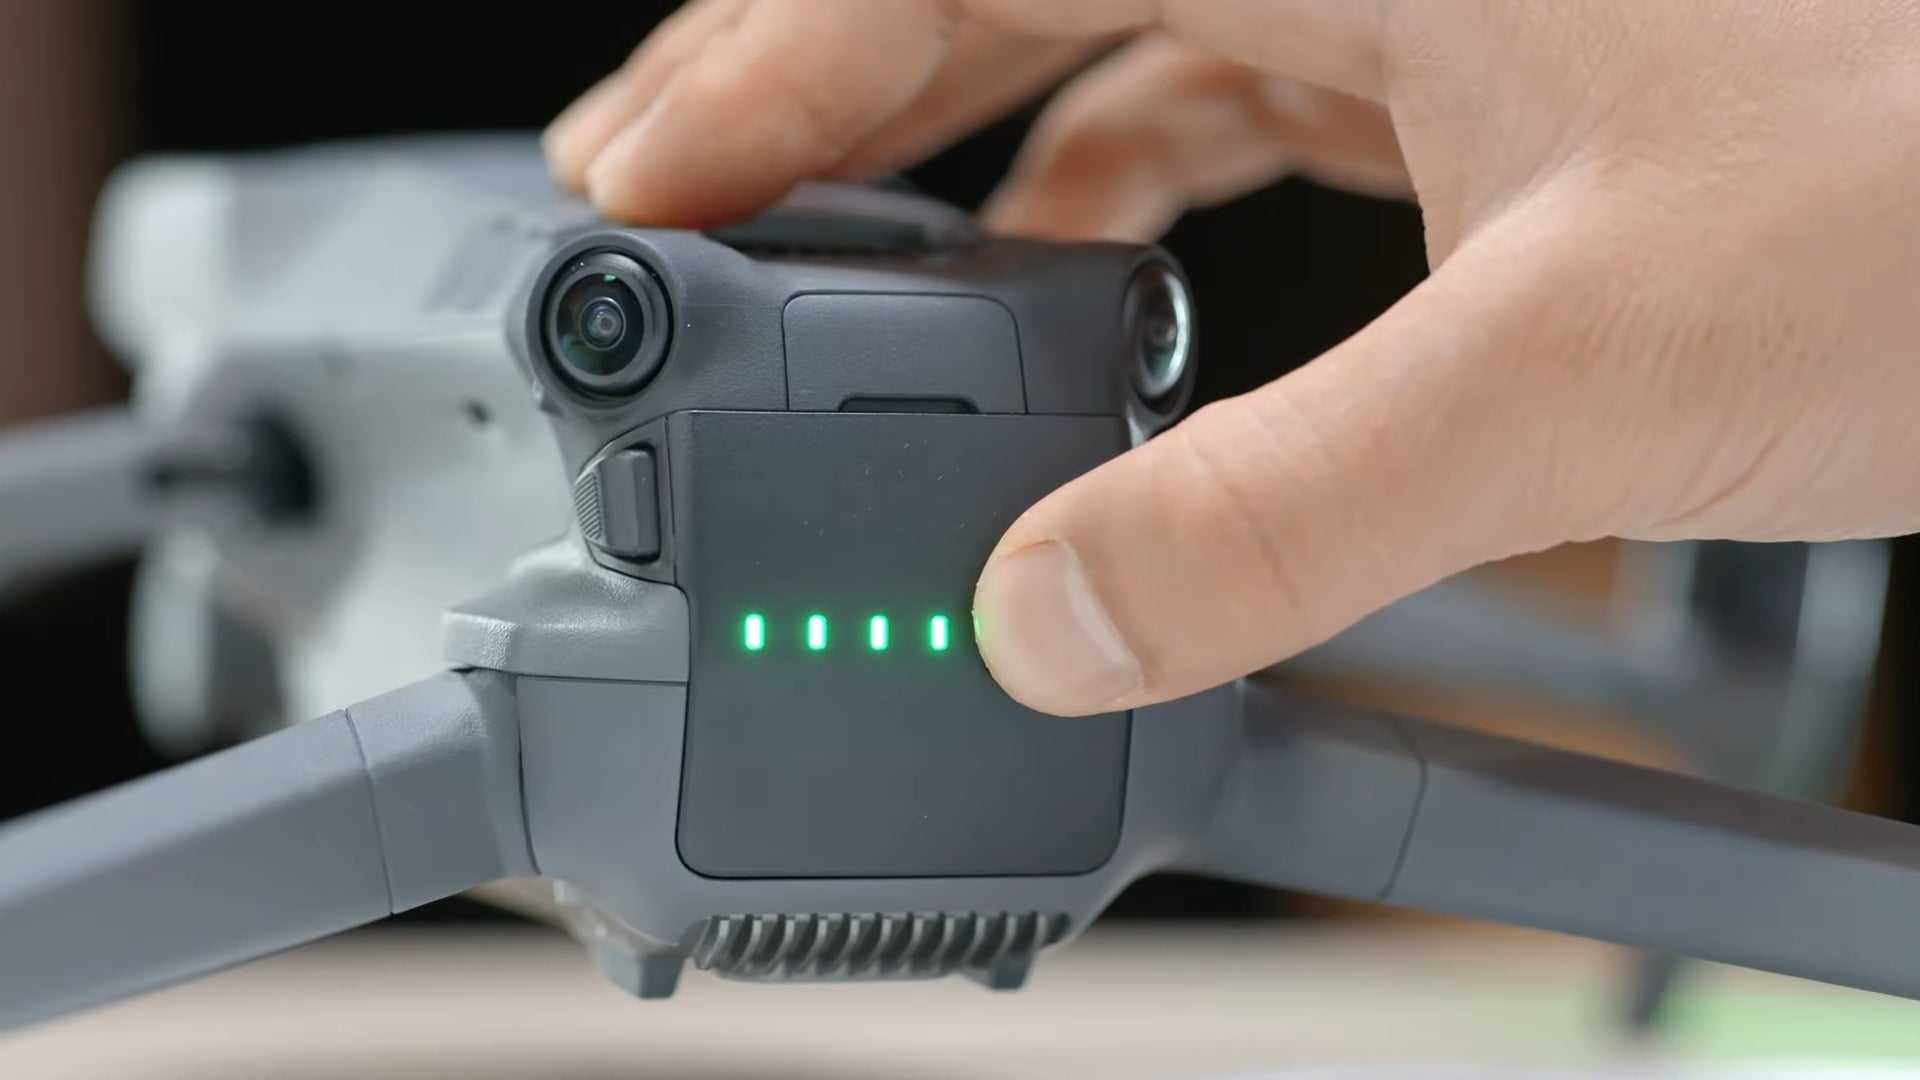
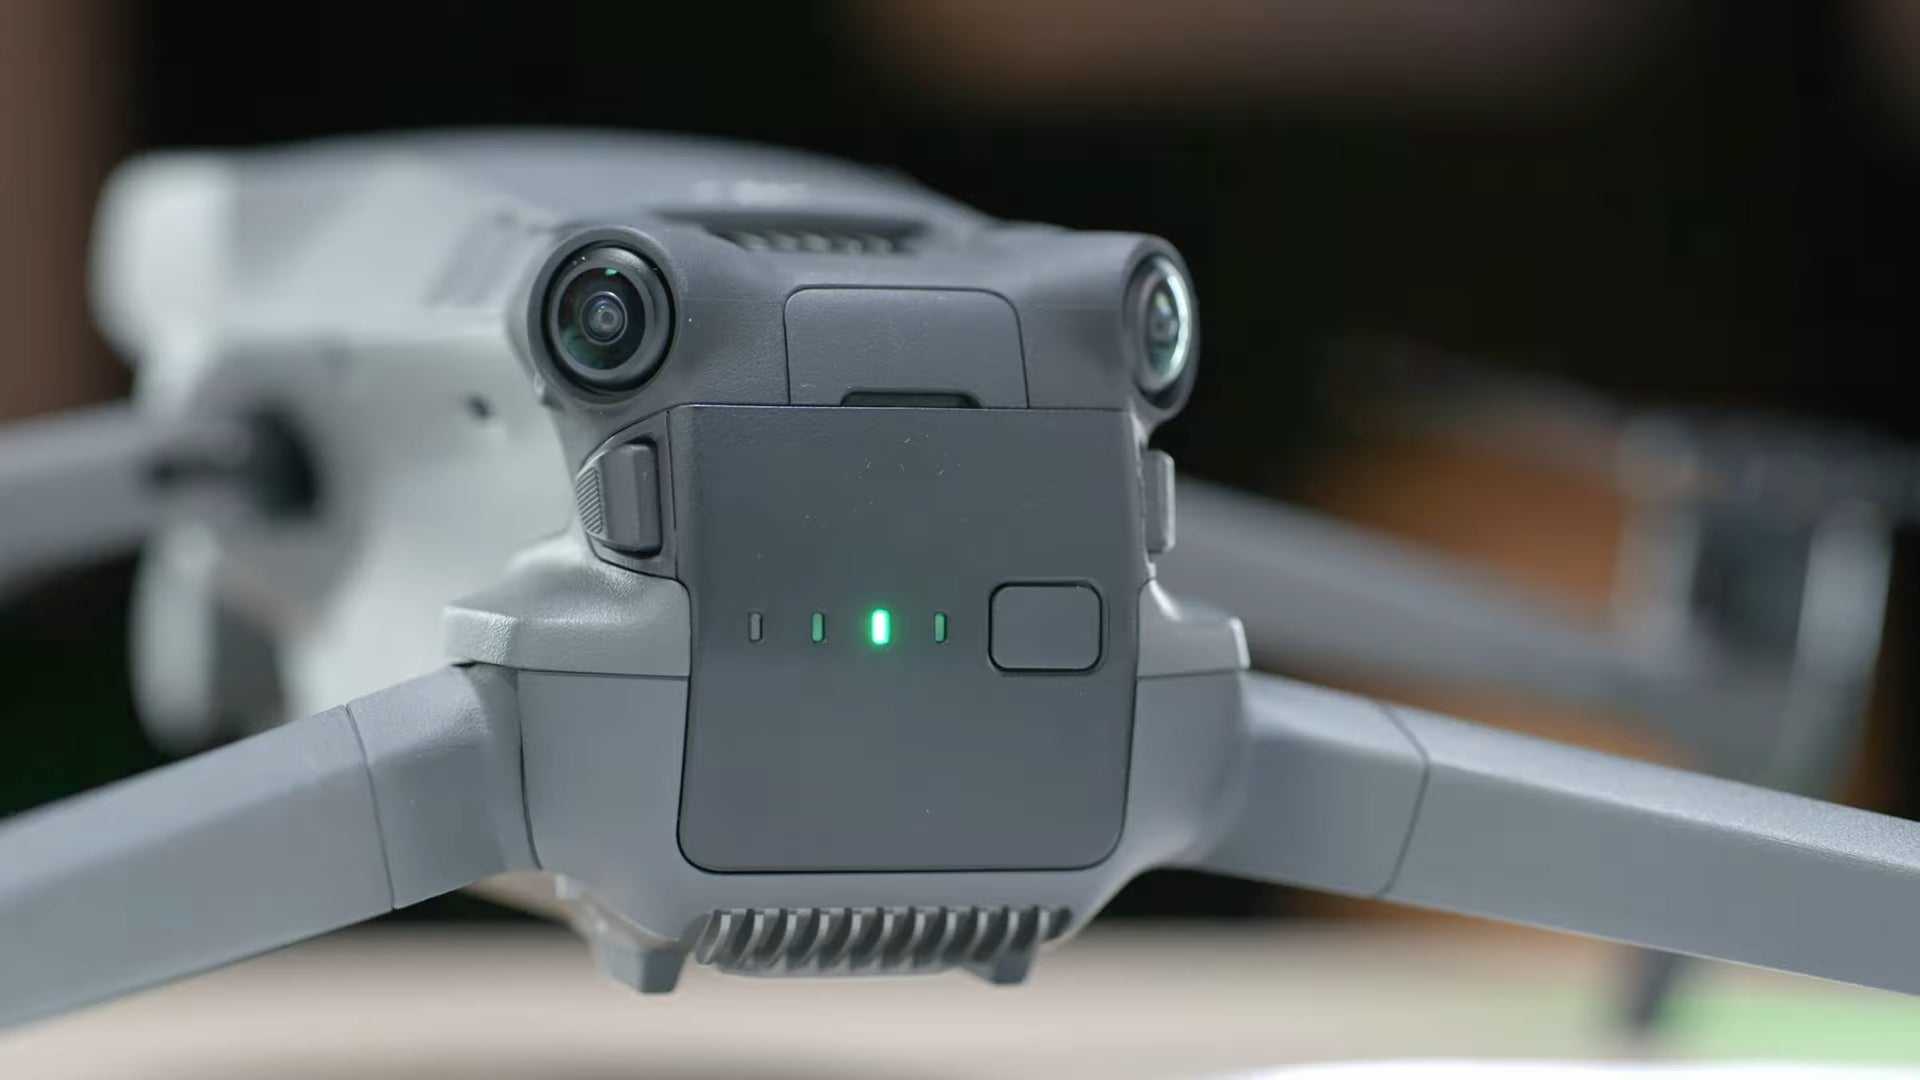
The battery LED will blink in sequence indicating that aircraft linking is on the way.
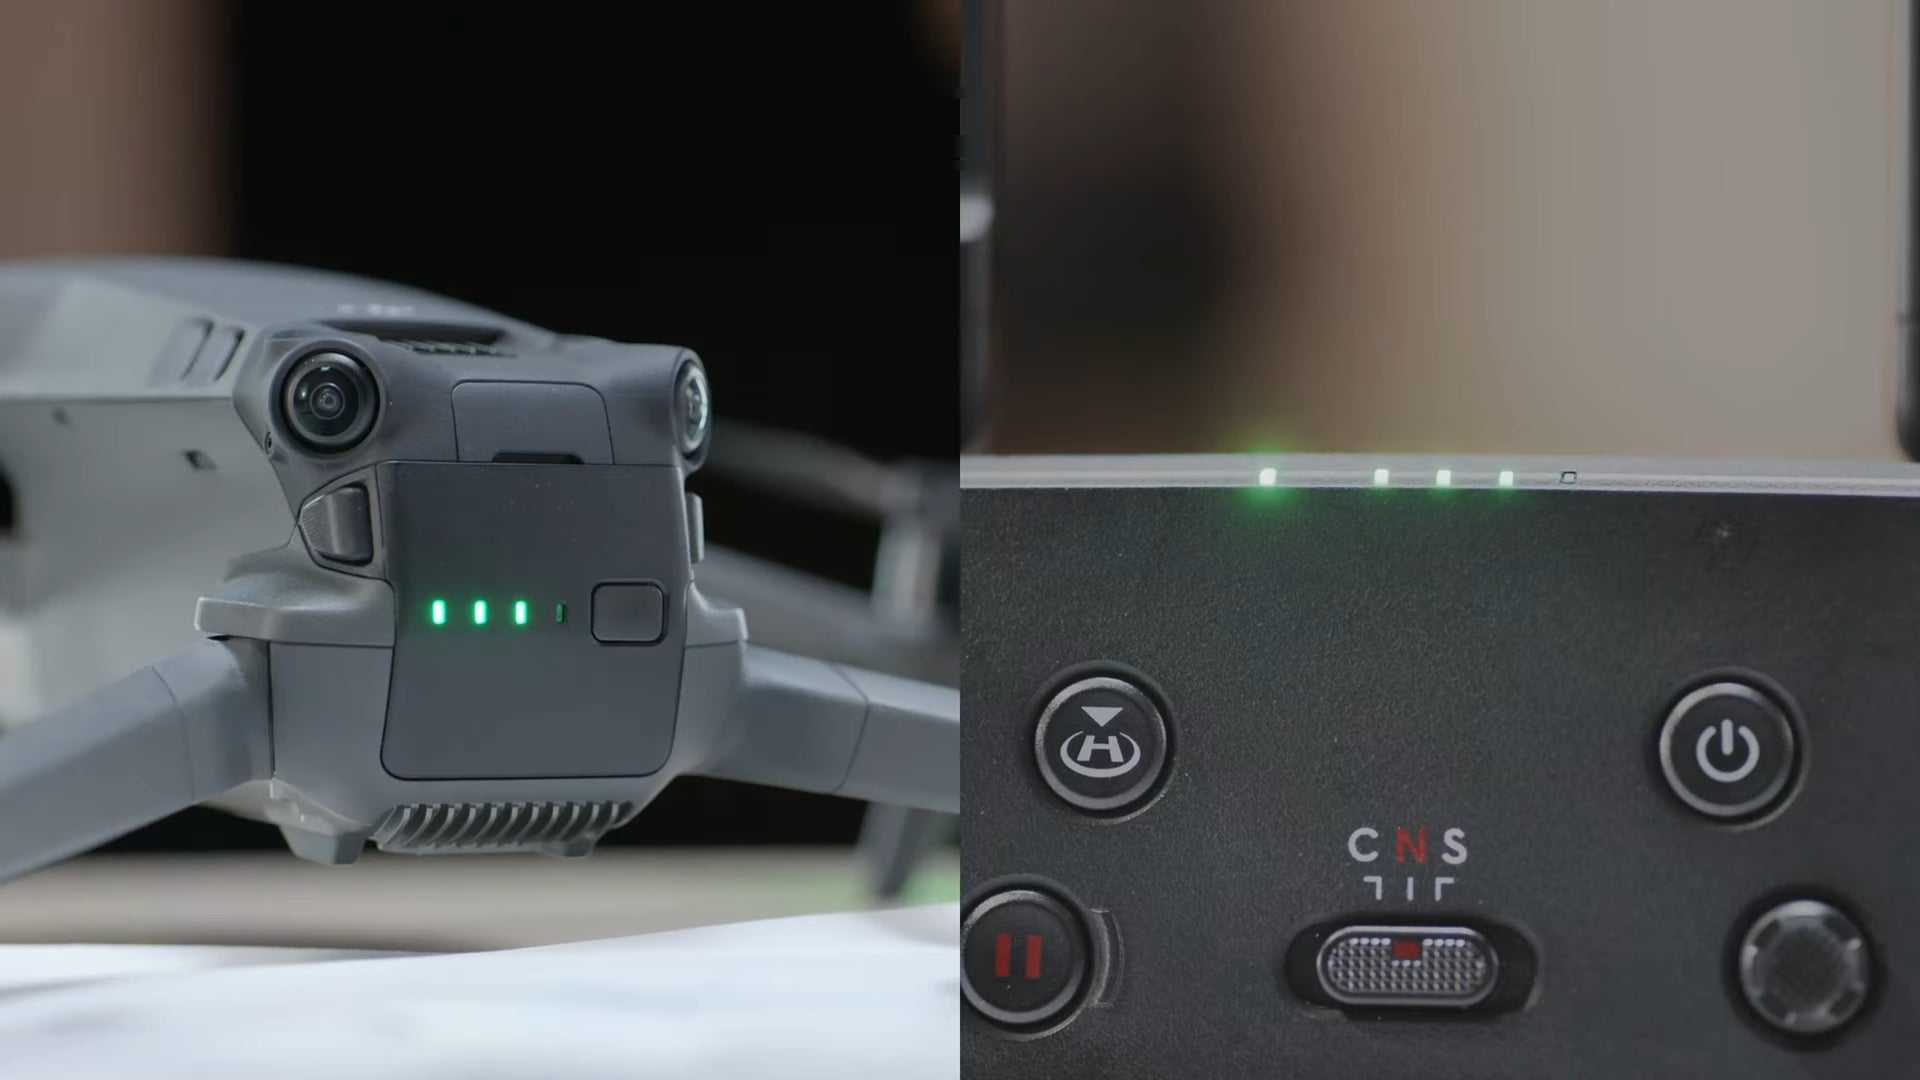
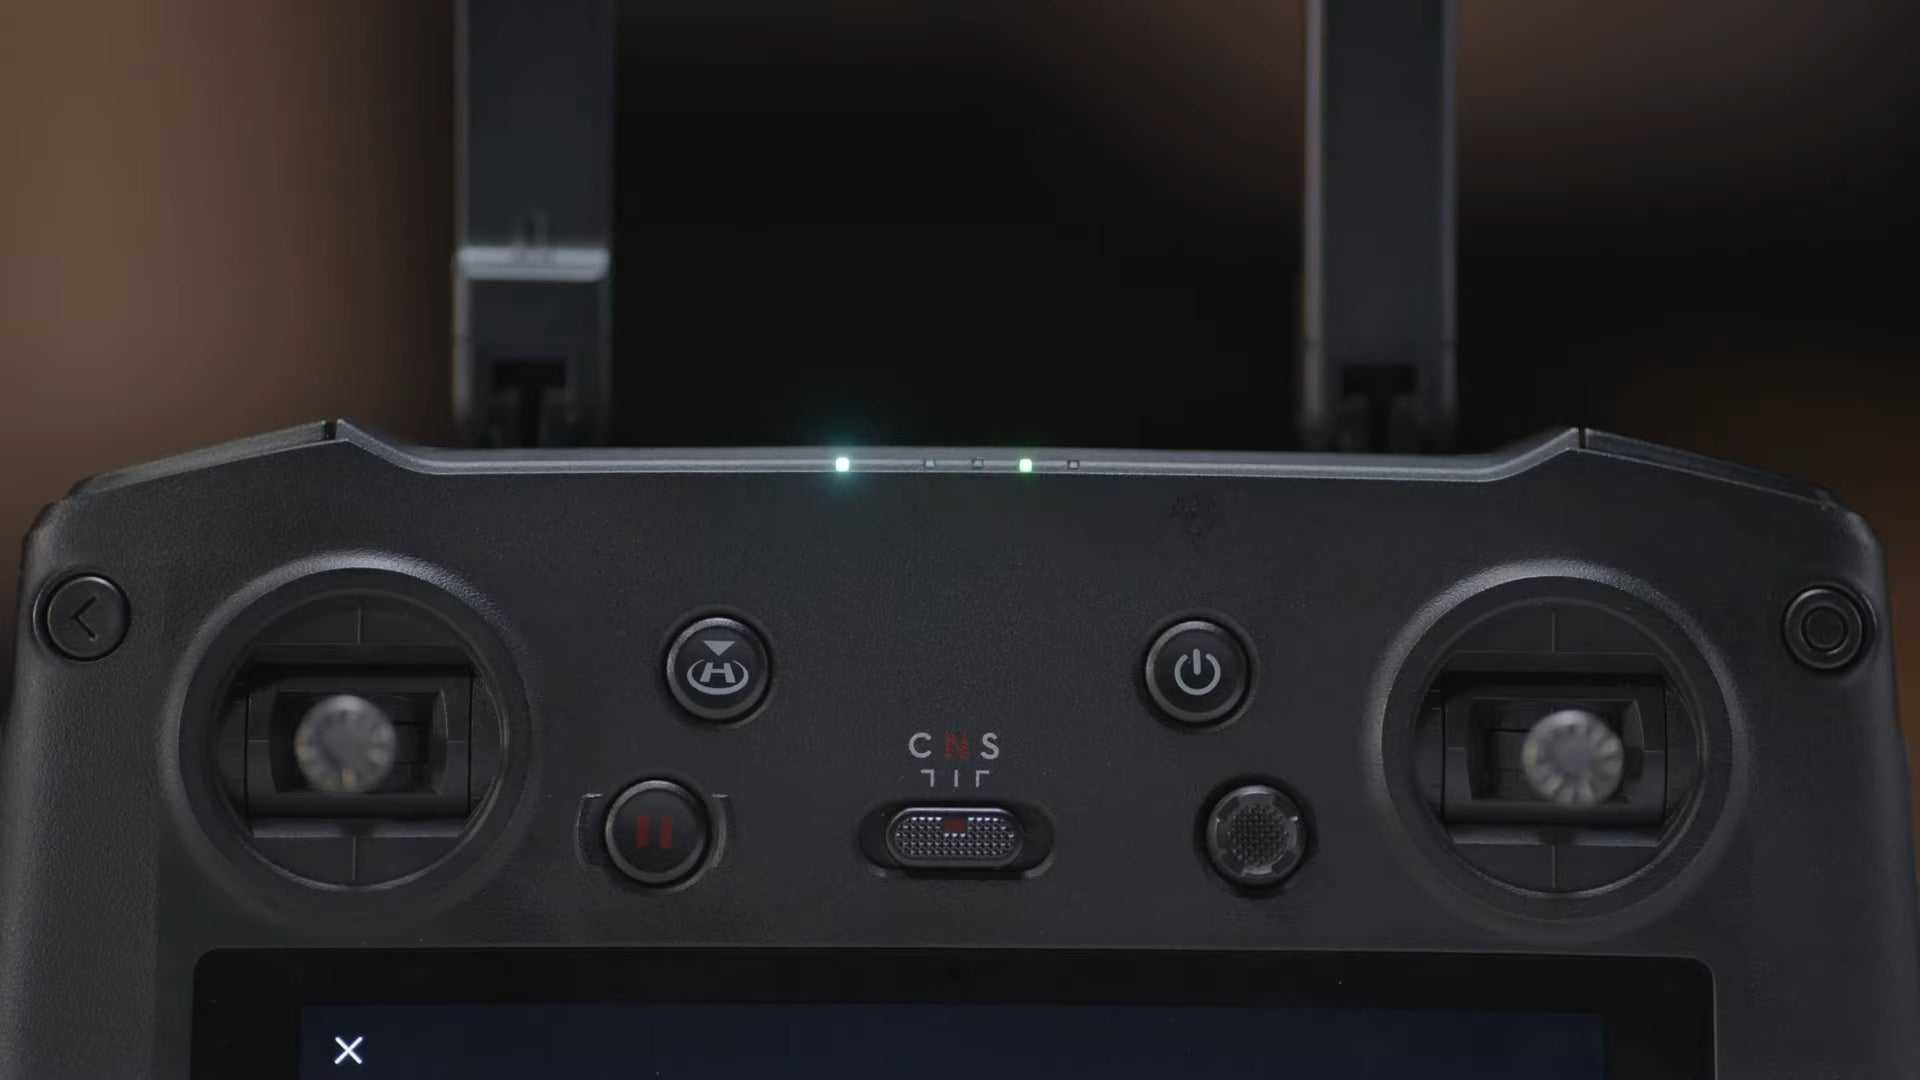
When the remote controller stops beeping, the LEDs of the two devices stop blinking and become solid, and the camera view appears on the screen it means the aircraft and remote controller have been linked successfully.
Activating and updating
Power on the aircraft and controller.
Open DJI Fly app.
Login with your DJI account and password. Then follow the app's instructions to finish the activation process.
New users please register before logging in.
Click the button to begin the activation process.
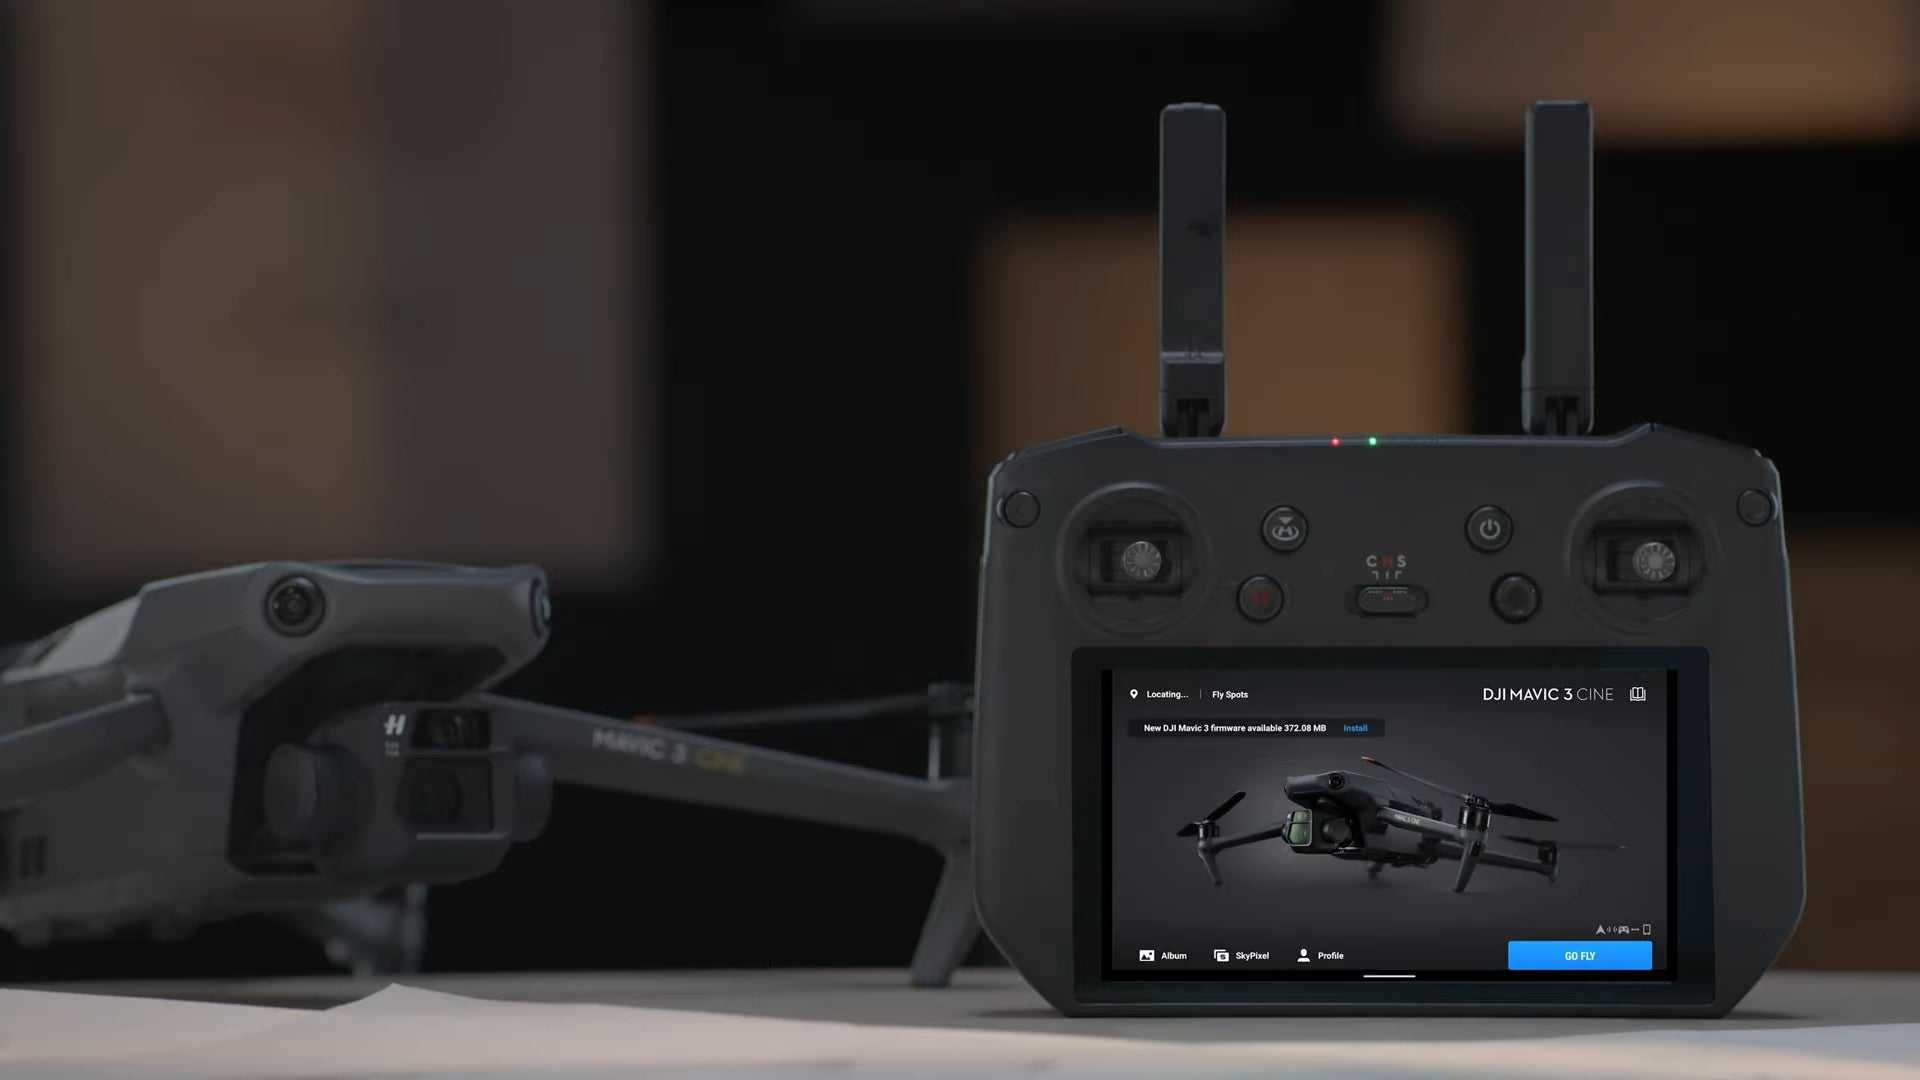
If a firmware update is available, the prompt will appear on the top left of the screen.
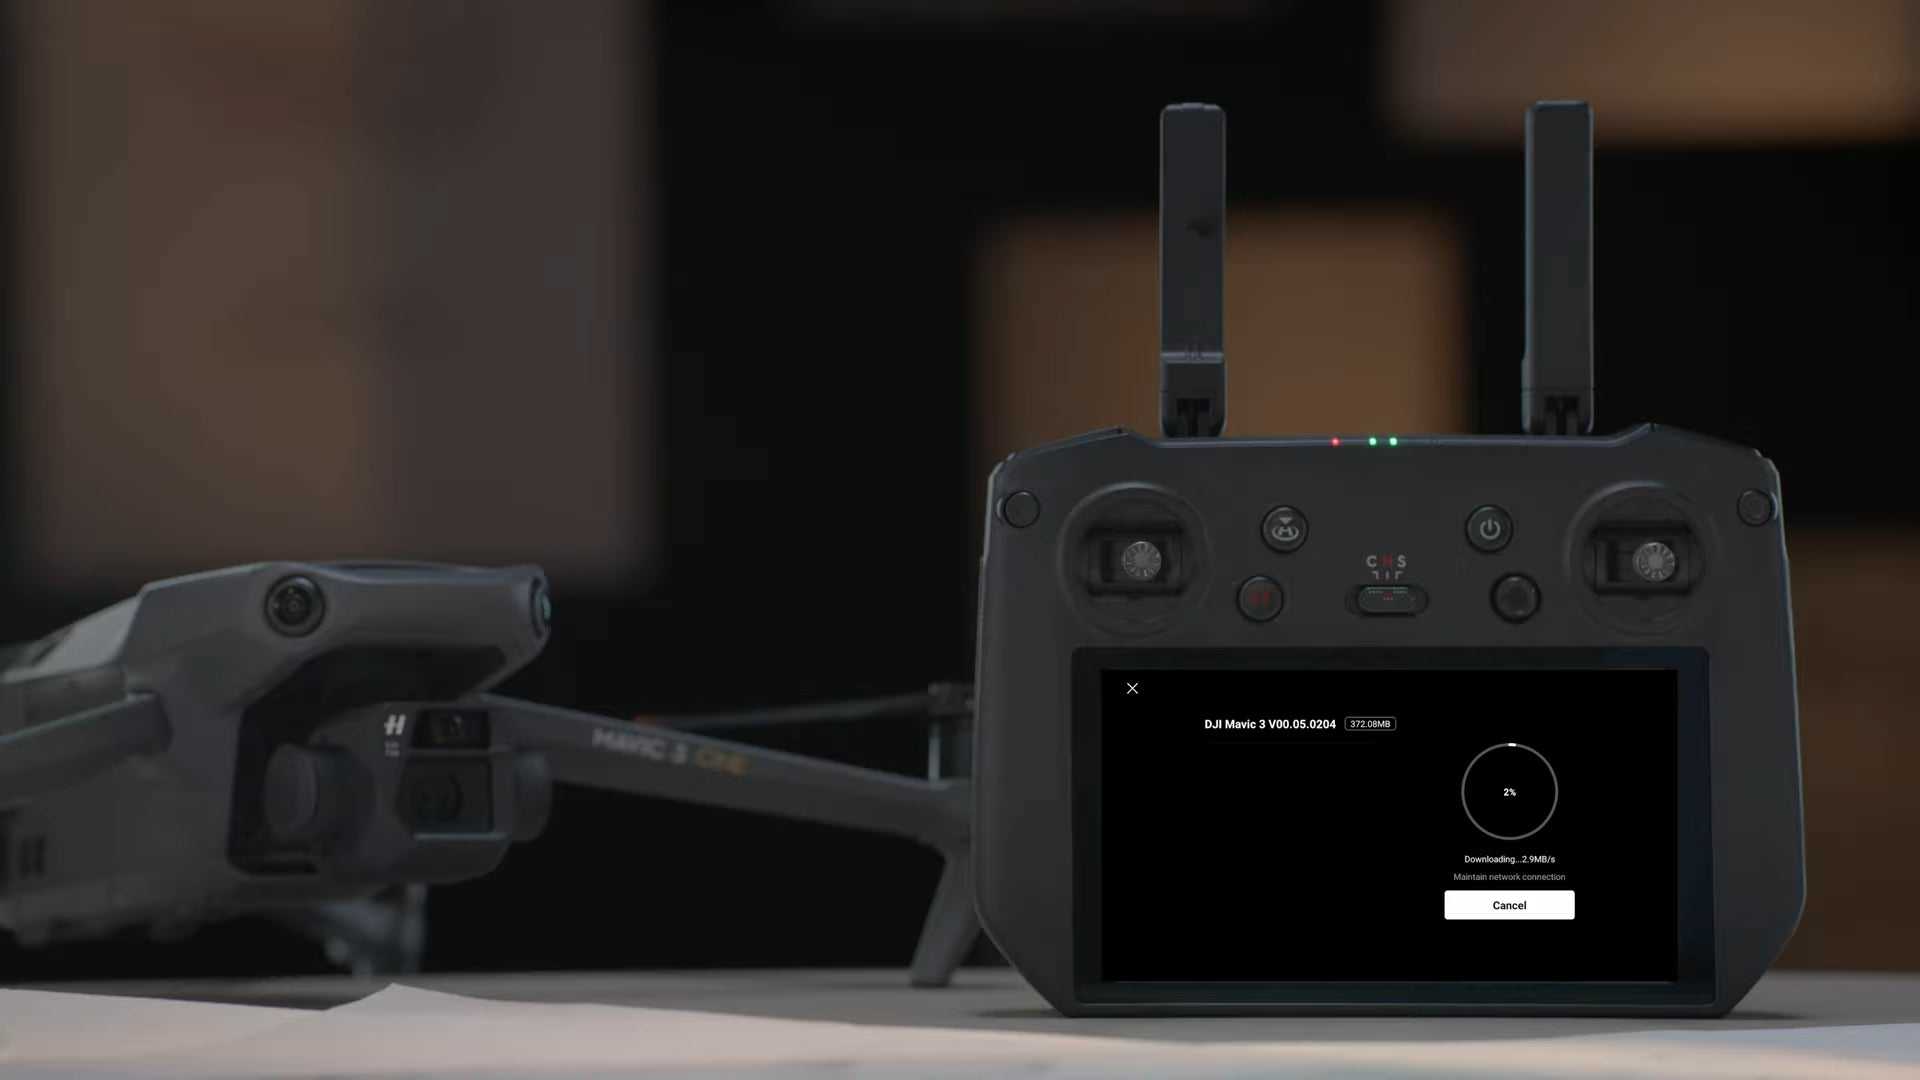
Tap on the firmware update prompt to enter the update screen and tap 'start update' to update the aircraft and remote controller with the latest firmware version at the same time.
During the update, do not power off the device or close the app.
After the update is finished both the aircraft and the remote controller will remain powered on.
Preparing for flight
Remove the storage cover.
Unfold the arms.
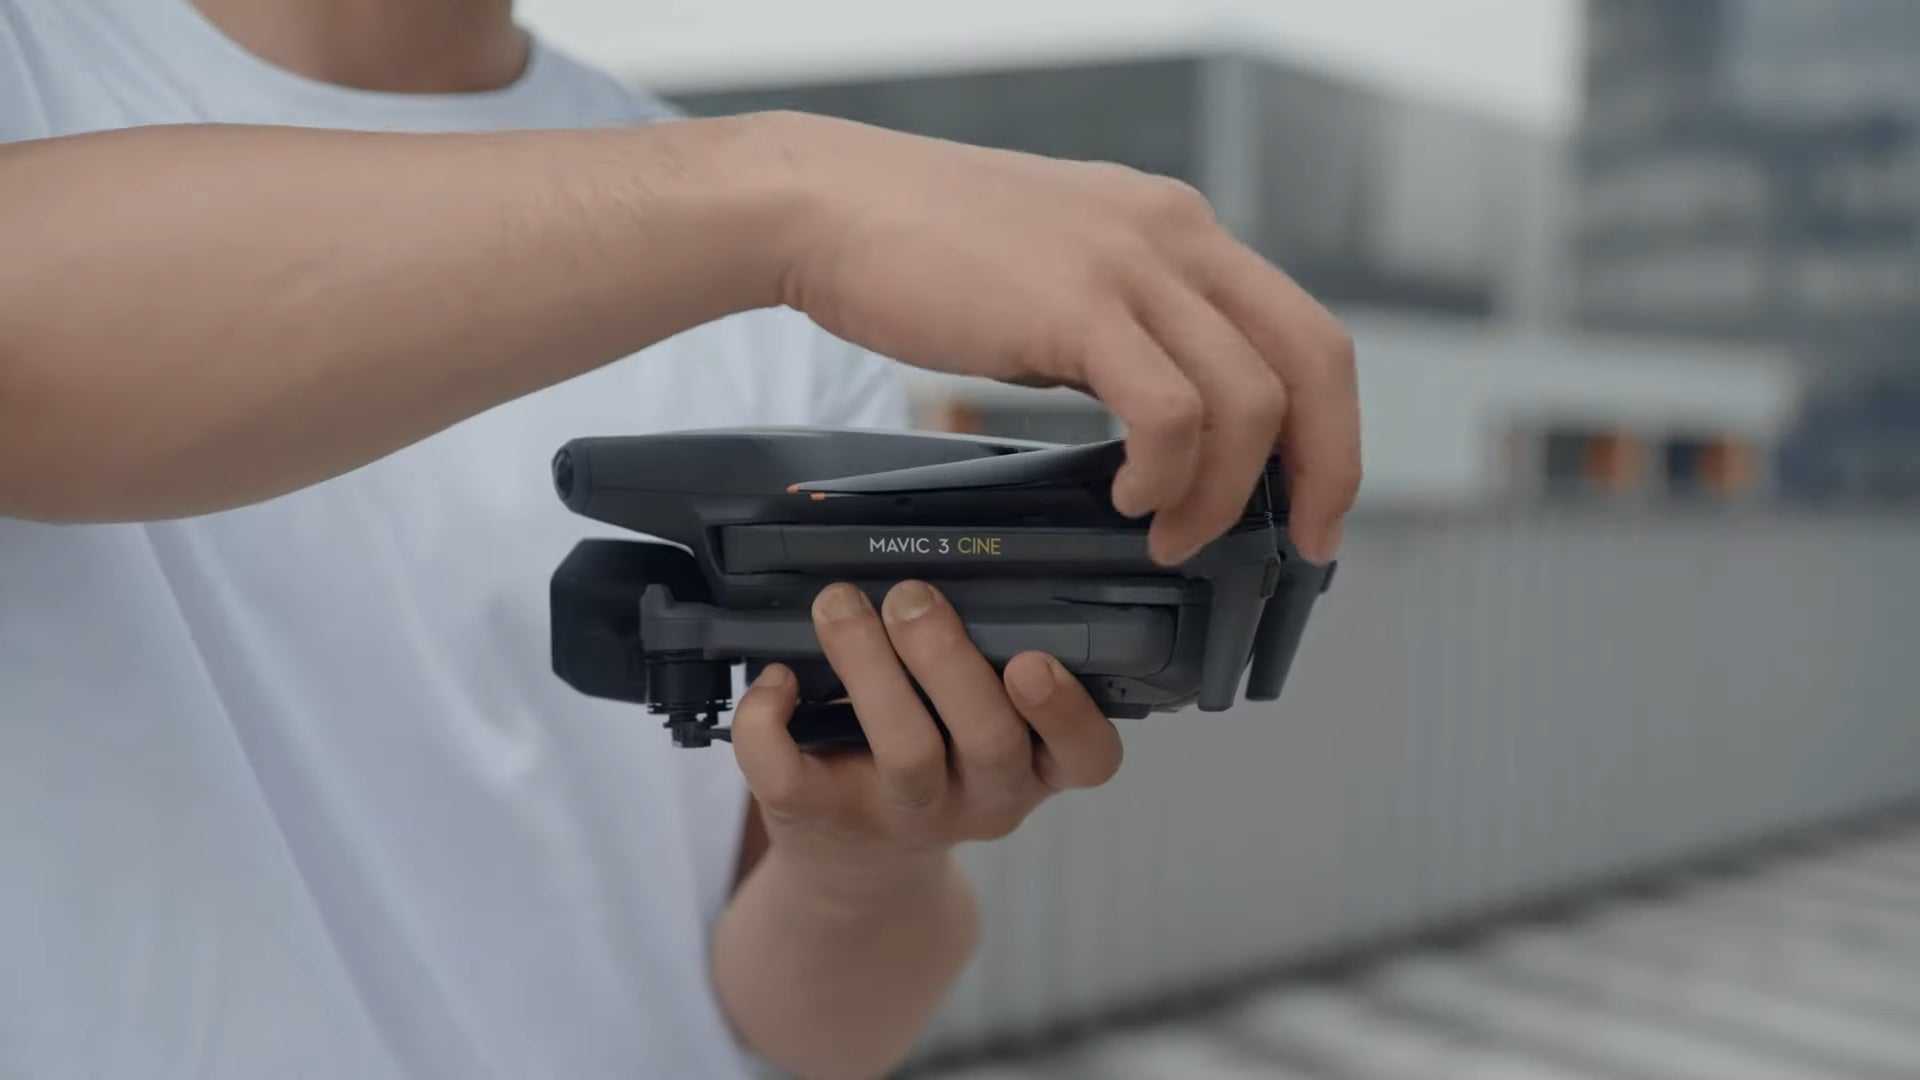
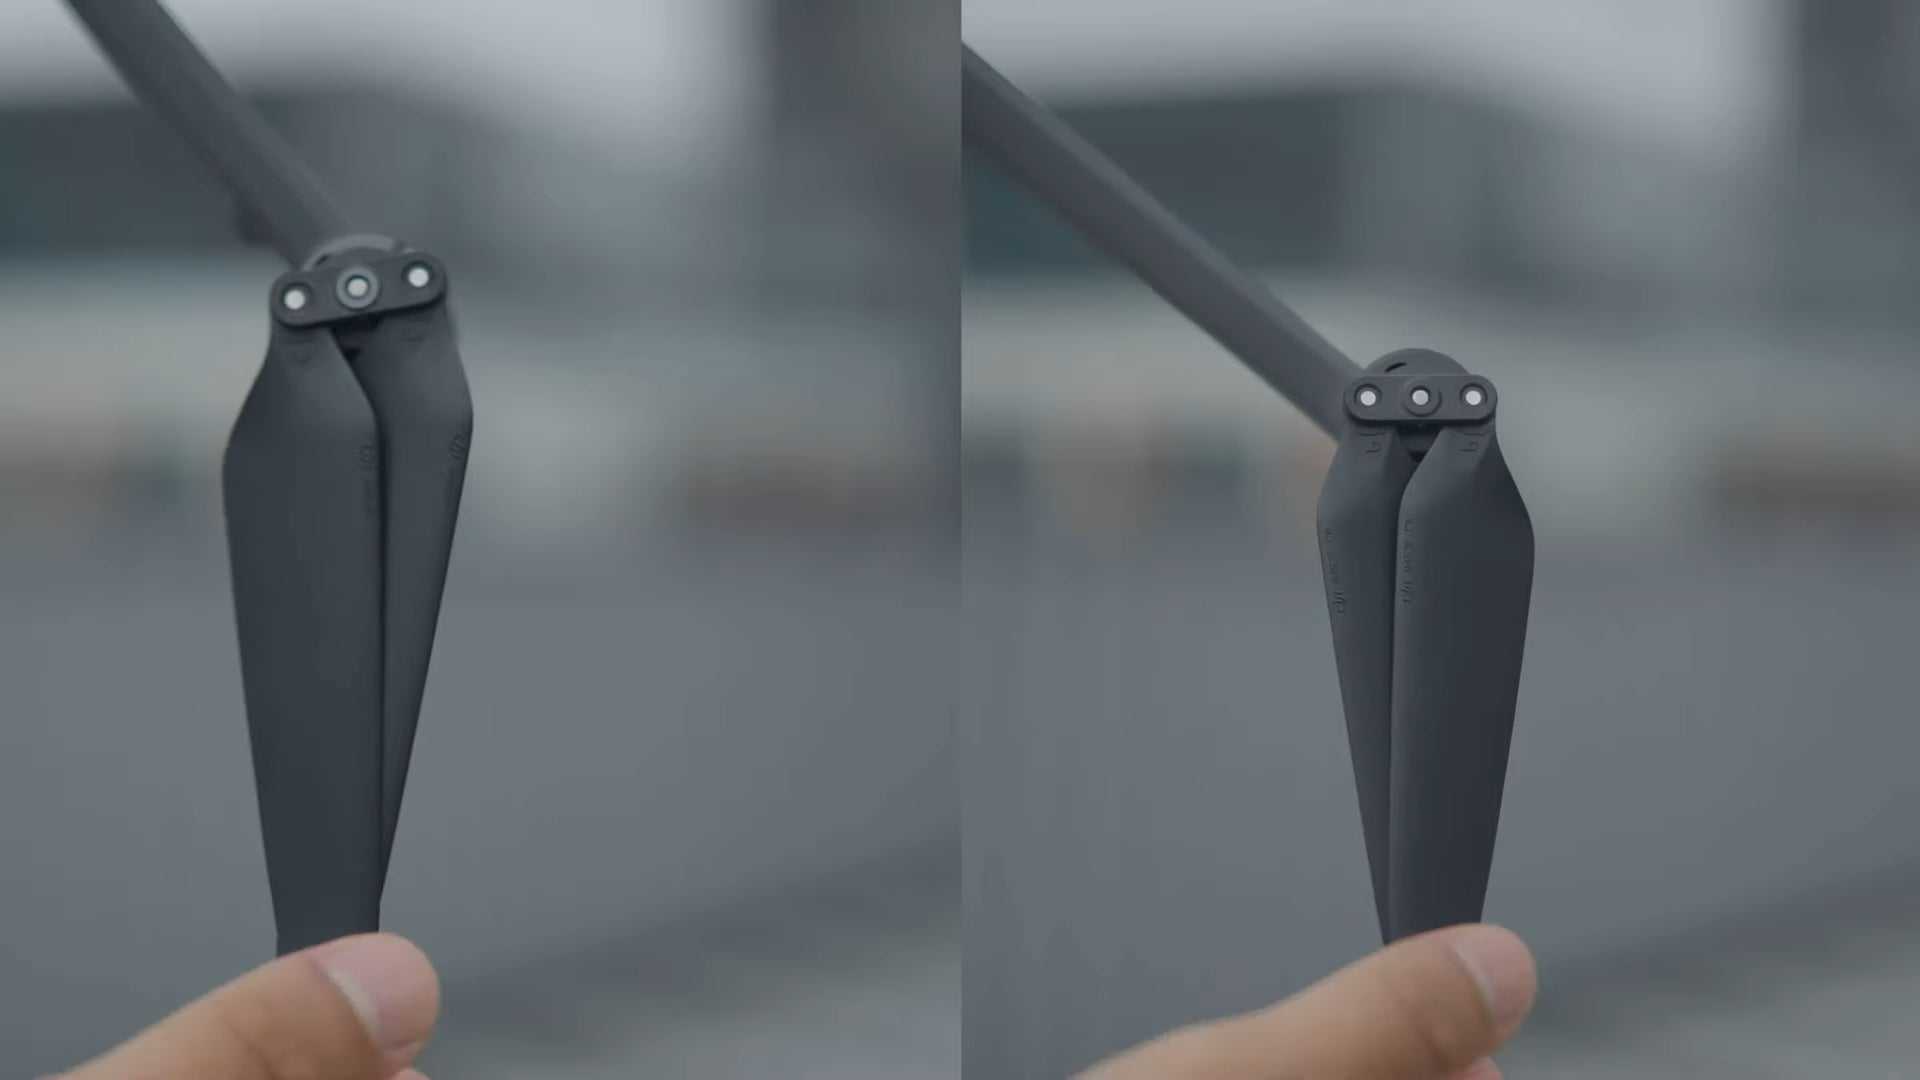
Securely install the propellers.
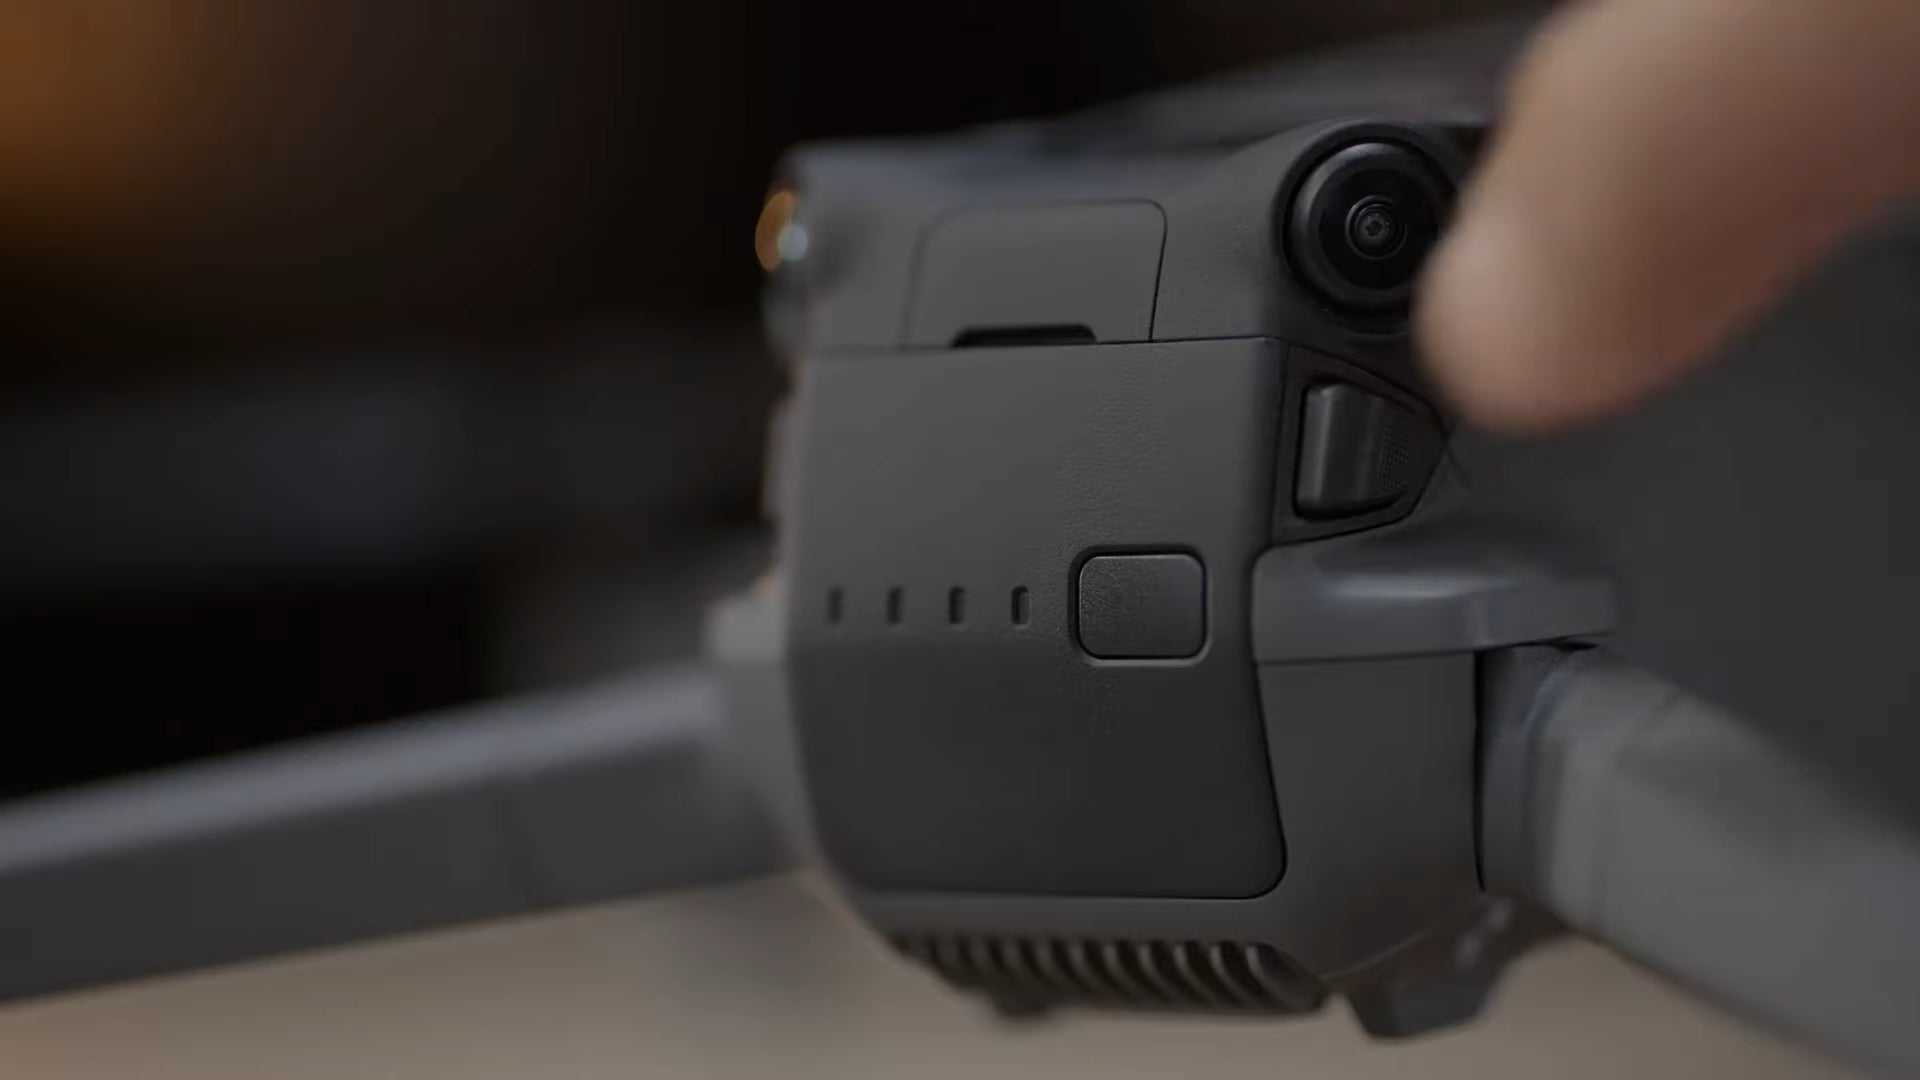
Check the battery level of the intelligent flight battery.
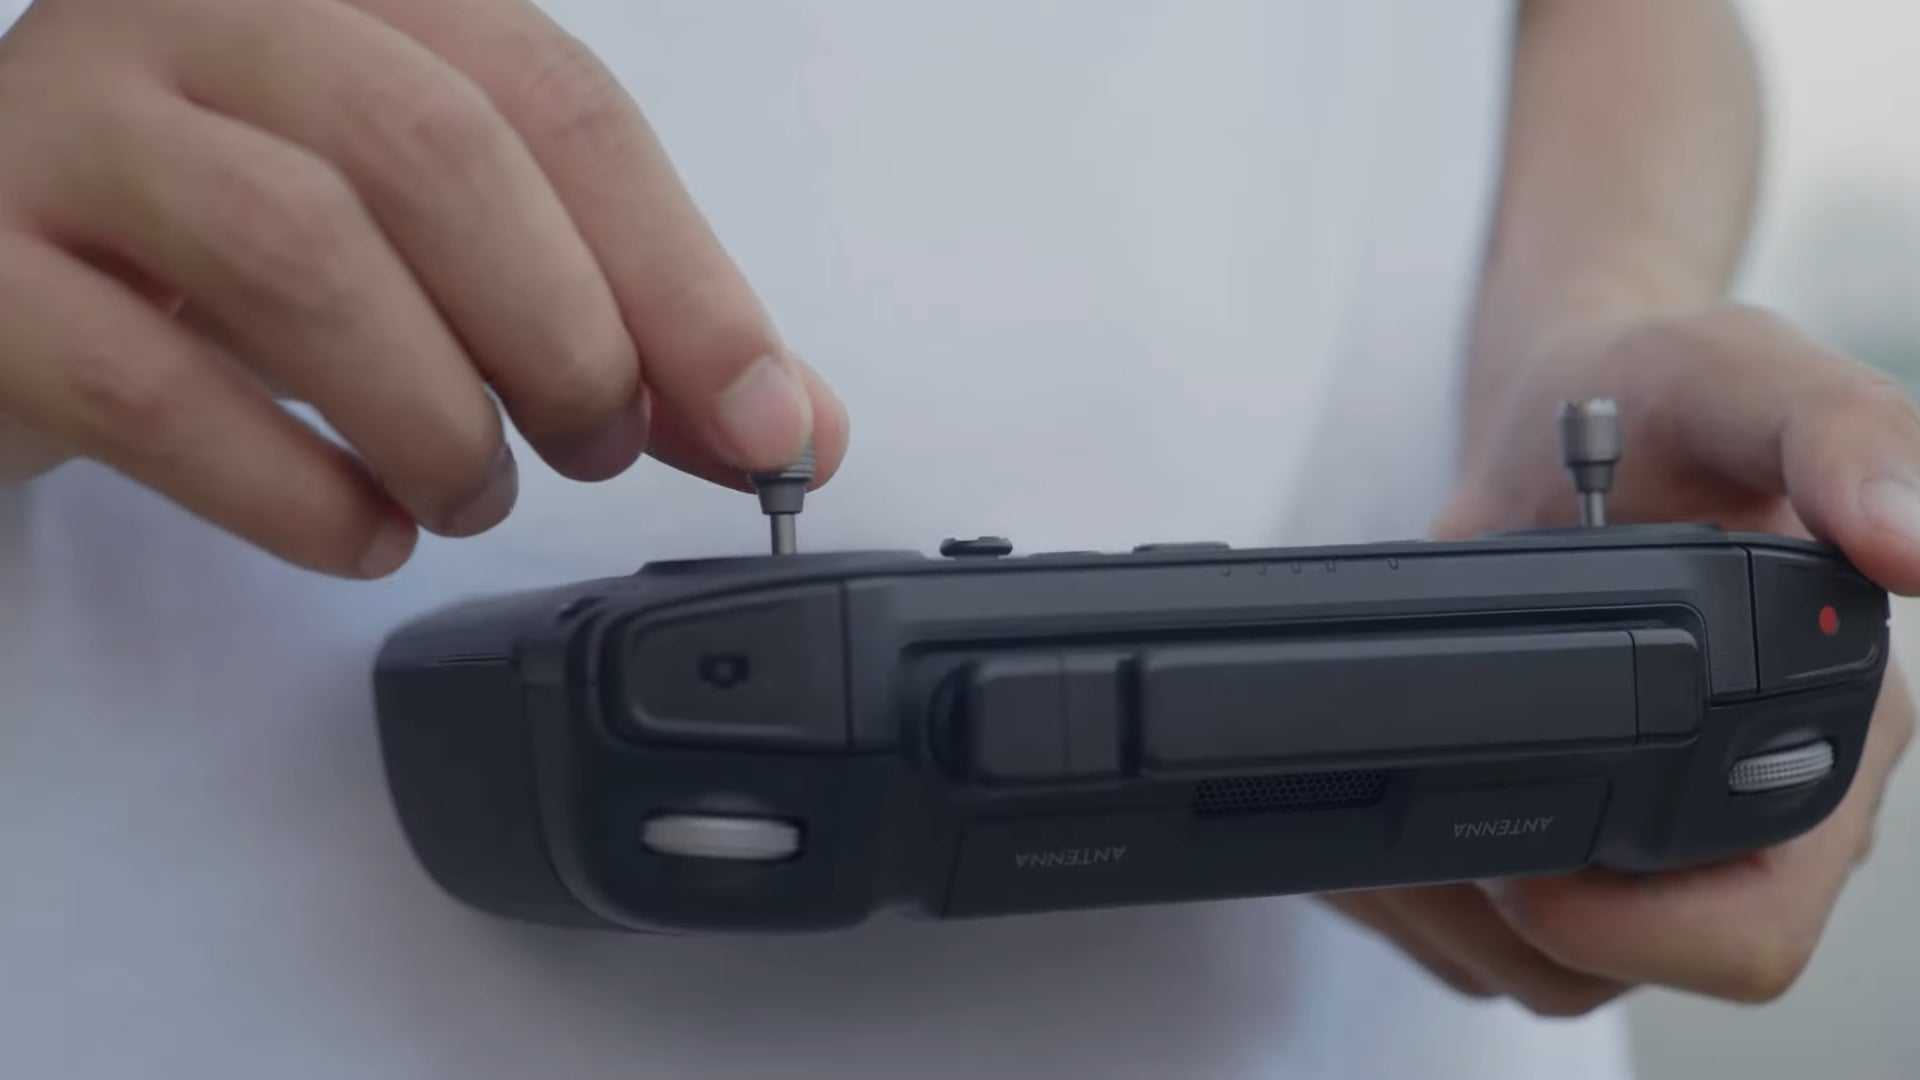
Remove the control sticks from the storage slots at the bottom of the controller.
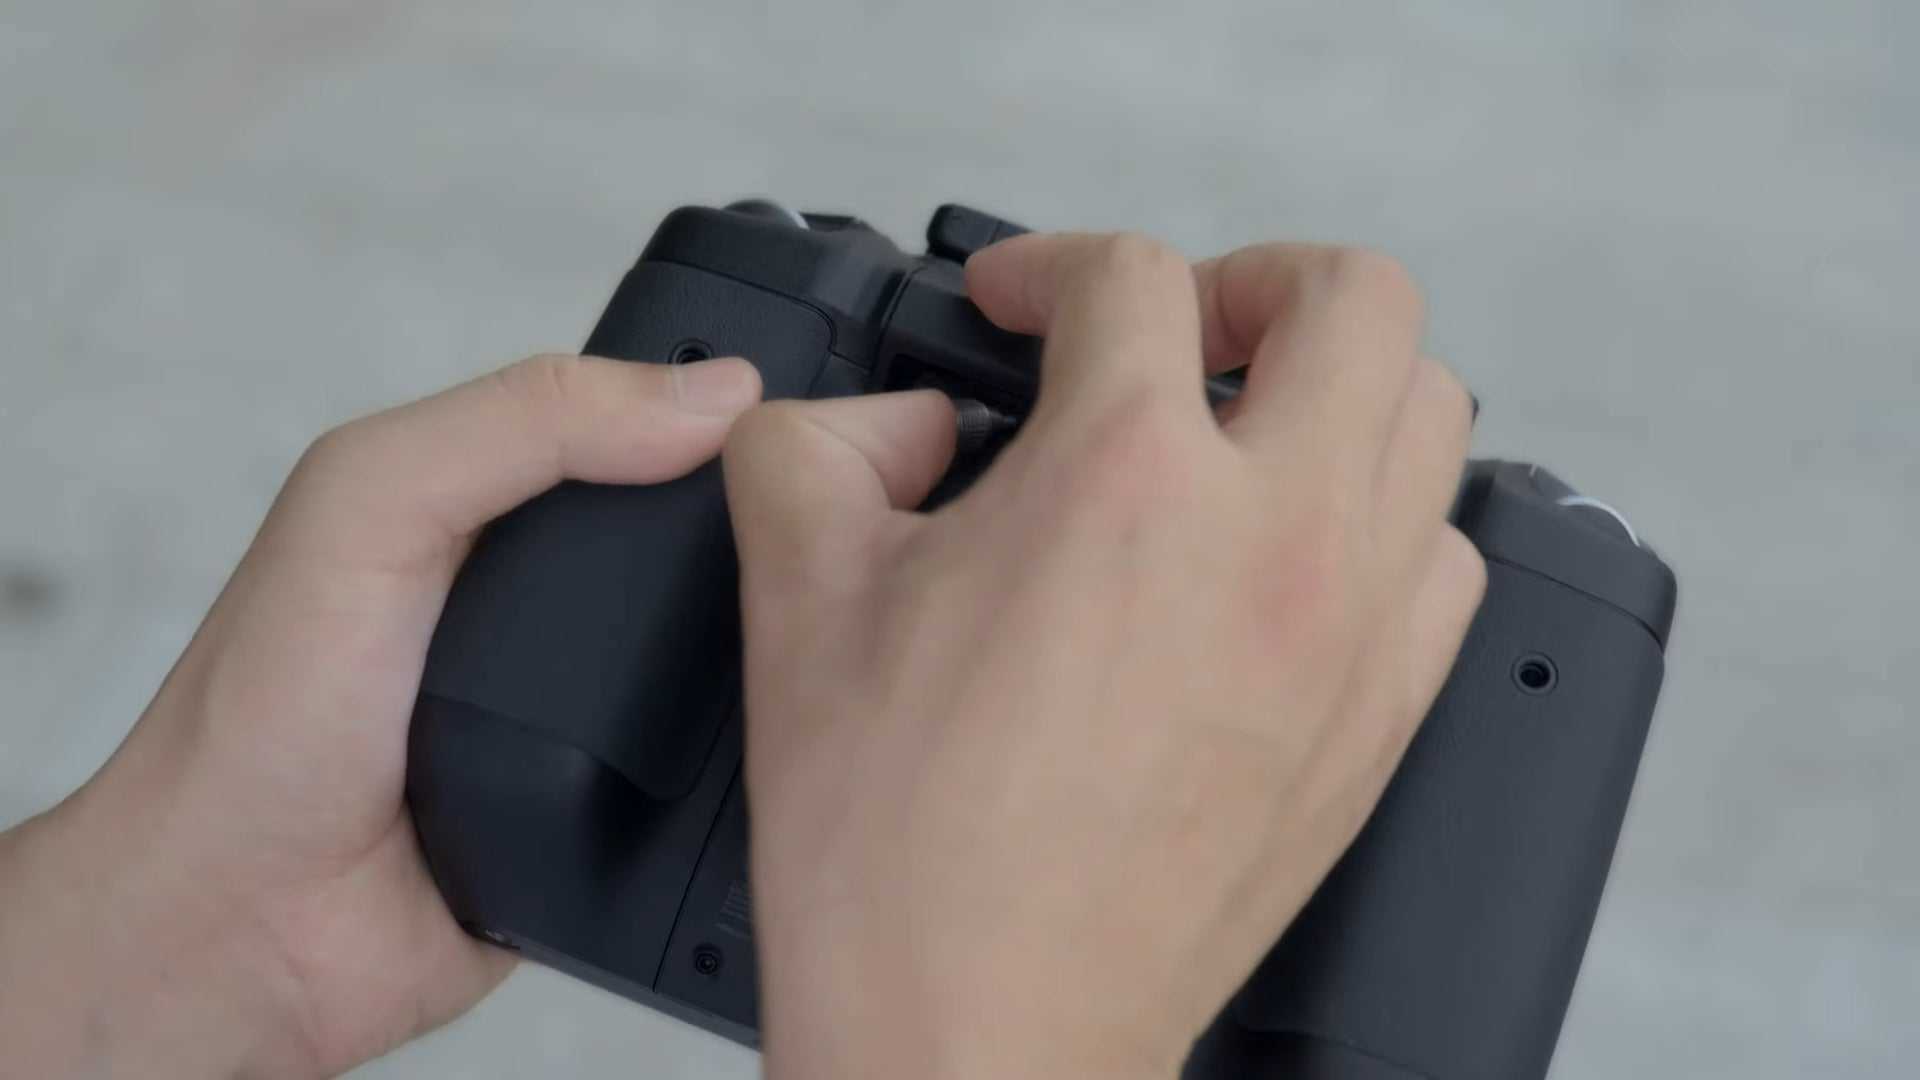
Mount both control sticks and unfold the antennas.
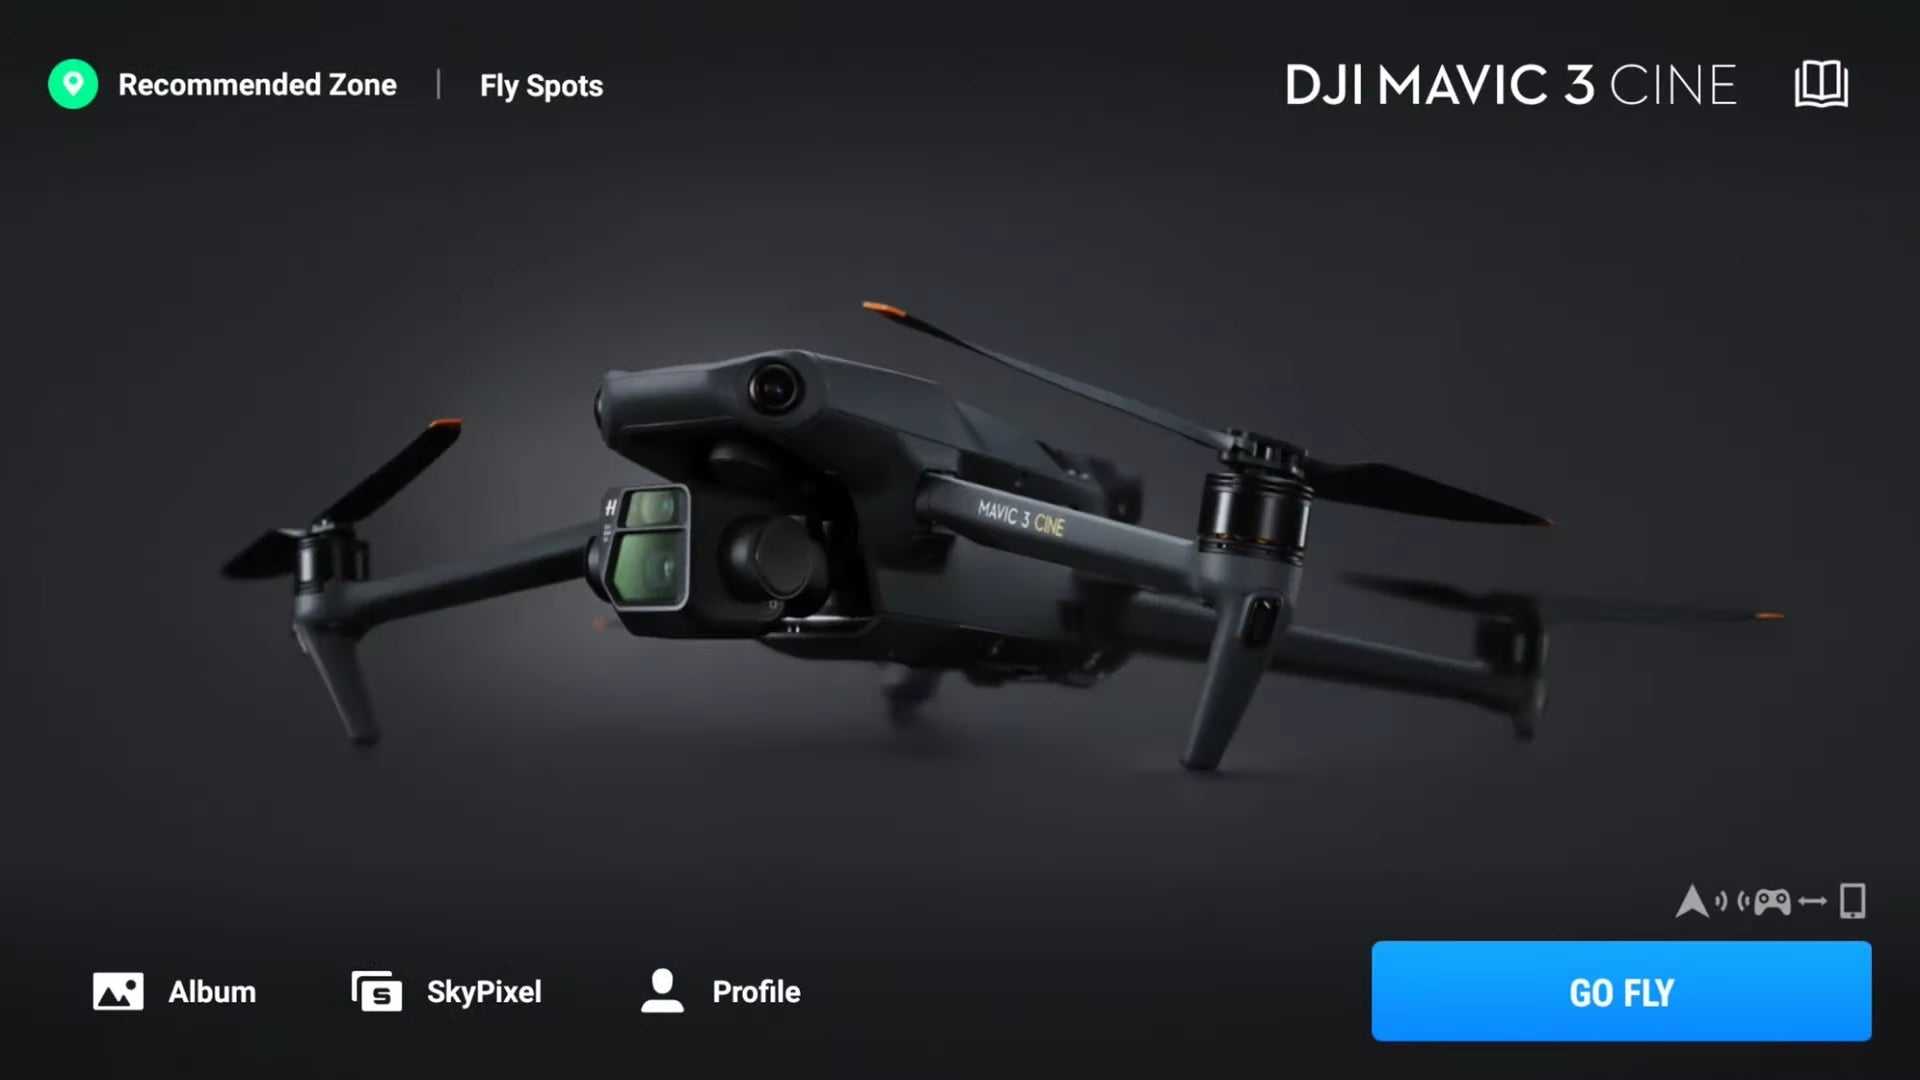
Open the DJI Fly app to enter the flight interface.
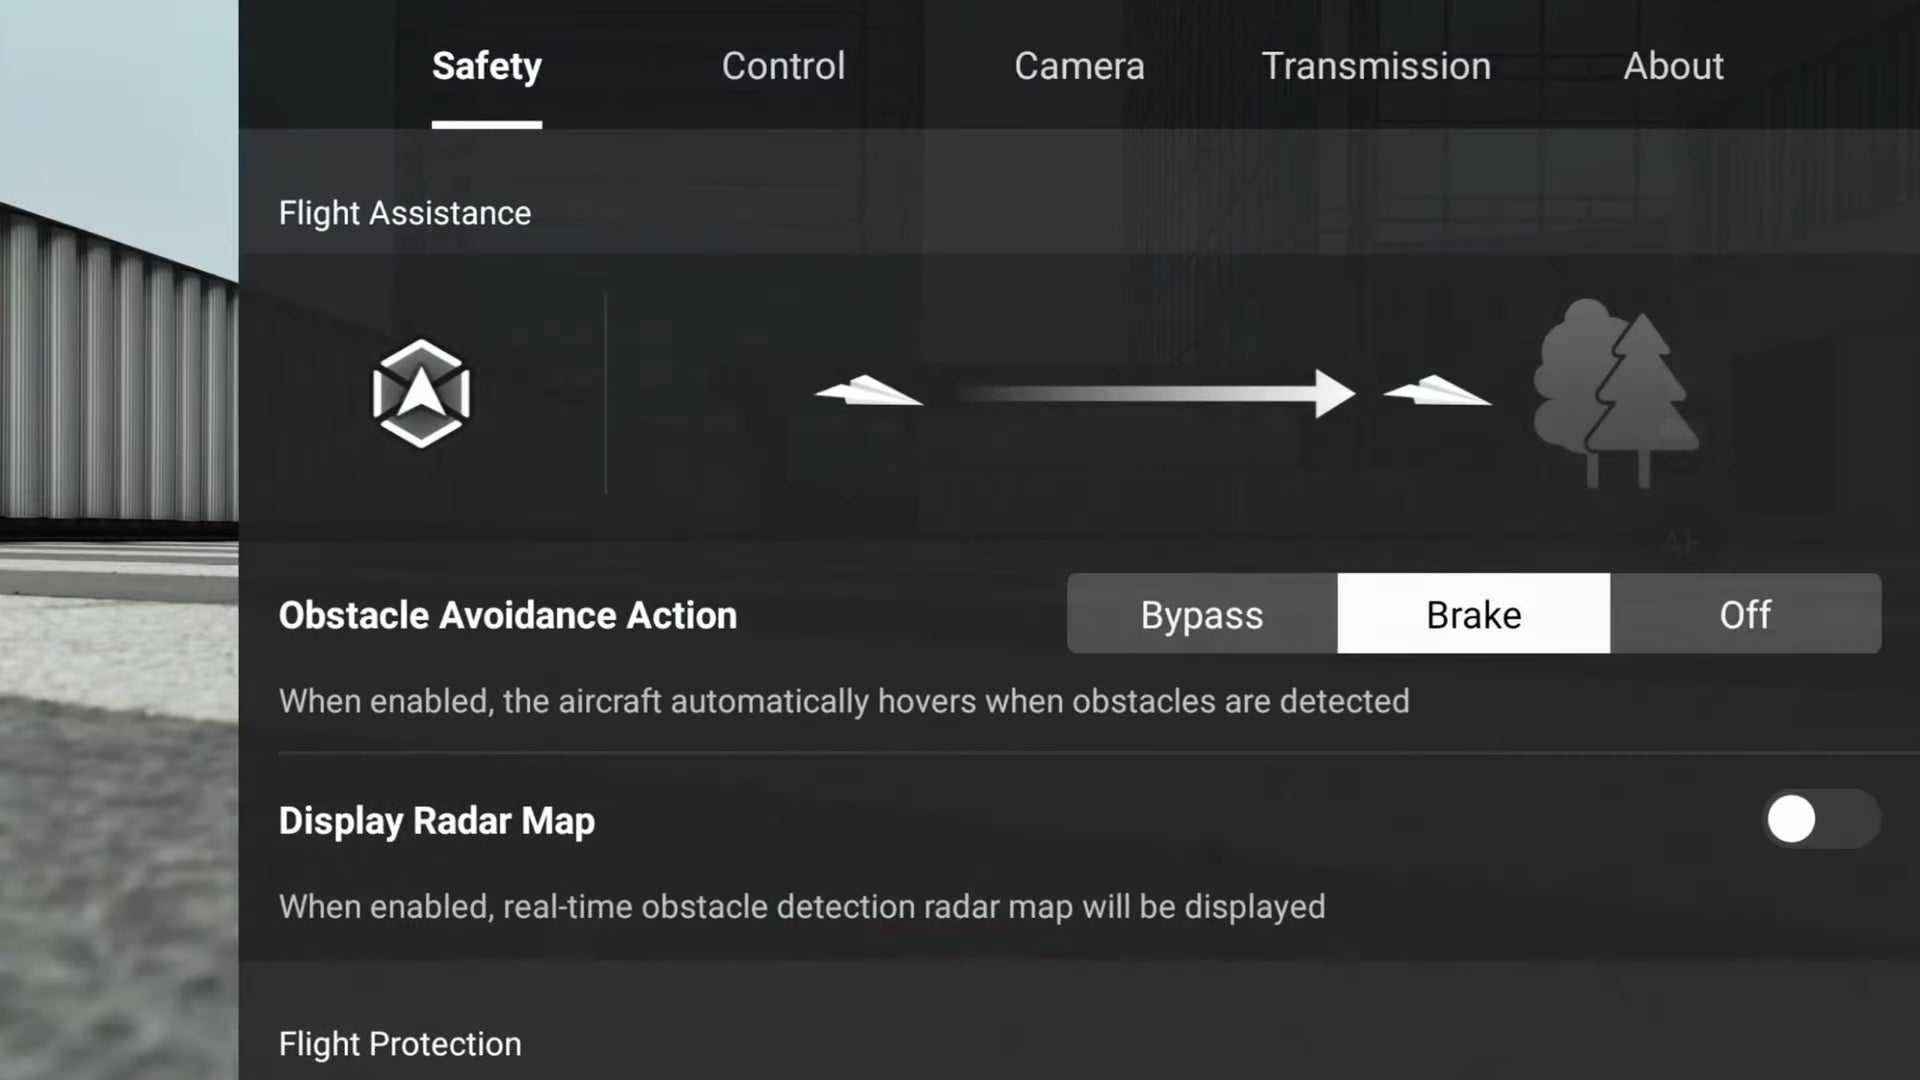
Tap safety to configure flight safety features.
Set obstacle avoidance action to bypass or break.
Set the RTH height higher than the tallest building or nearby object.
Flying Basics
Before flying choose an open, obstacle-free area and place the aircraft on level ground with the rear facing you.
Power on the aircraft.
Check the battery level of the remote controller.
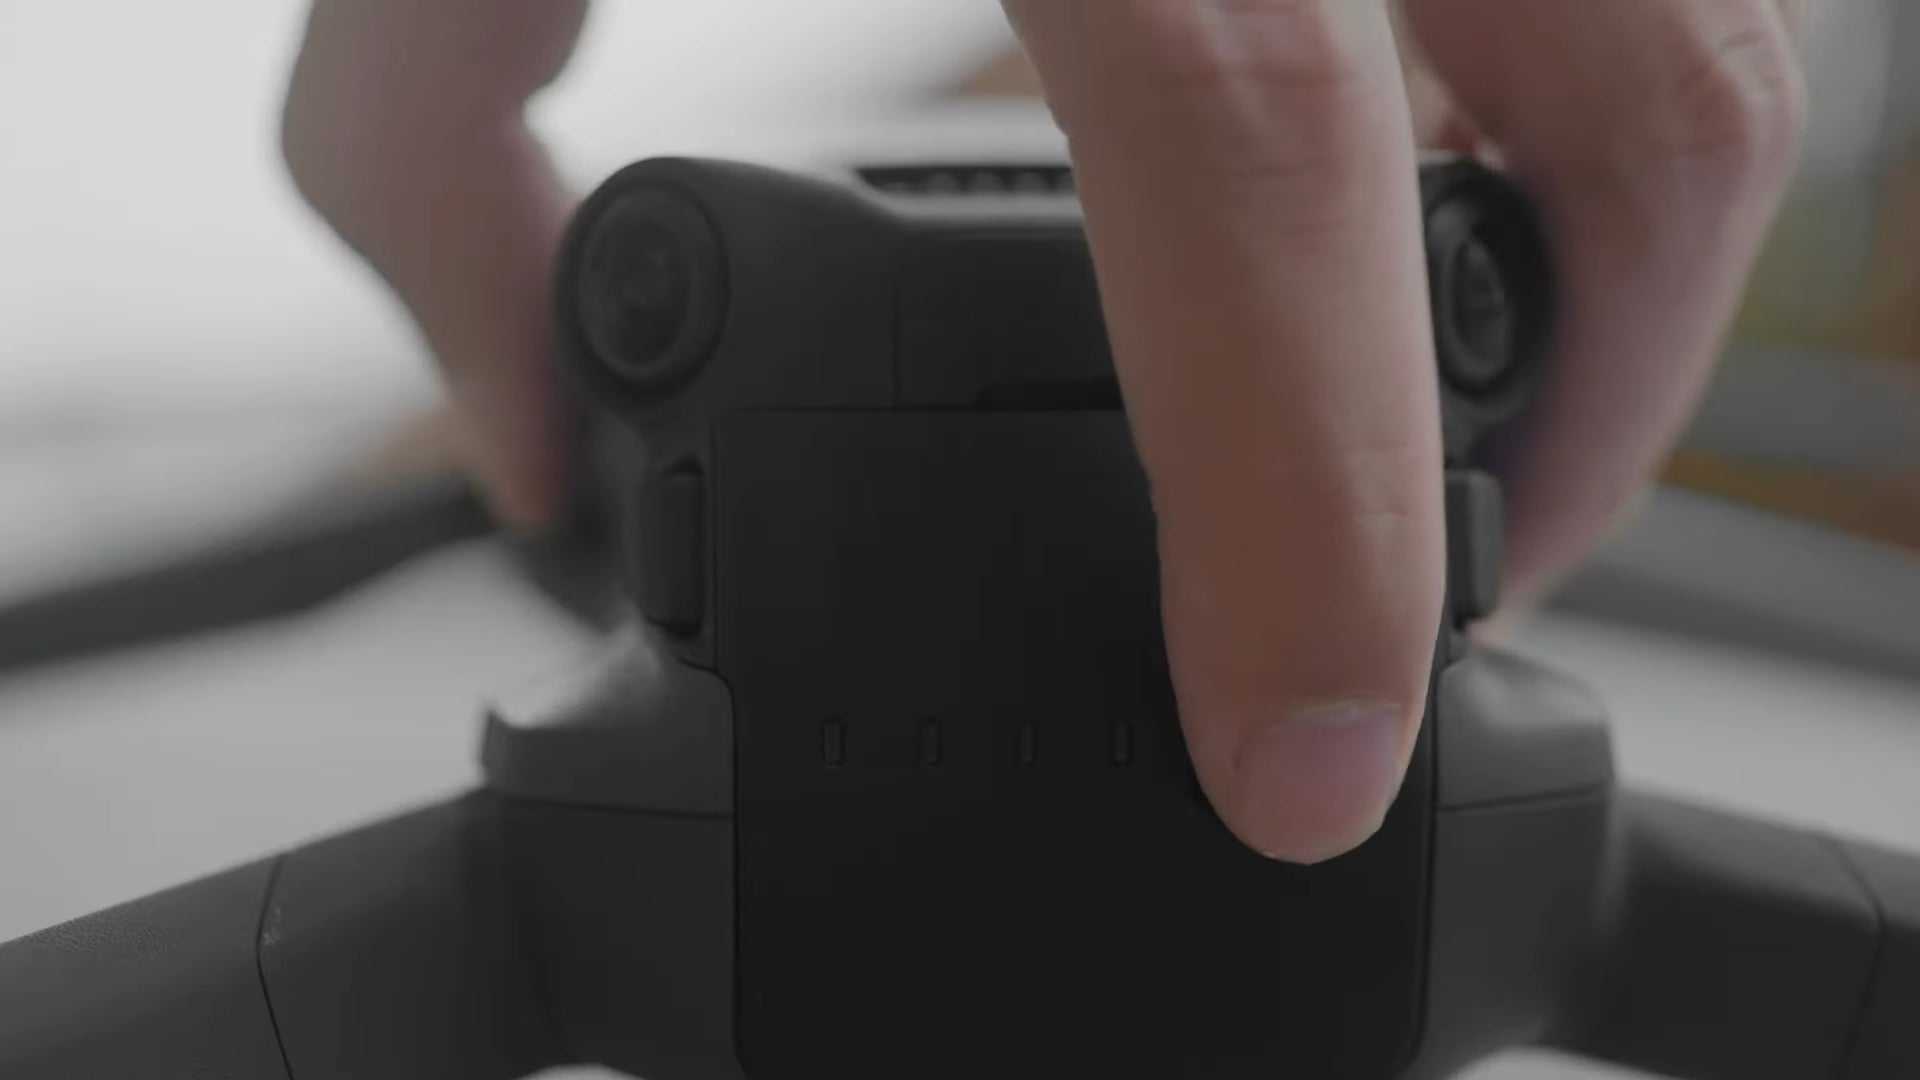
Power on and set the RC mode to normal.
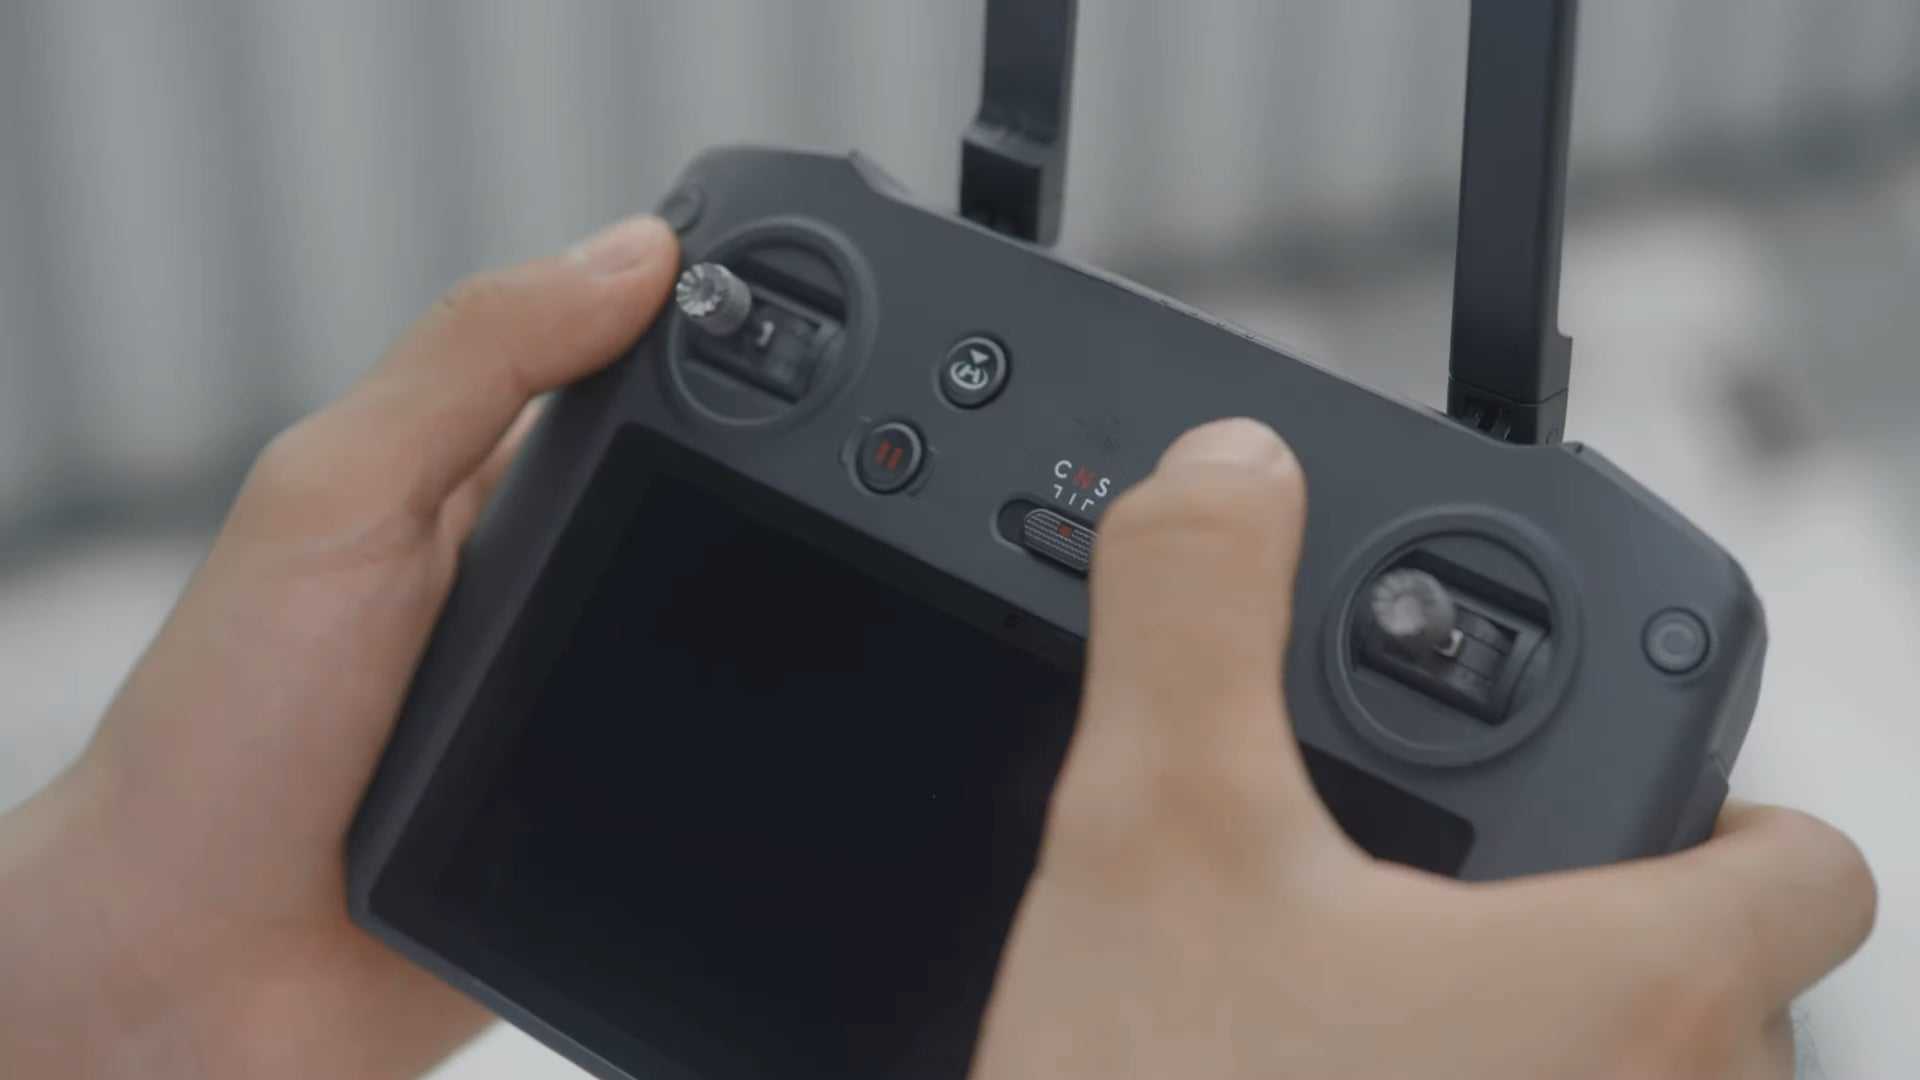
Check the responsiveness of the control sticks first.
Calibrate the control sticks in the DJI Fly app if you are prompted to.
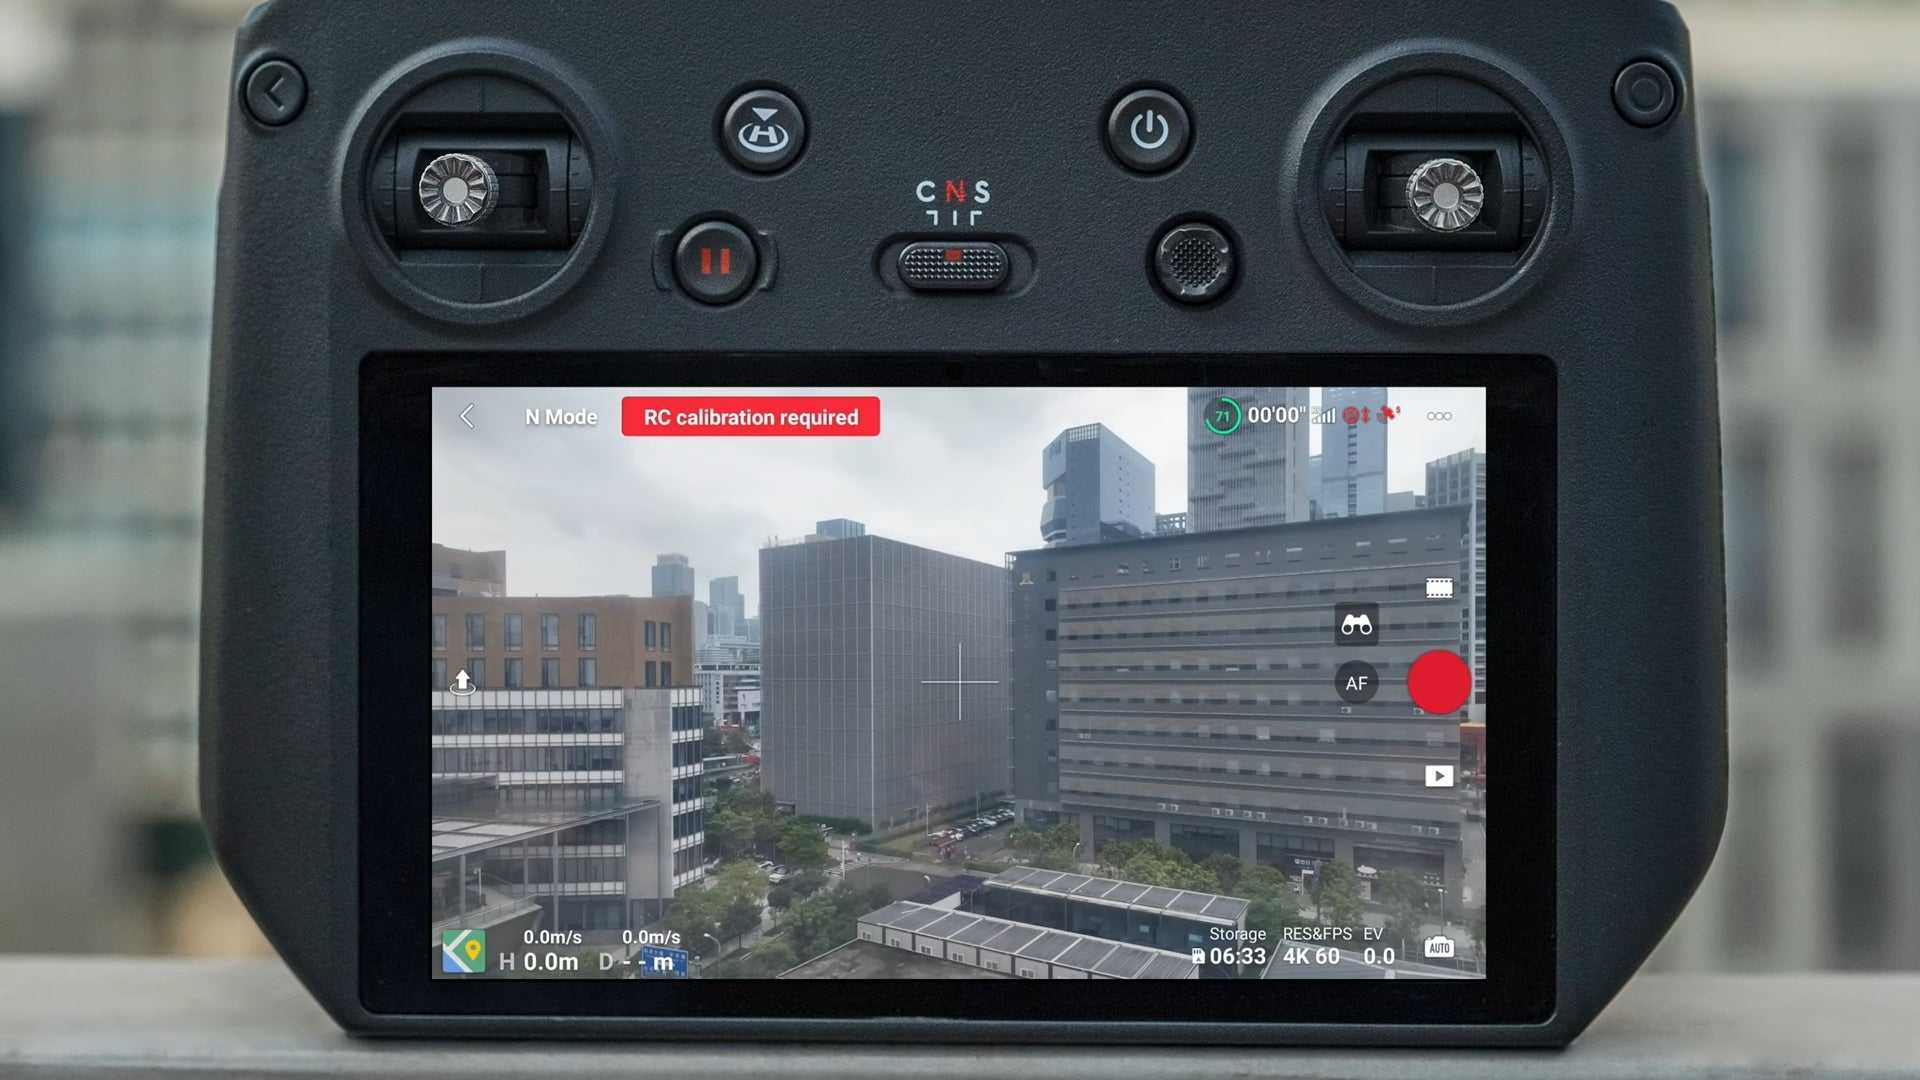
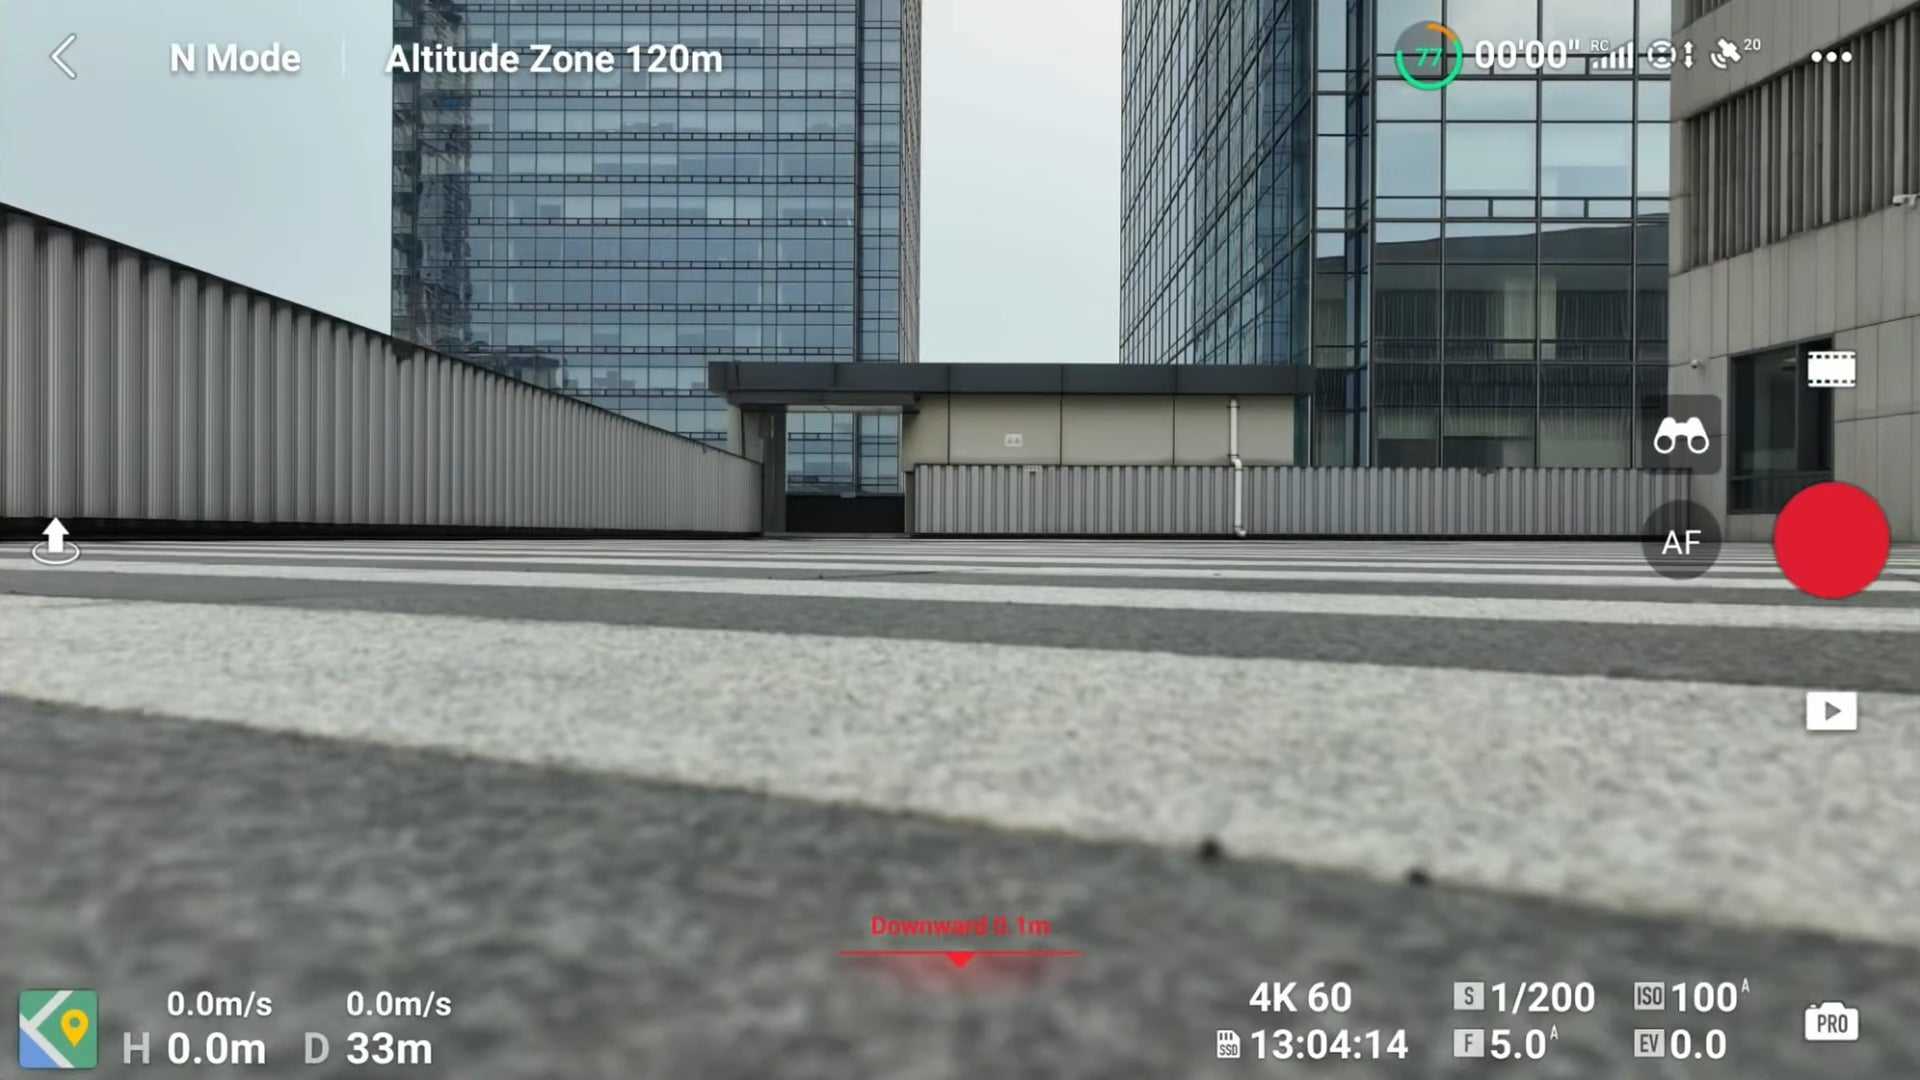
Check the flight interface in the app and confirm that there are no abnormal reminders and the GPS signal is good.
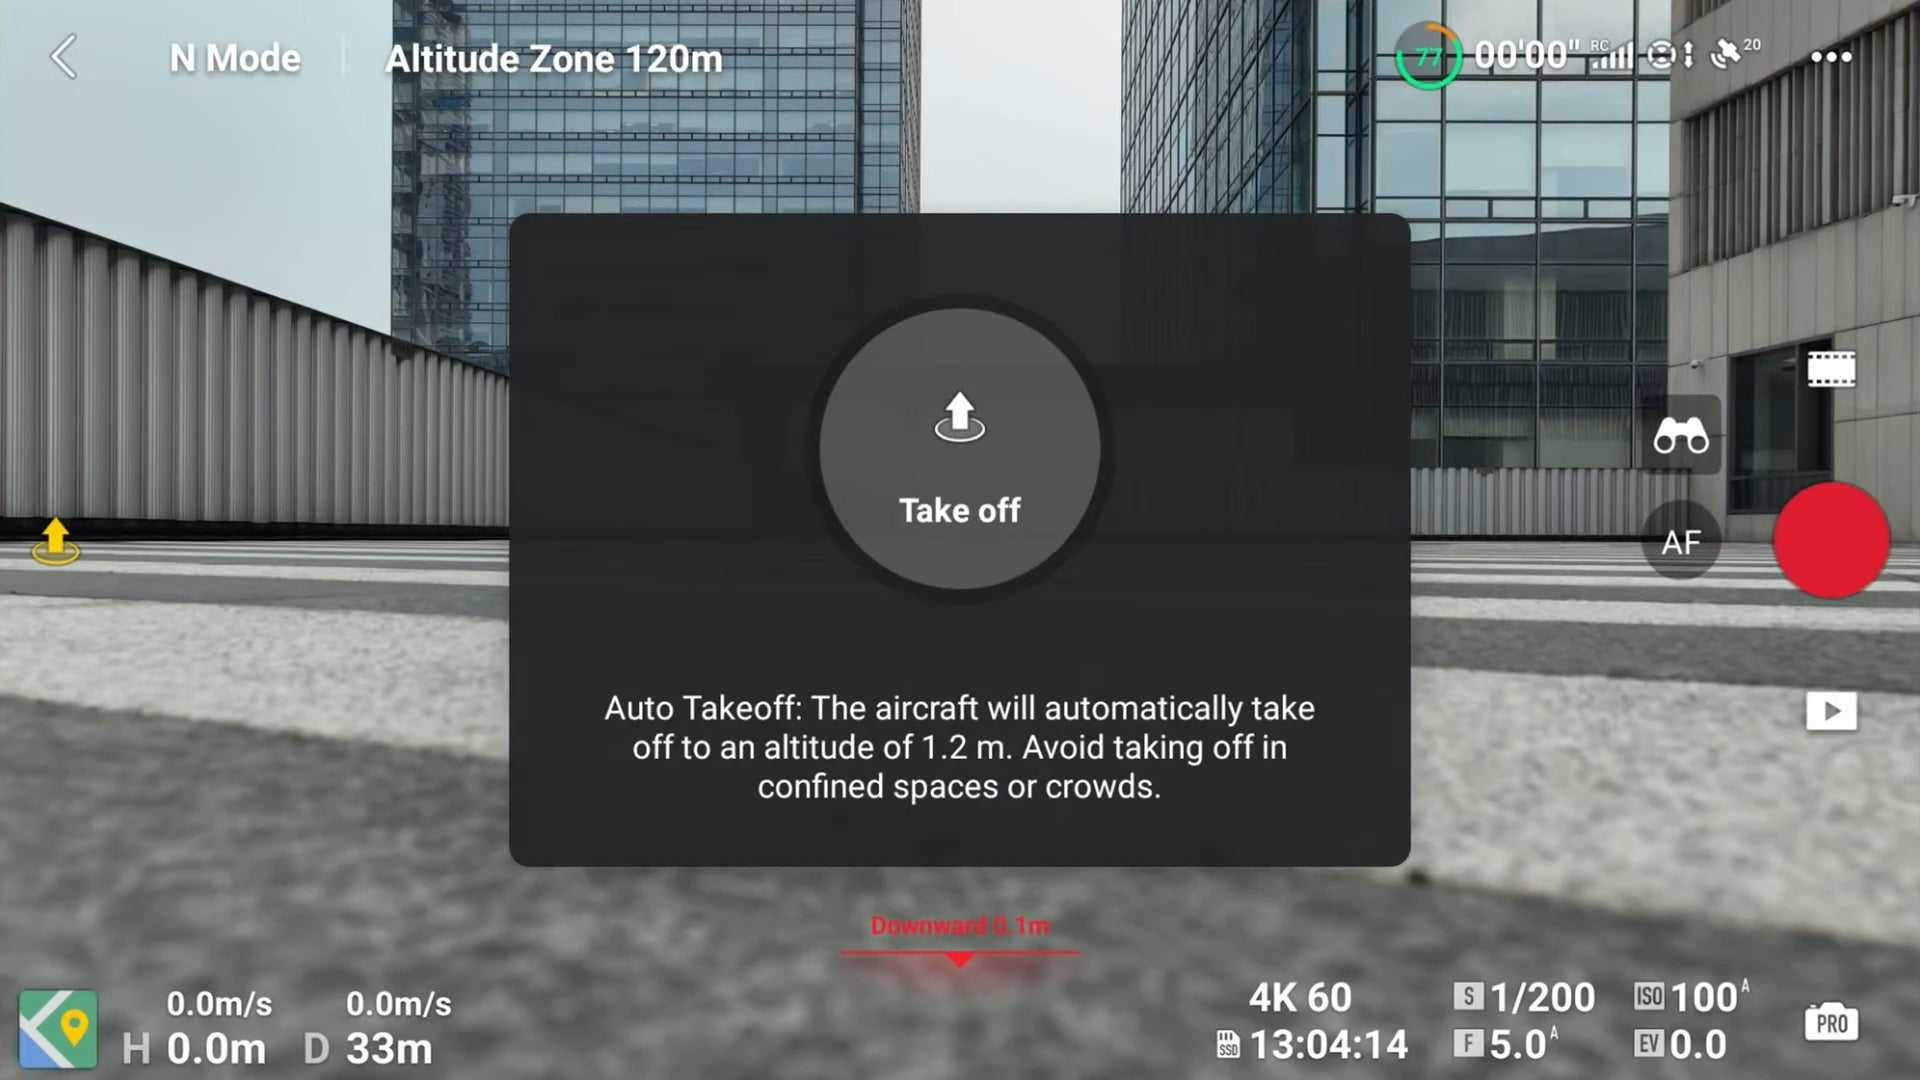
Tap the take off icon on the left to begin auto-takeoff.
Press and hold the prompt icon to confirm auto take off.
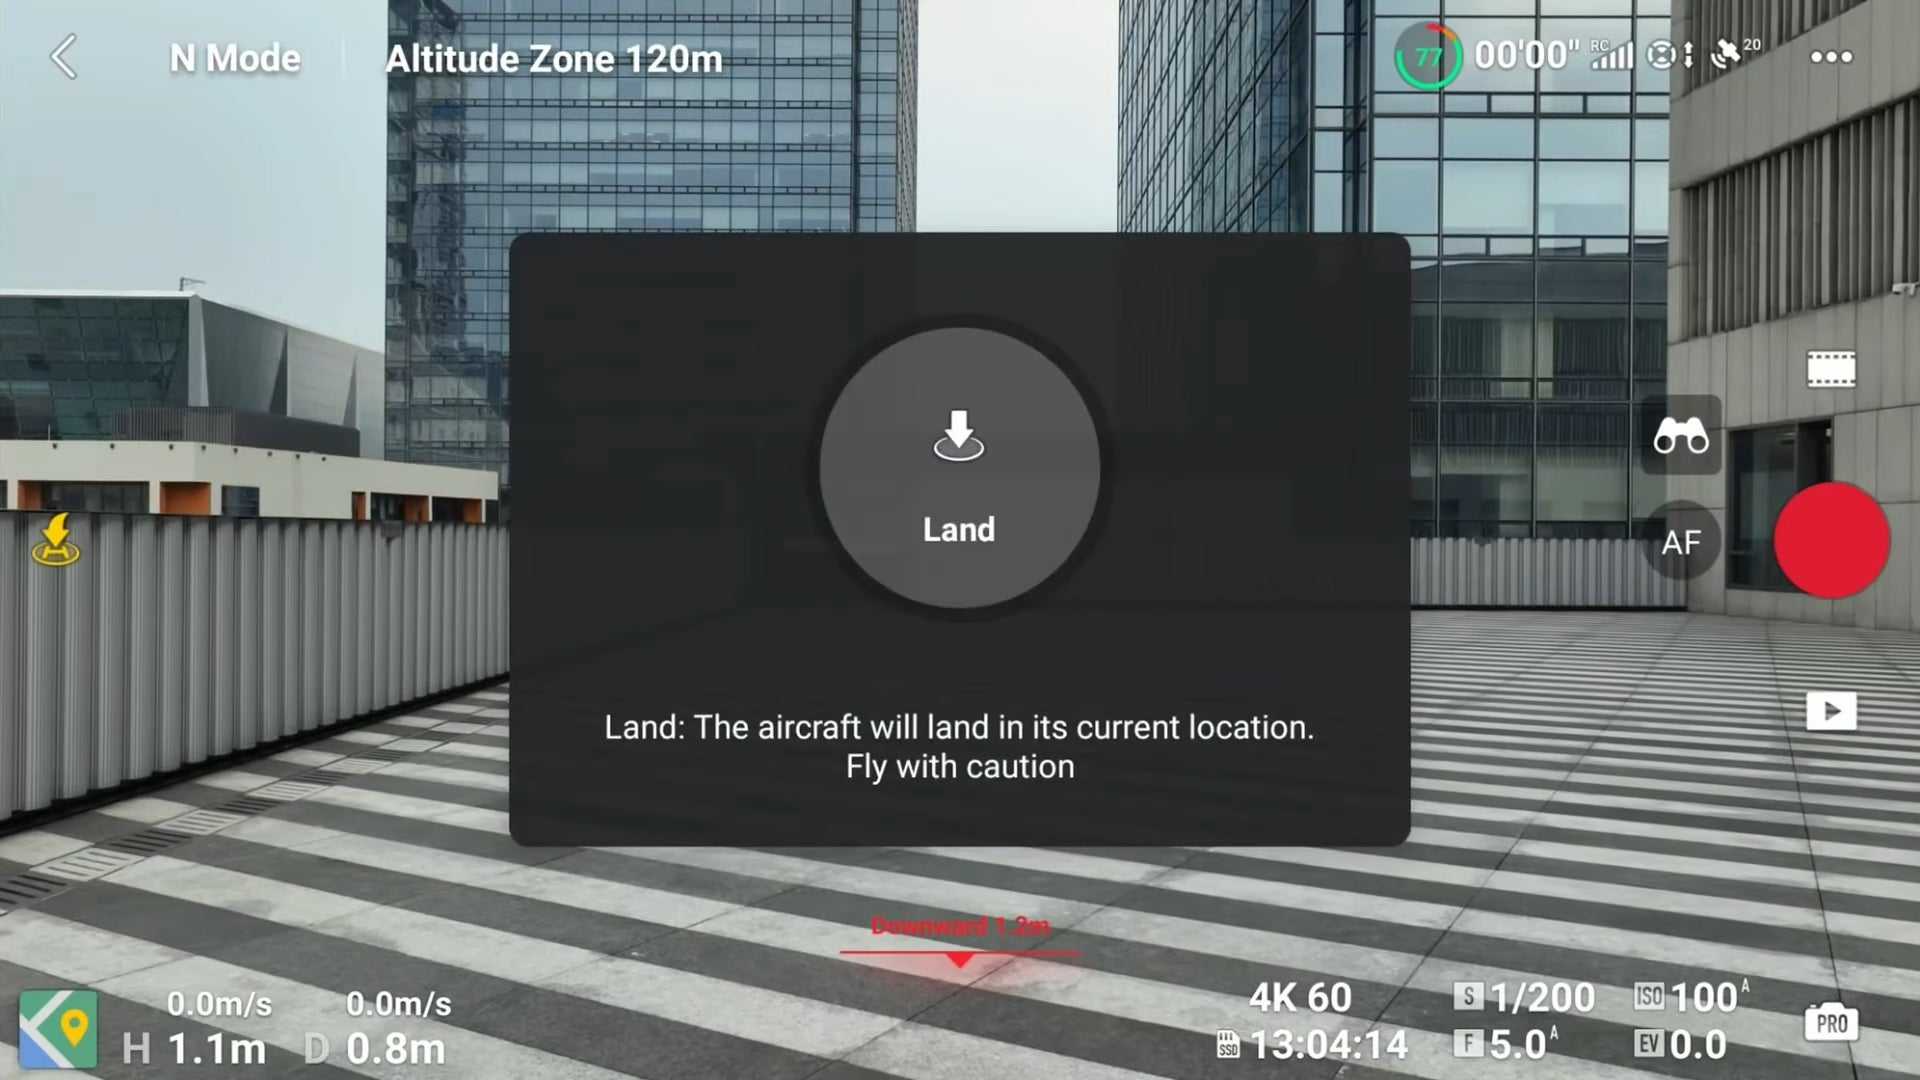
After take off the icon will change to auto landing.
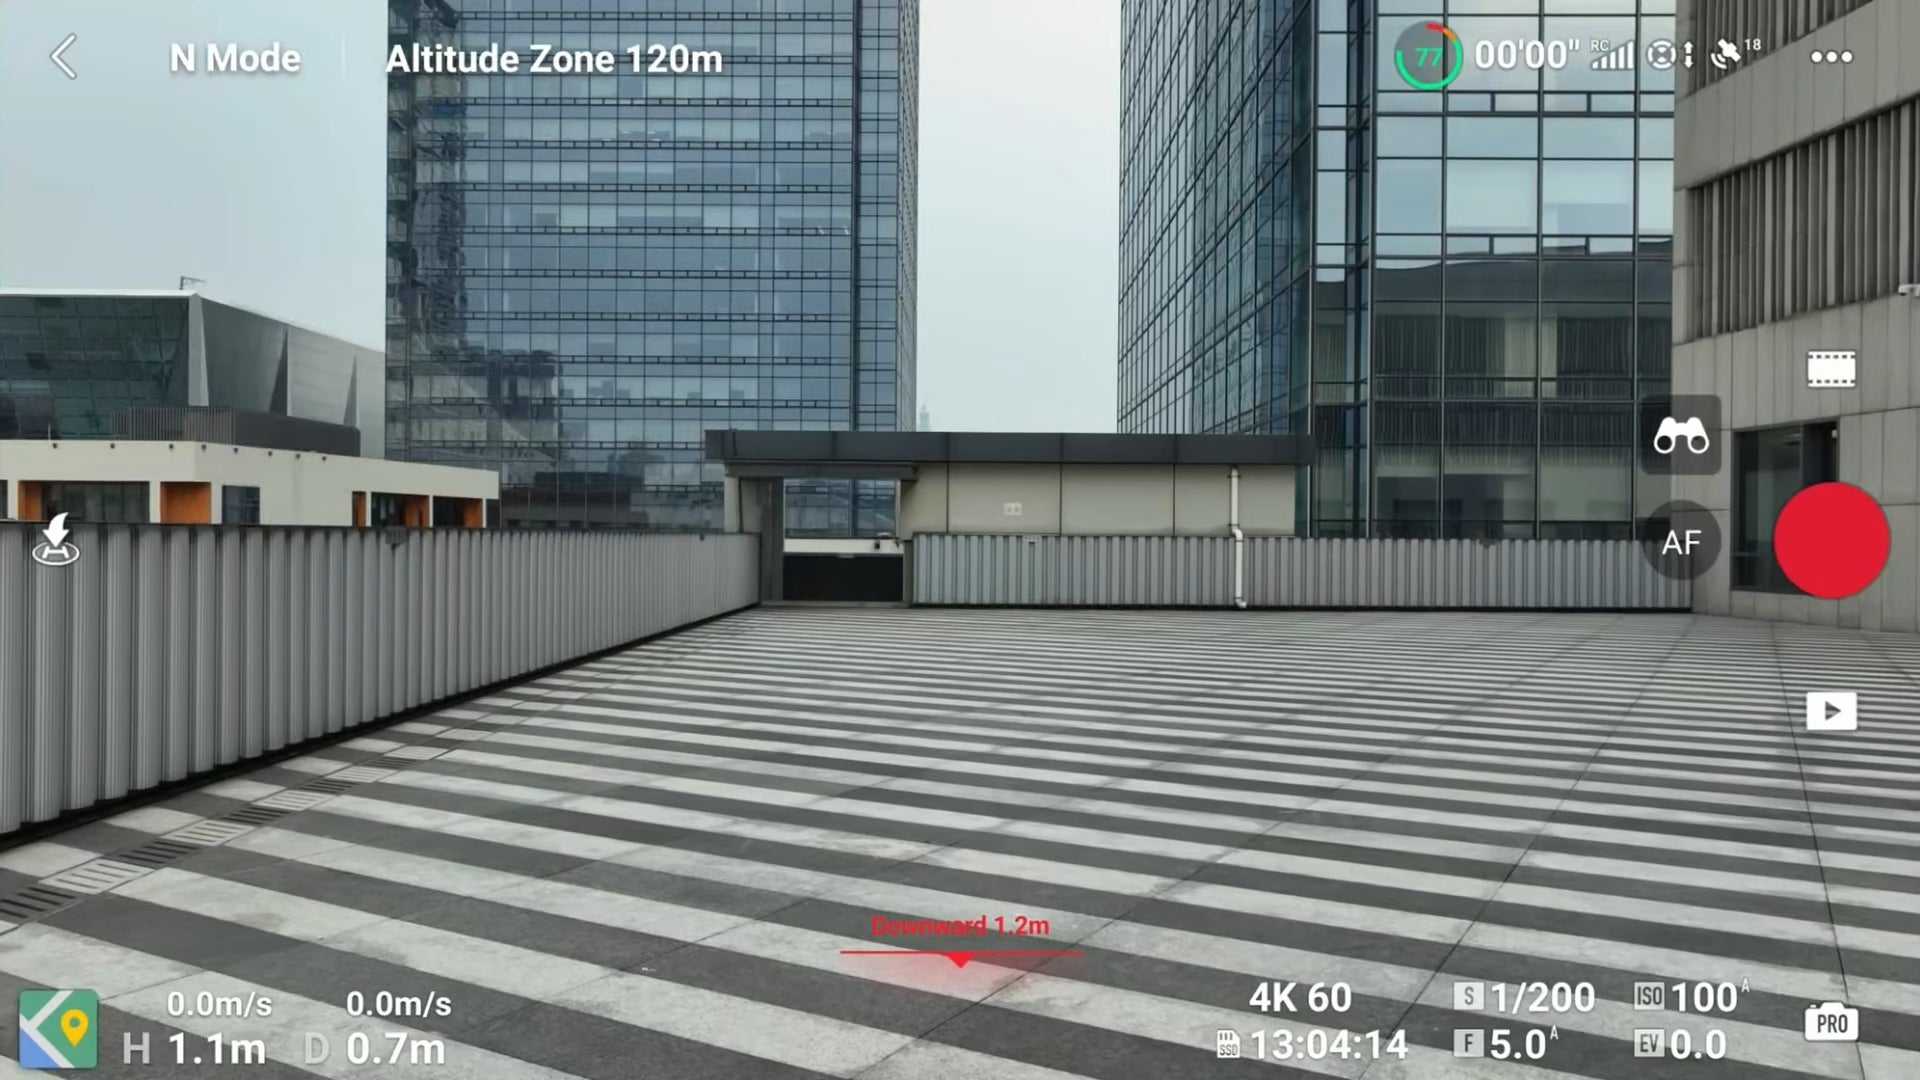
Tap the auto landing icon on the left and hold, then the aircraft will automatically land.
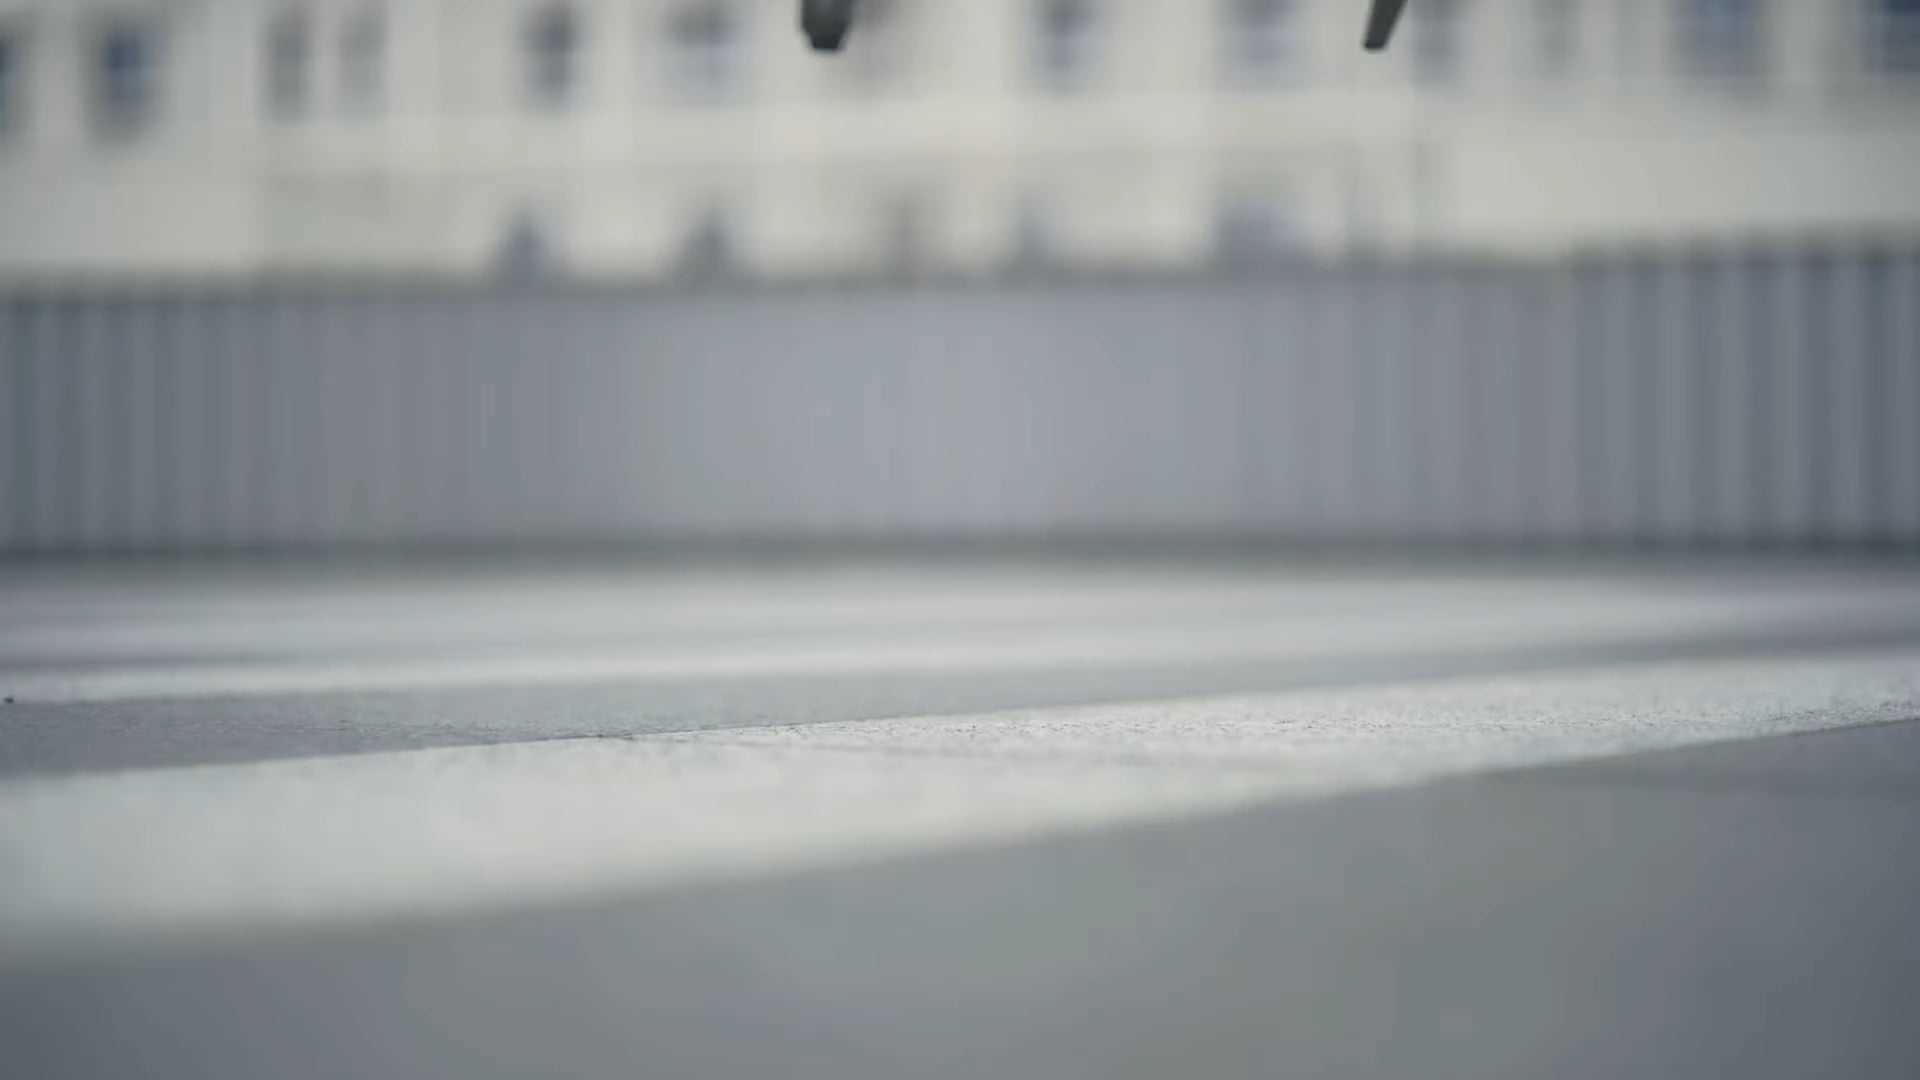
After confirming the choice, the aircraft will automatically land.
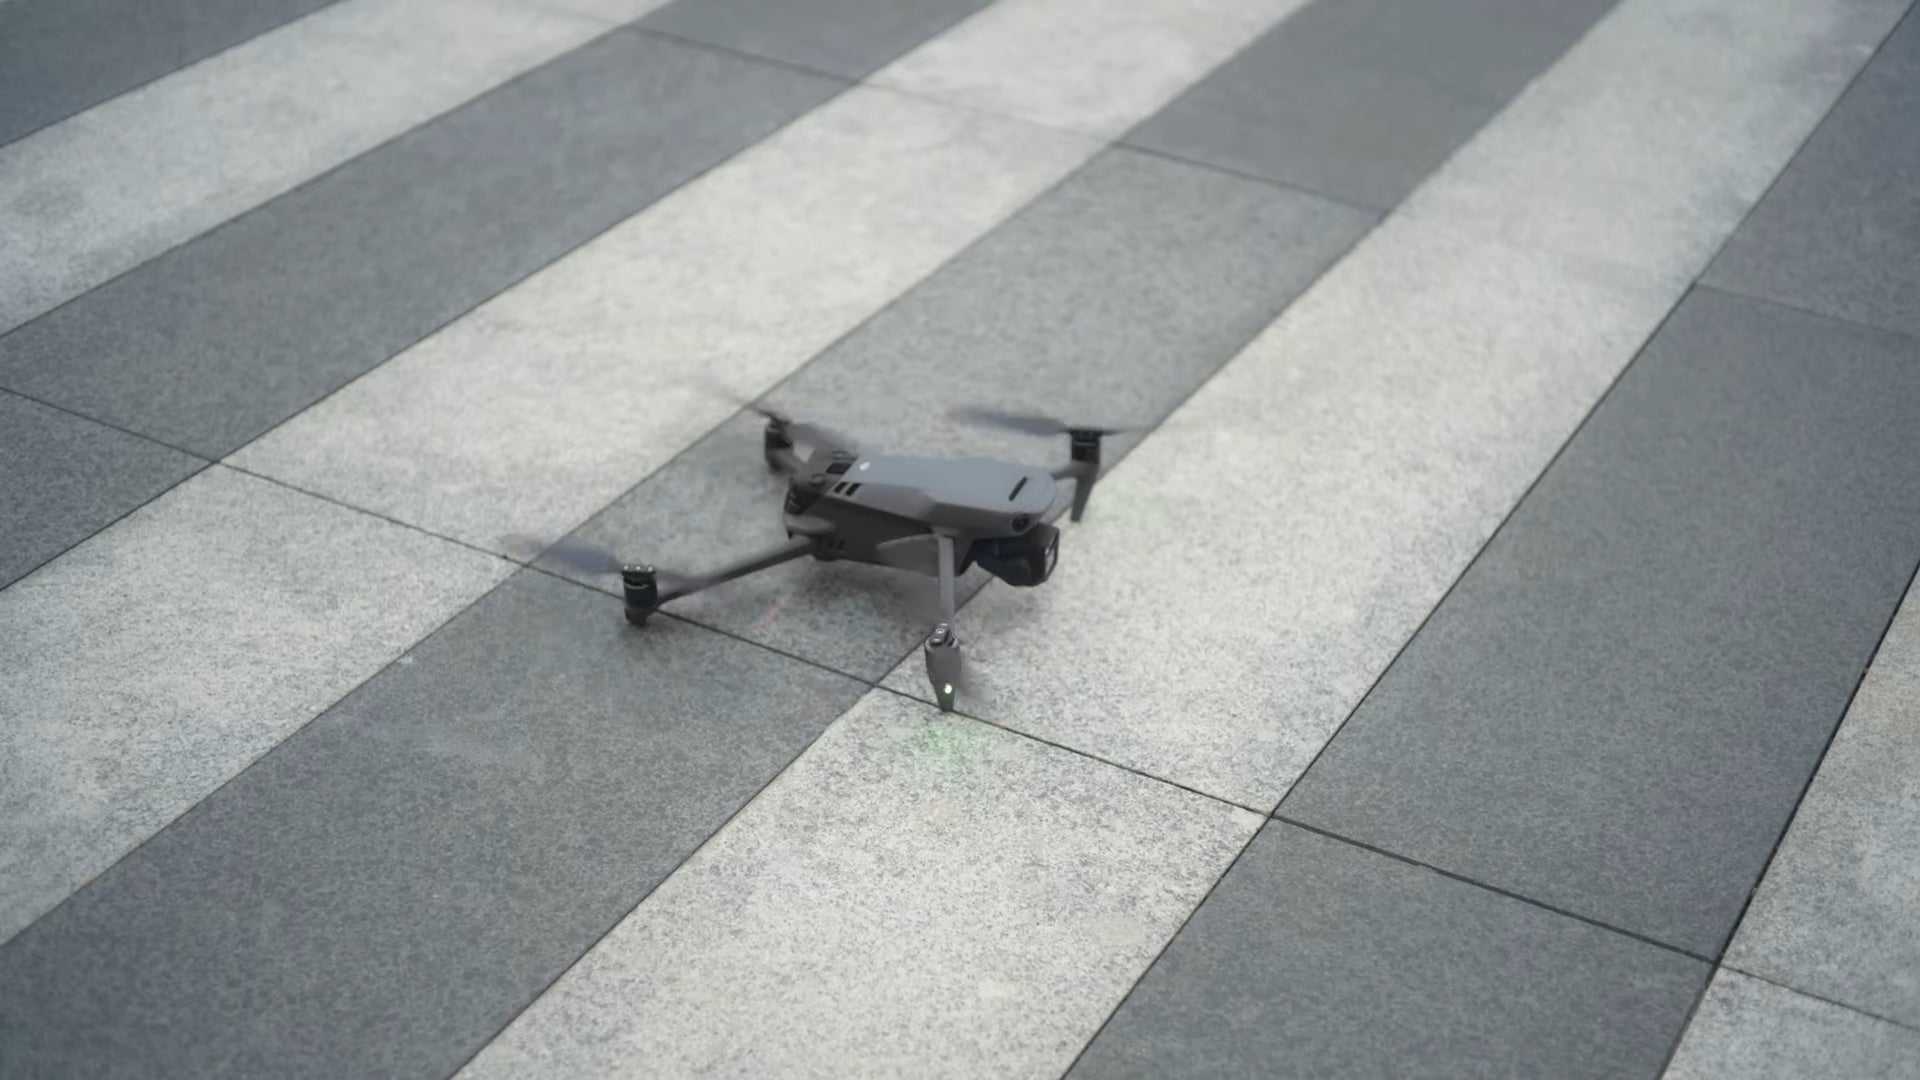
To take off manually (using mode two as an example):
Pull both sticks all the way to the bottom of the controller.
And then push inwards (or outwards).
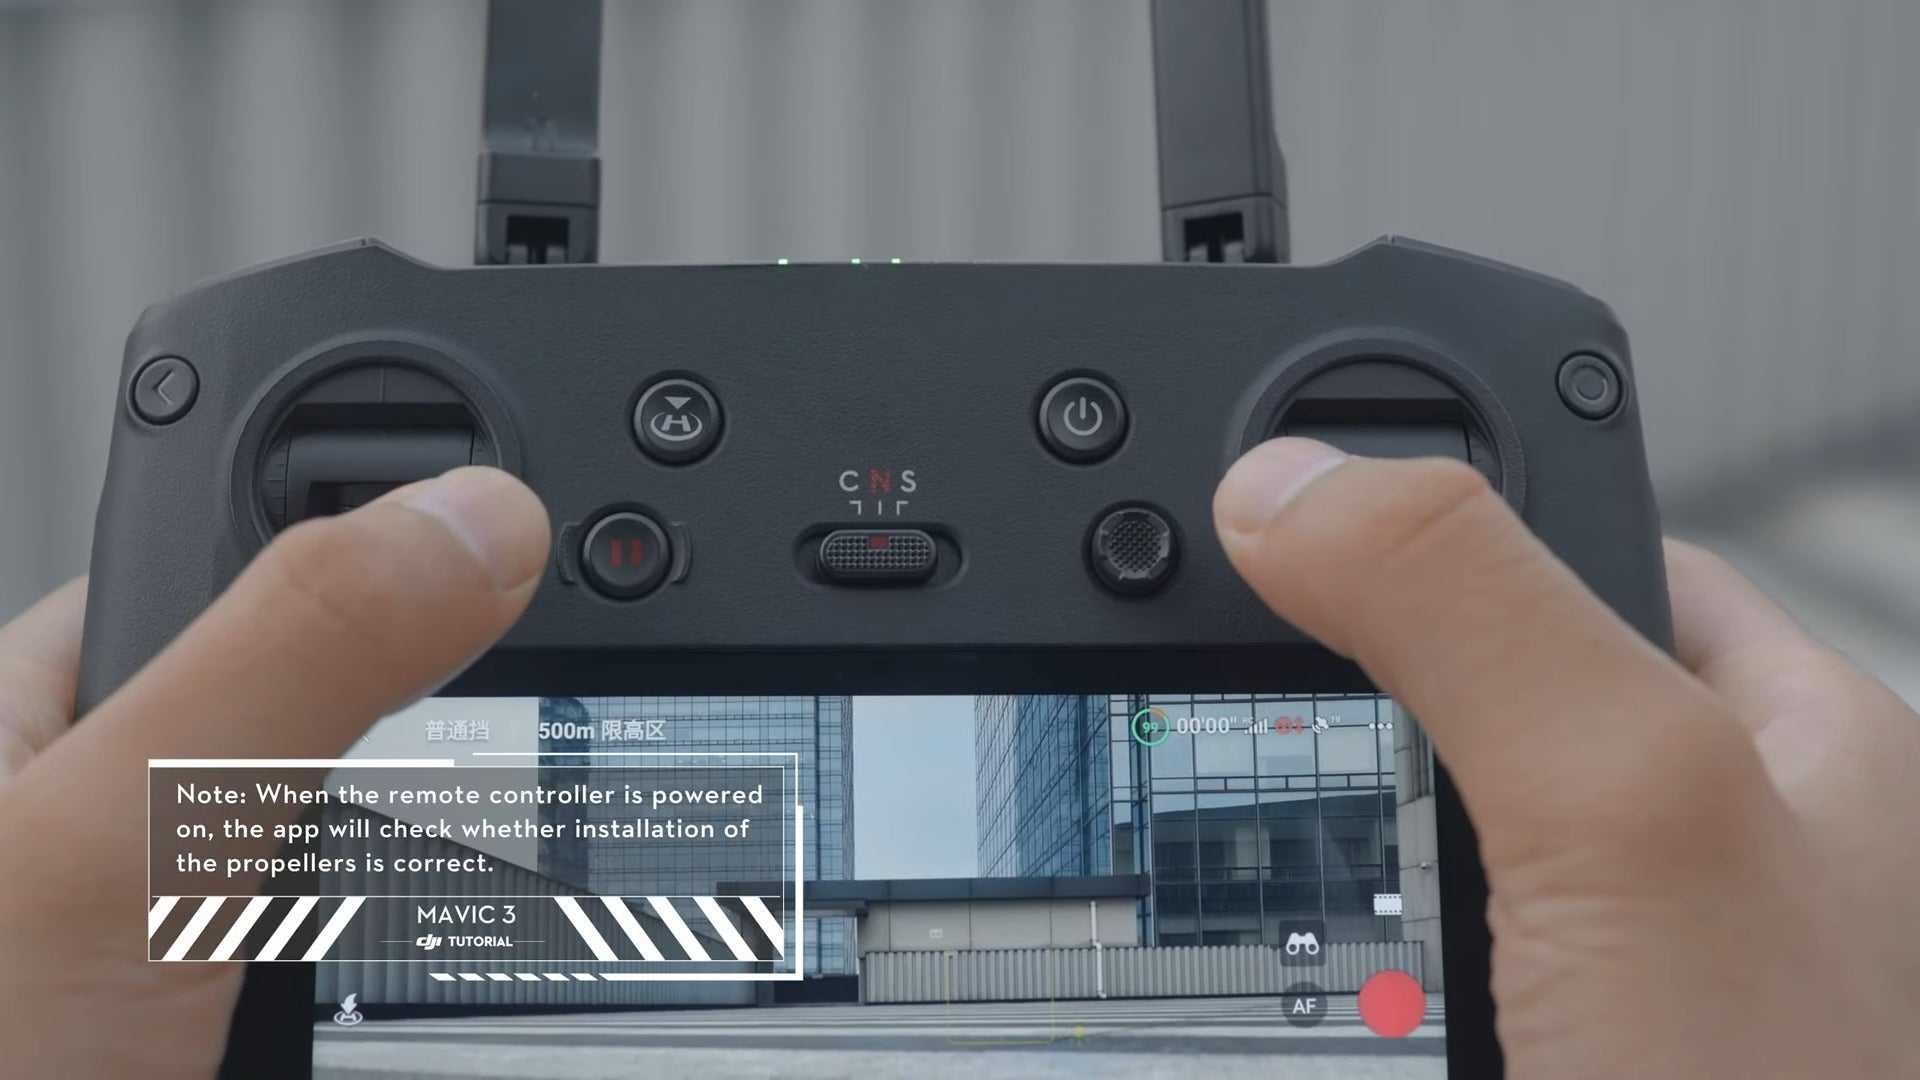
When the propellers start to rotate, gently push the left control stick up to manually take off.
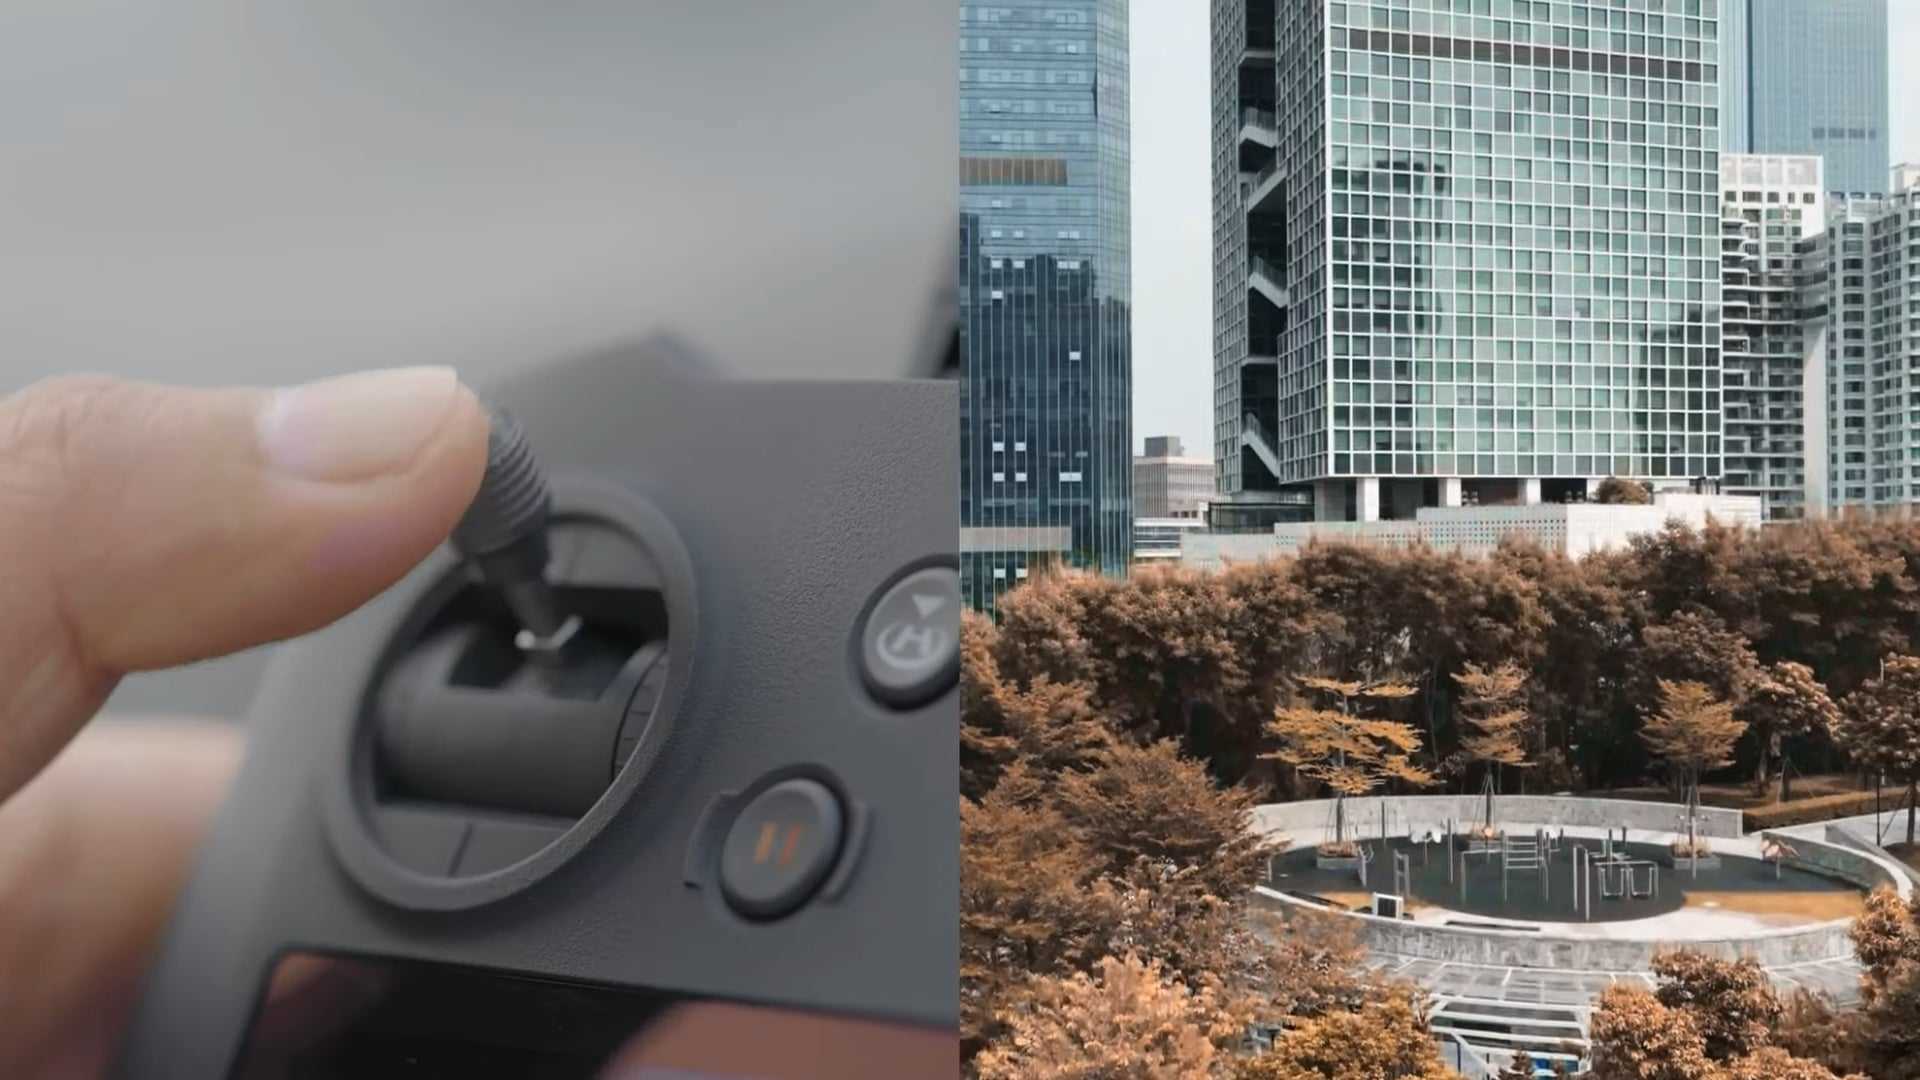
The left control stick is used for adjusting the aircraft's altitude and orientation.
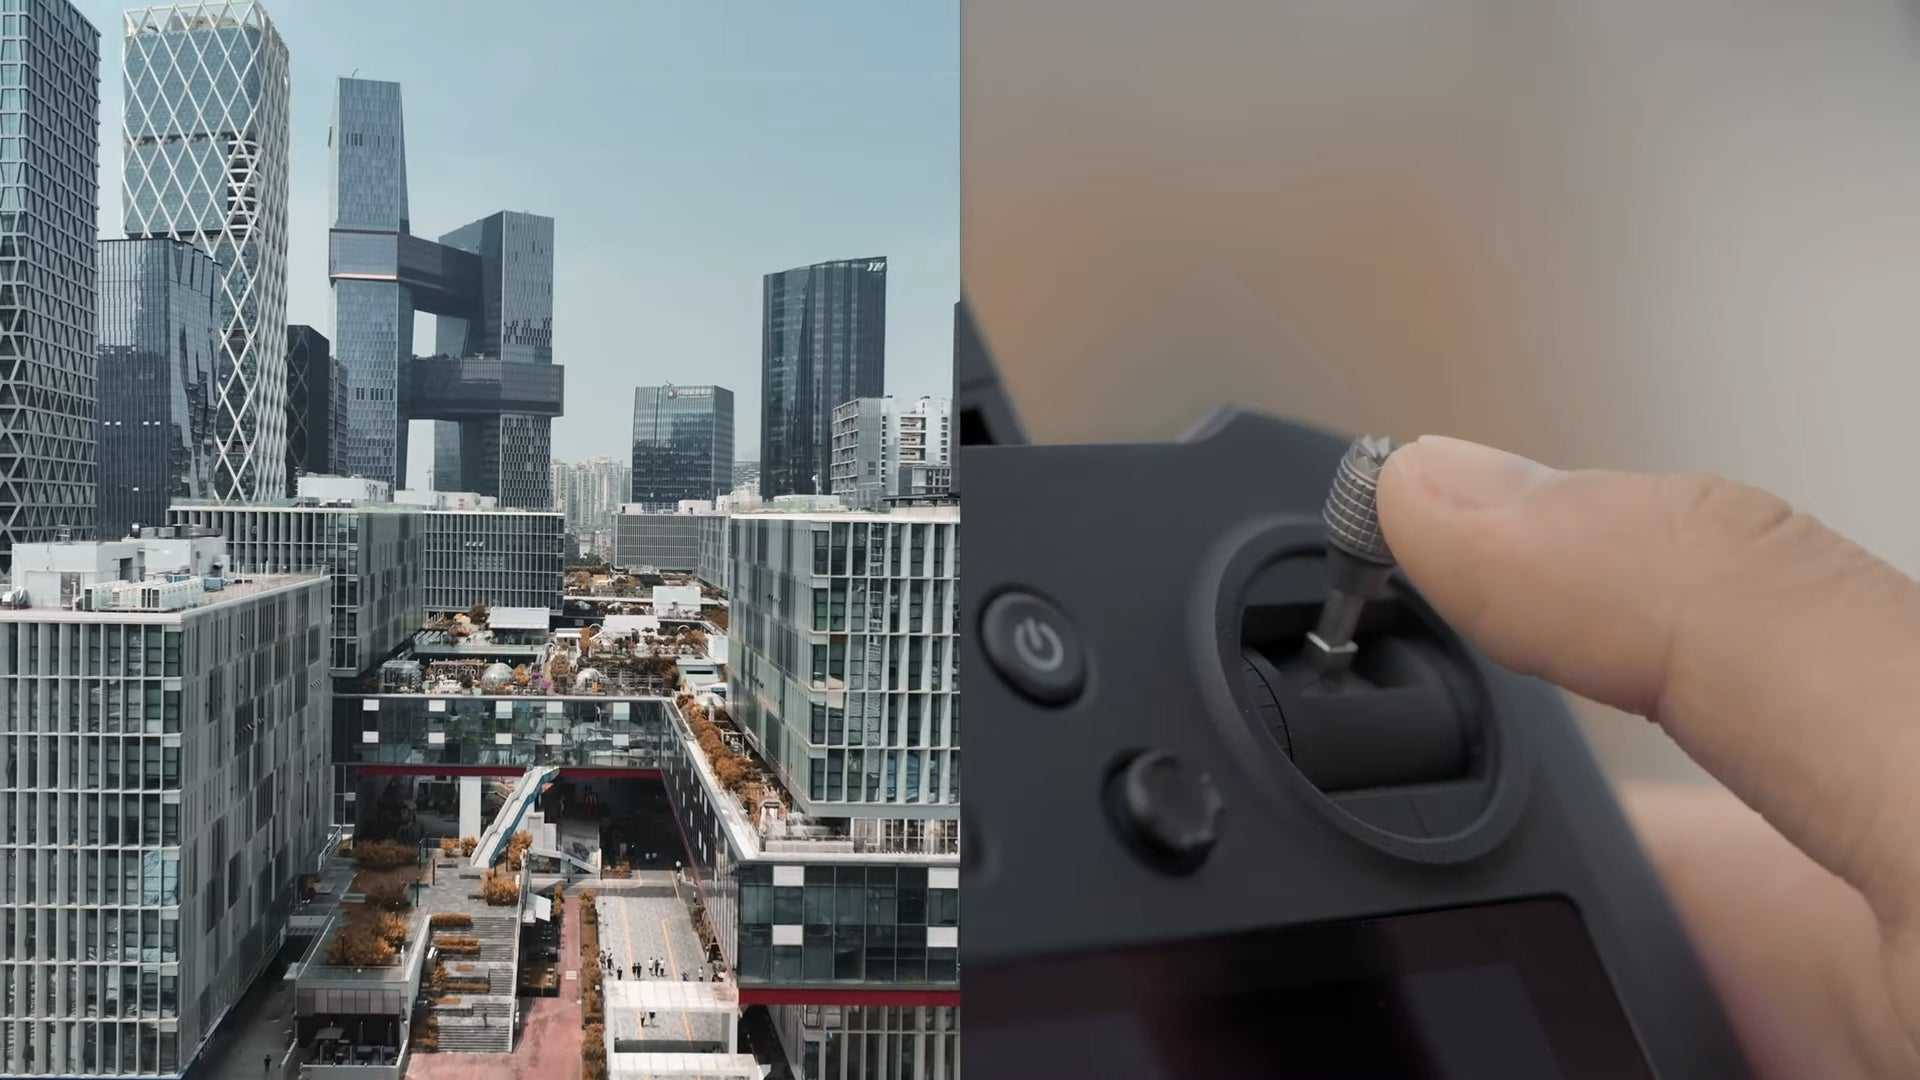
The right control stick controls the aircraft to move forward and backward.
After you start the motors, if the aircraft has not taken off - pushing down the left control stick will stop the motors.
If the aircraft has taken off, you can push down on the left stick to land.
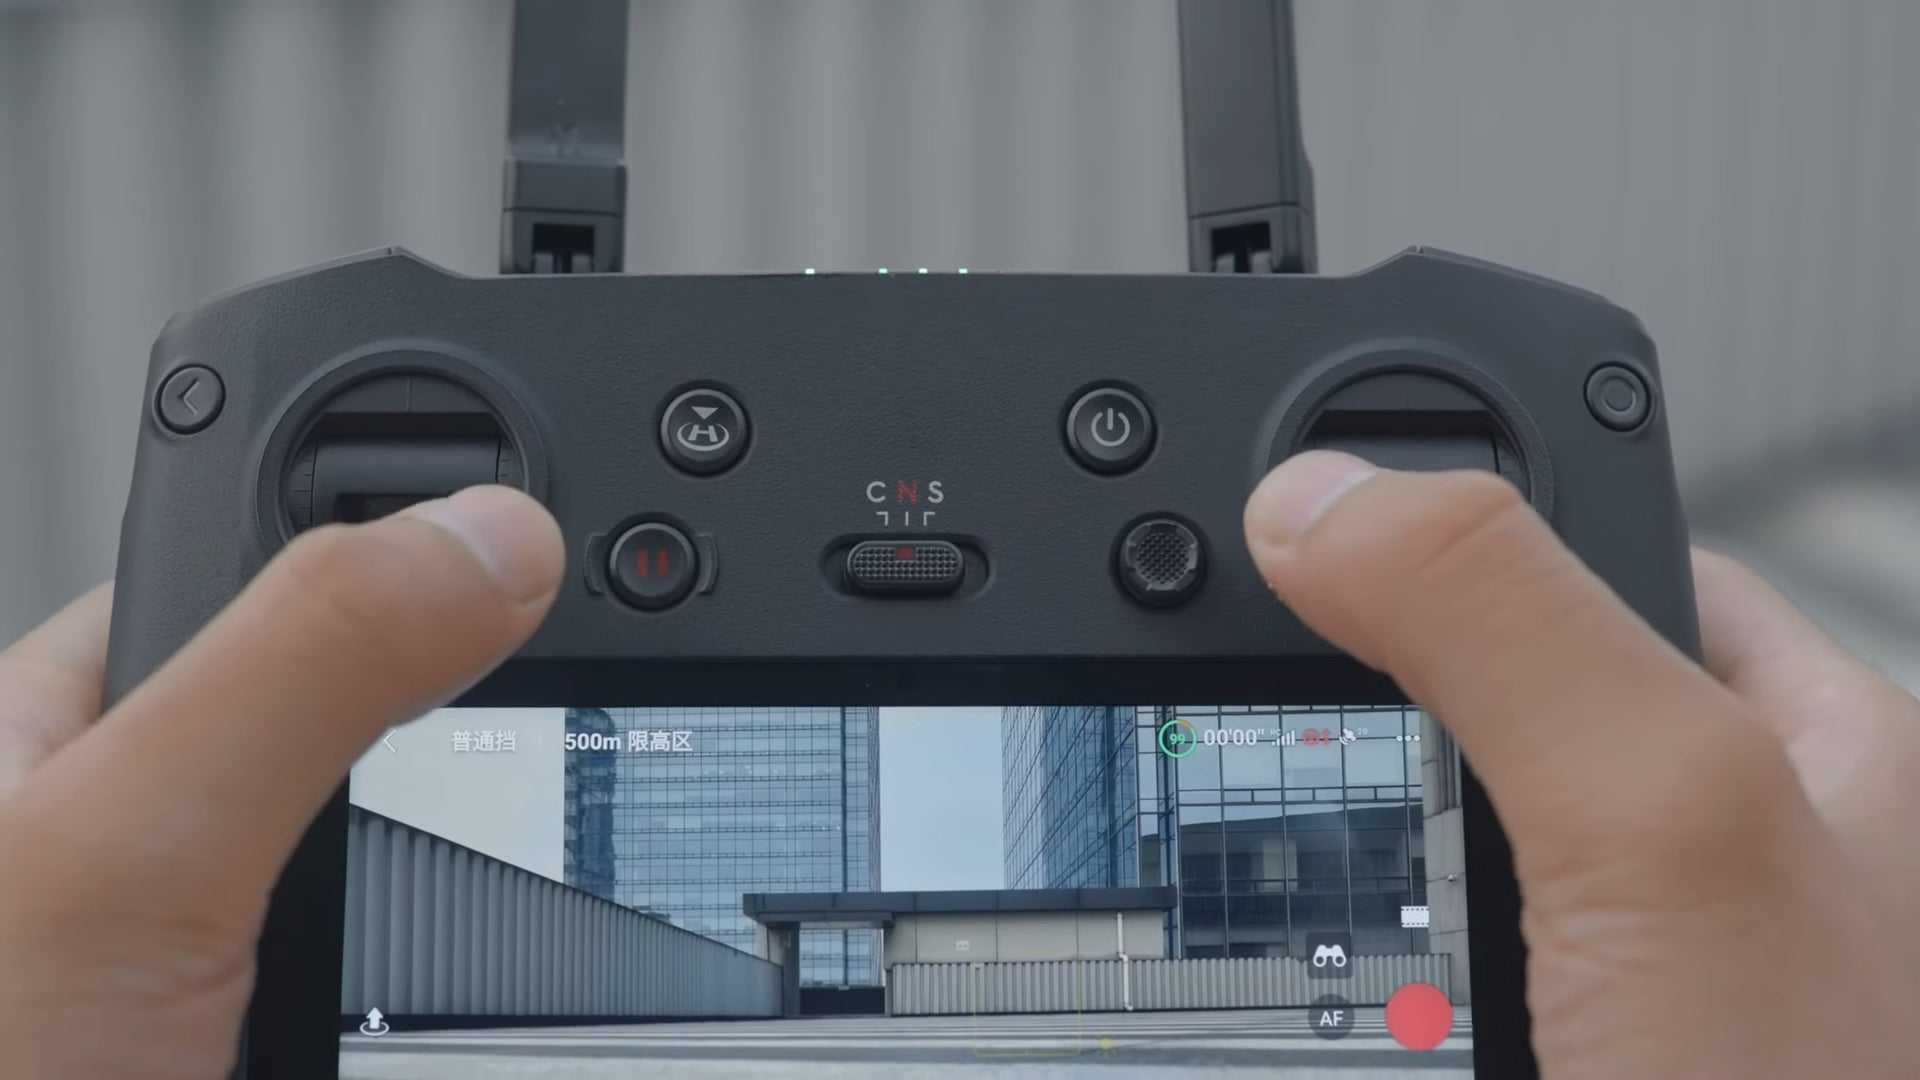
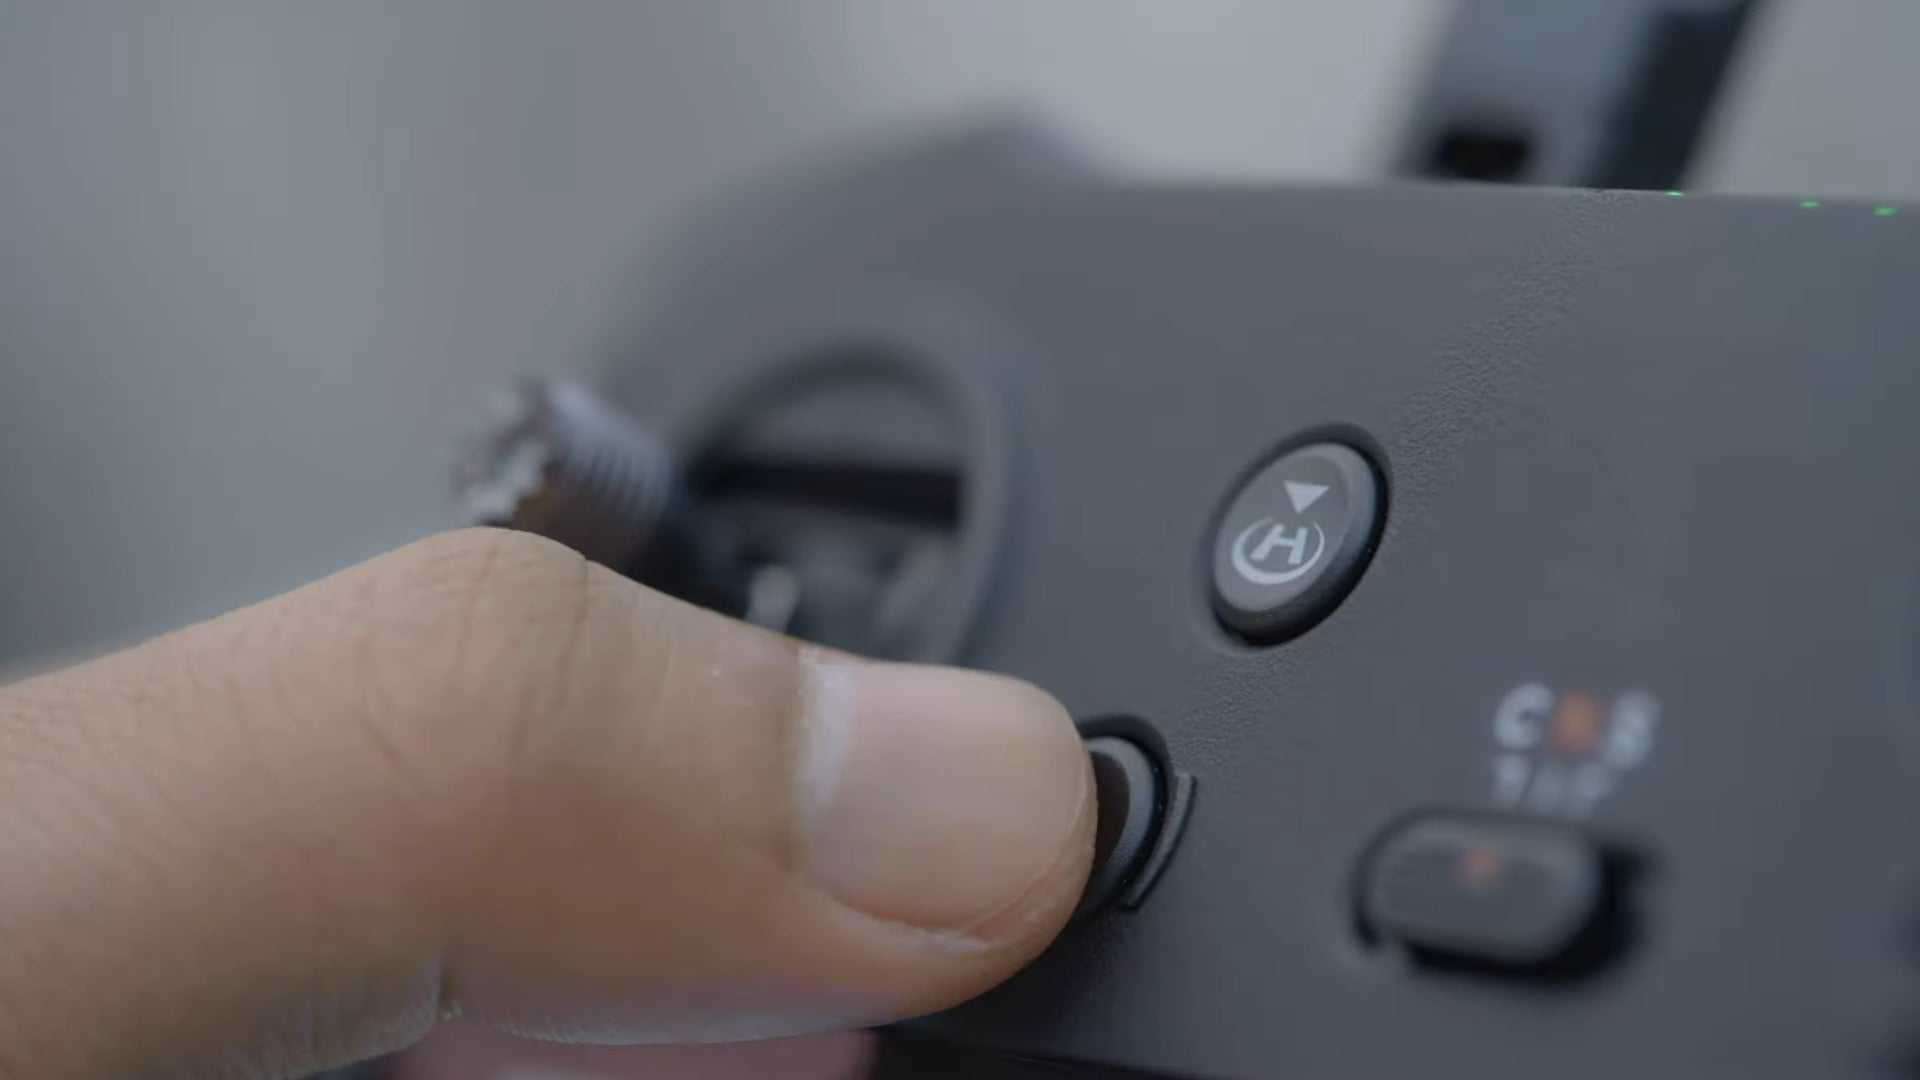
Press the flight pause or RTH button on the remote controller to make the aircraft brake.
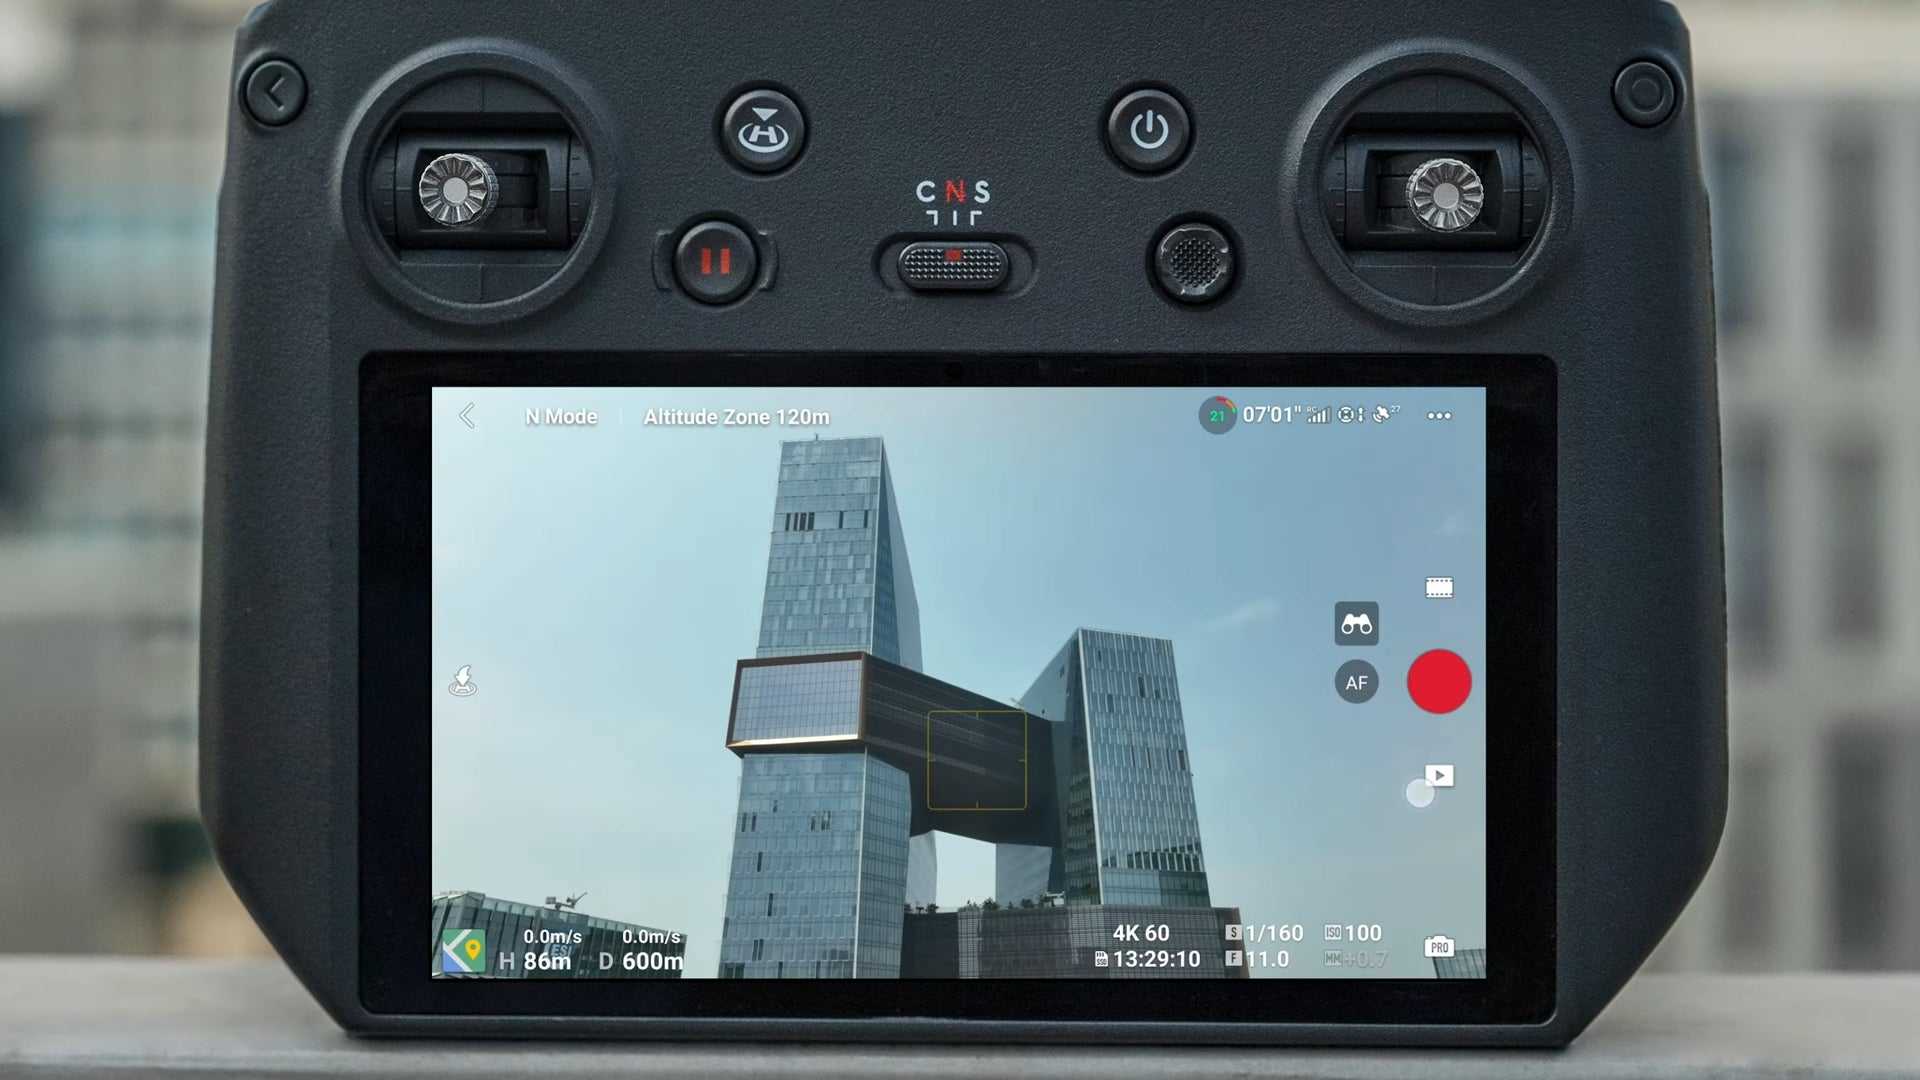
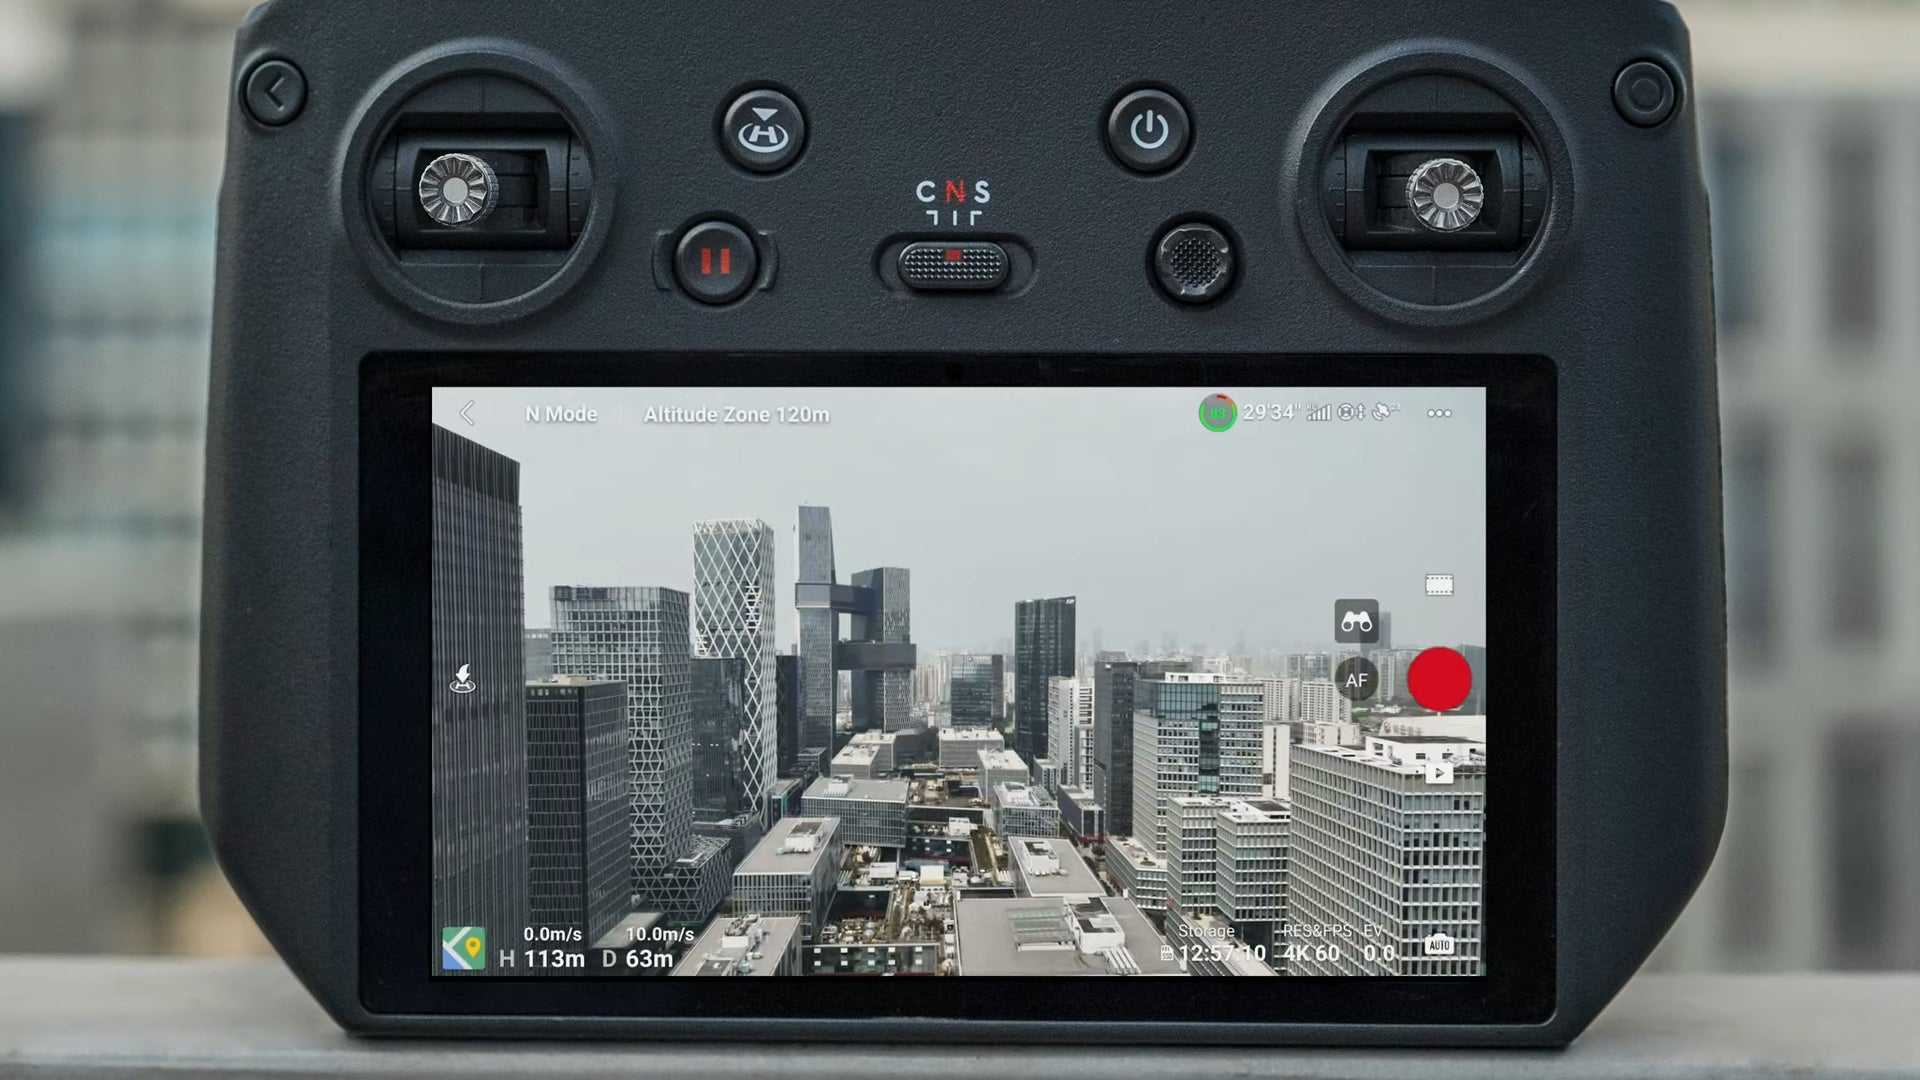
You can view flight distance and speed information at the bottom left corner of the screen.
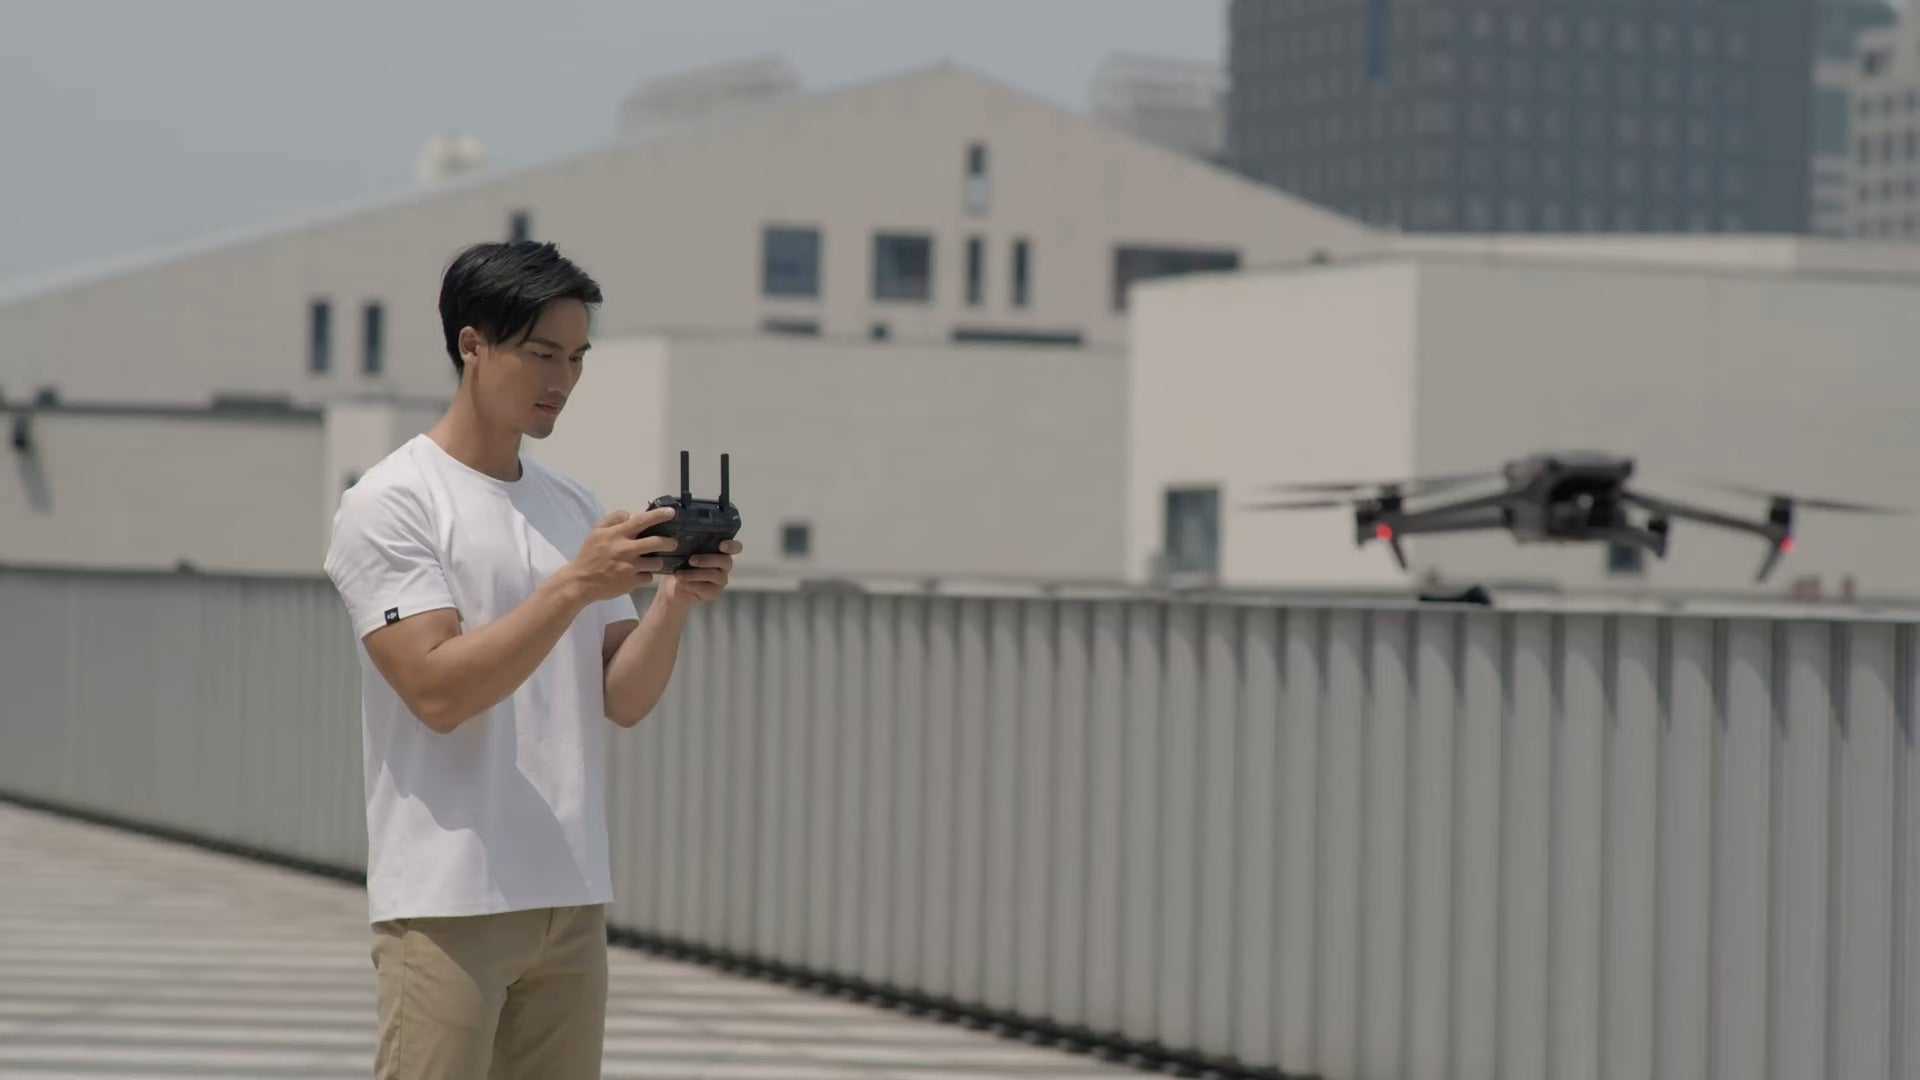
During flight keep the RC antennas facing the drone for optimal transmission.
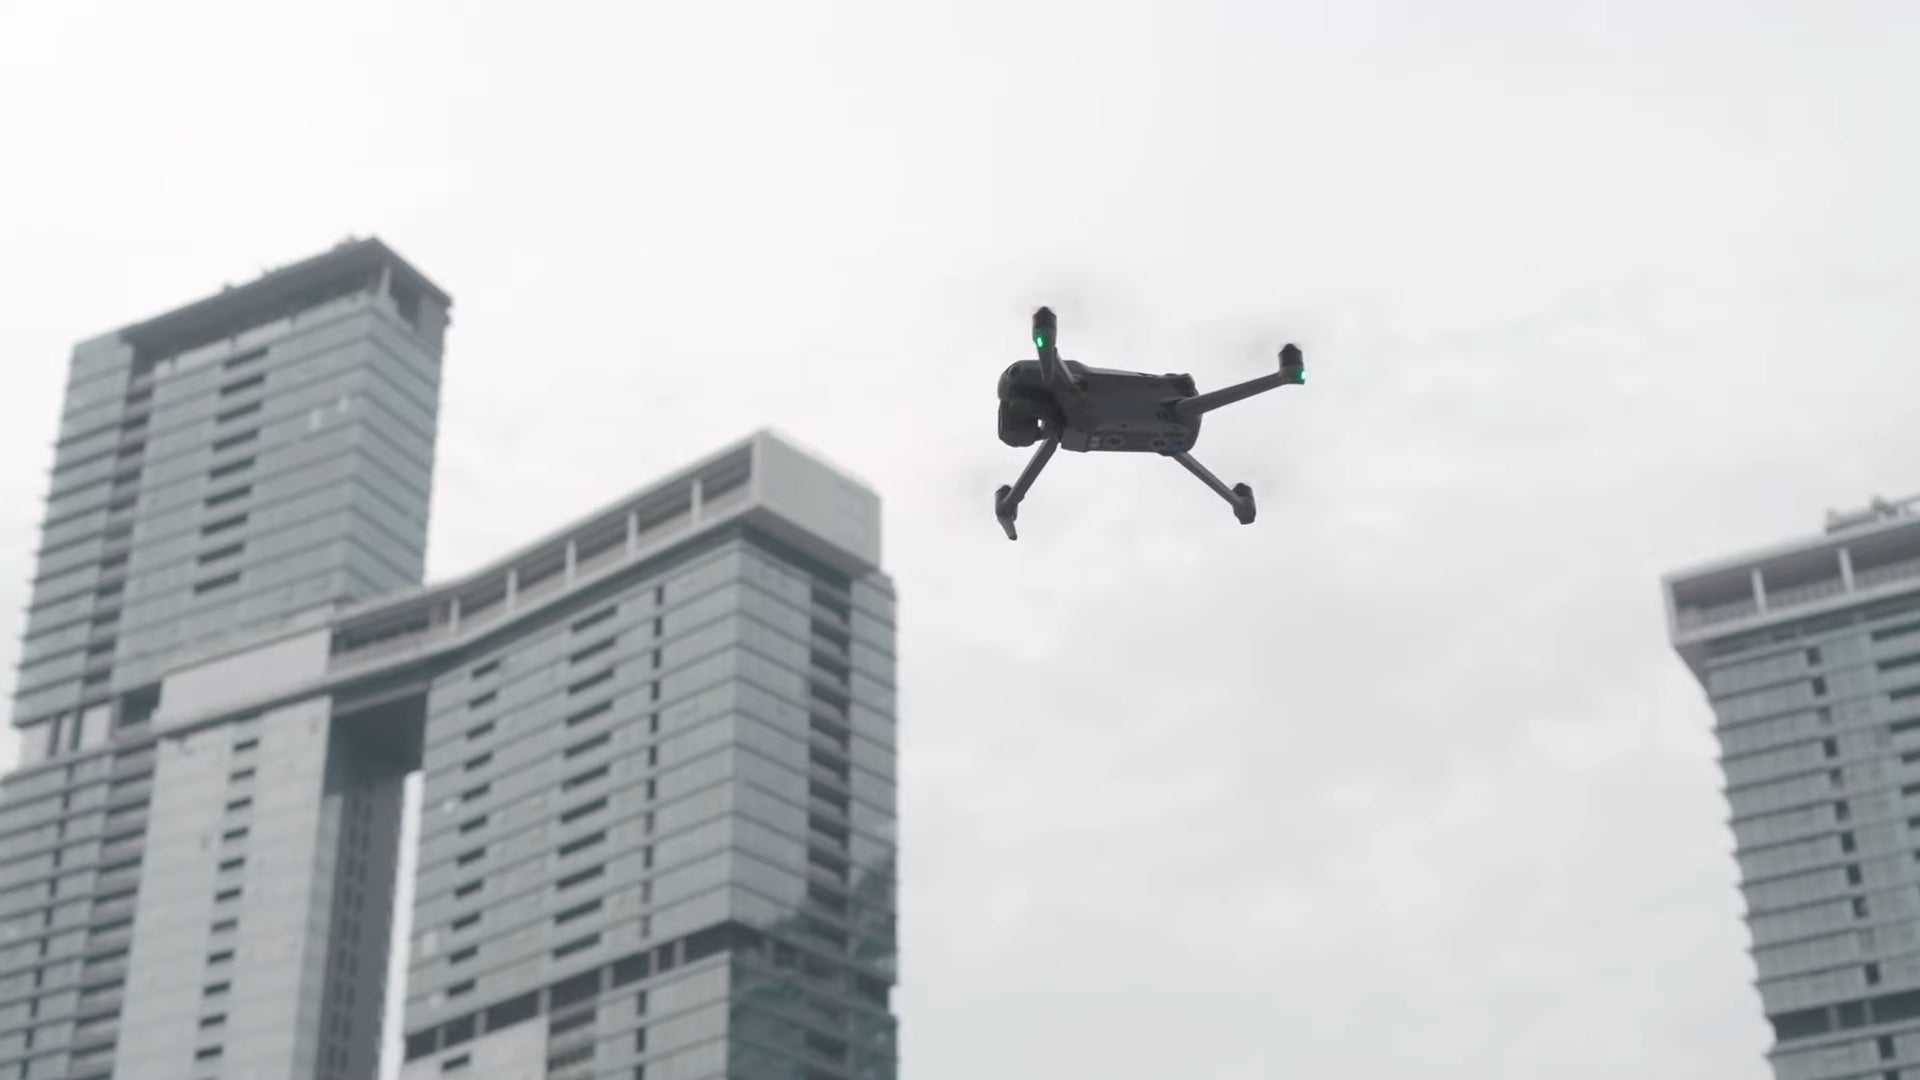
When the GPS signal is weak, the compass encounters interference or lighting is not sufficient for visual positioning, the aircraft will enter attitude (atti) mode and cannot hover or auto brake.
To avoid accidents please land in a safe location as soon as possible if you are not confident with flying in attitude mode.
Taking Photos and Videos
To take a photo, locate the button on the top right of the remote controller.
Press halfway to activate auto focus.
Press all the way down once to take a photo.
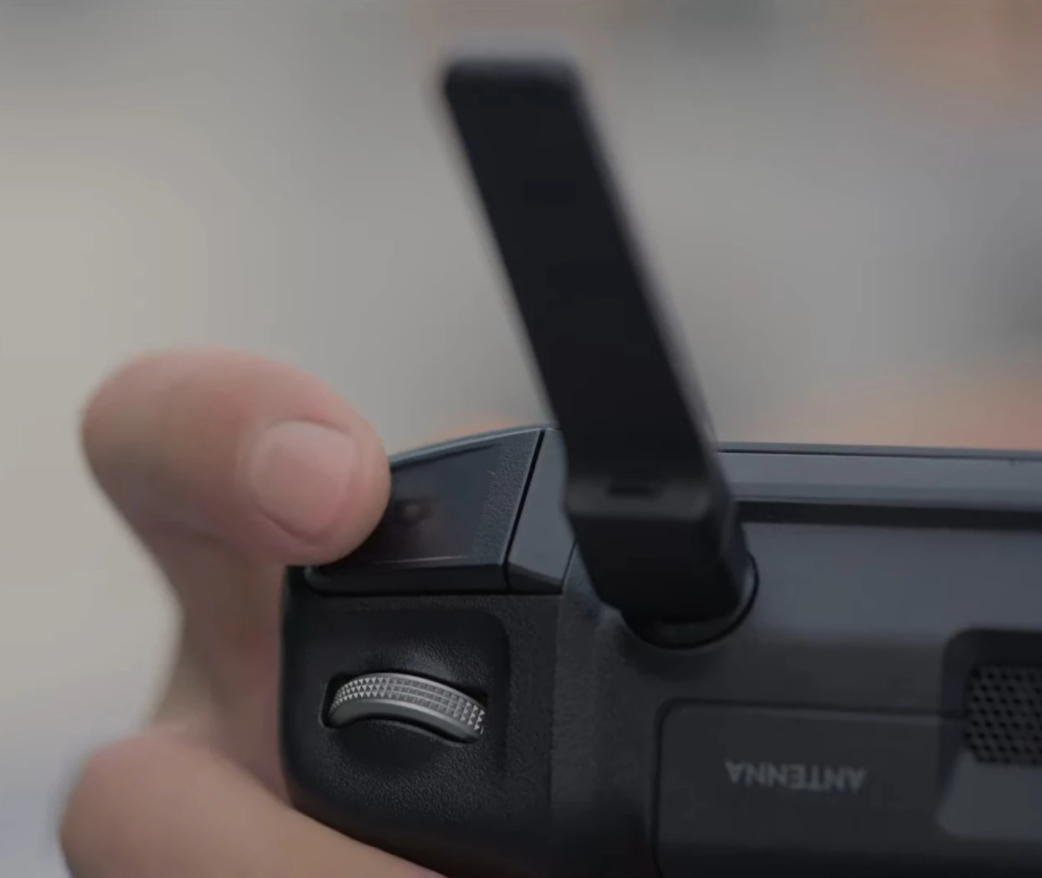
For recording video, the record button is located in the top left corner of the remote controller.
Press to start recording.
And press again to end the video.
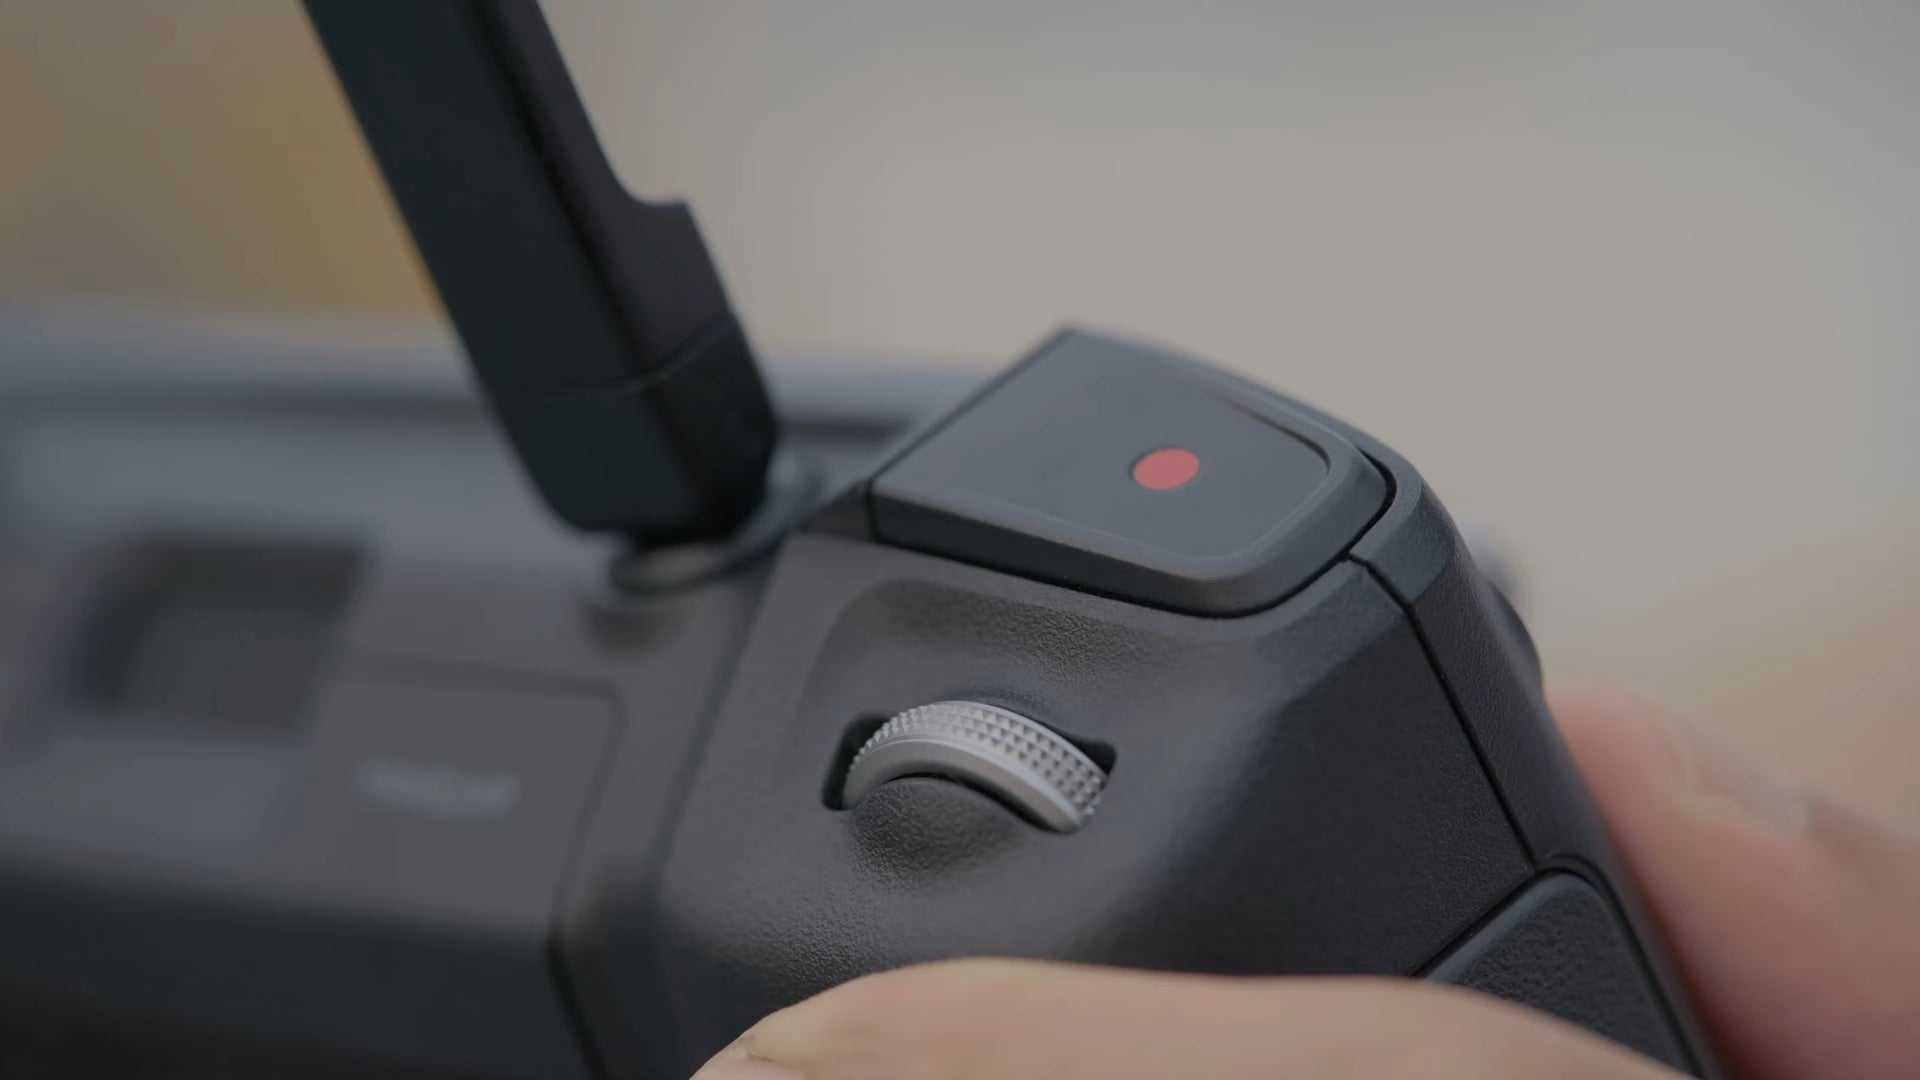
You can also adjust the gimbal pitch and control the camera by using the gimbal dial on the left side.
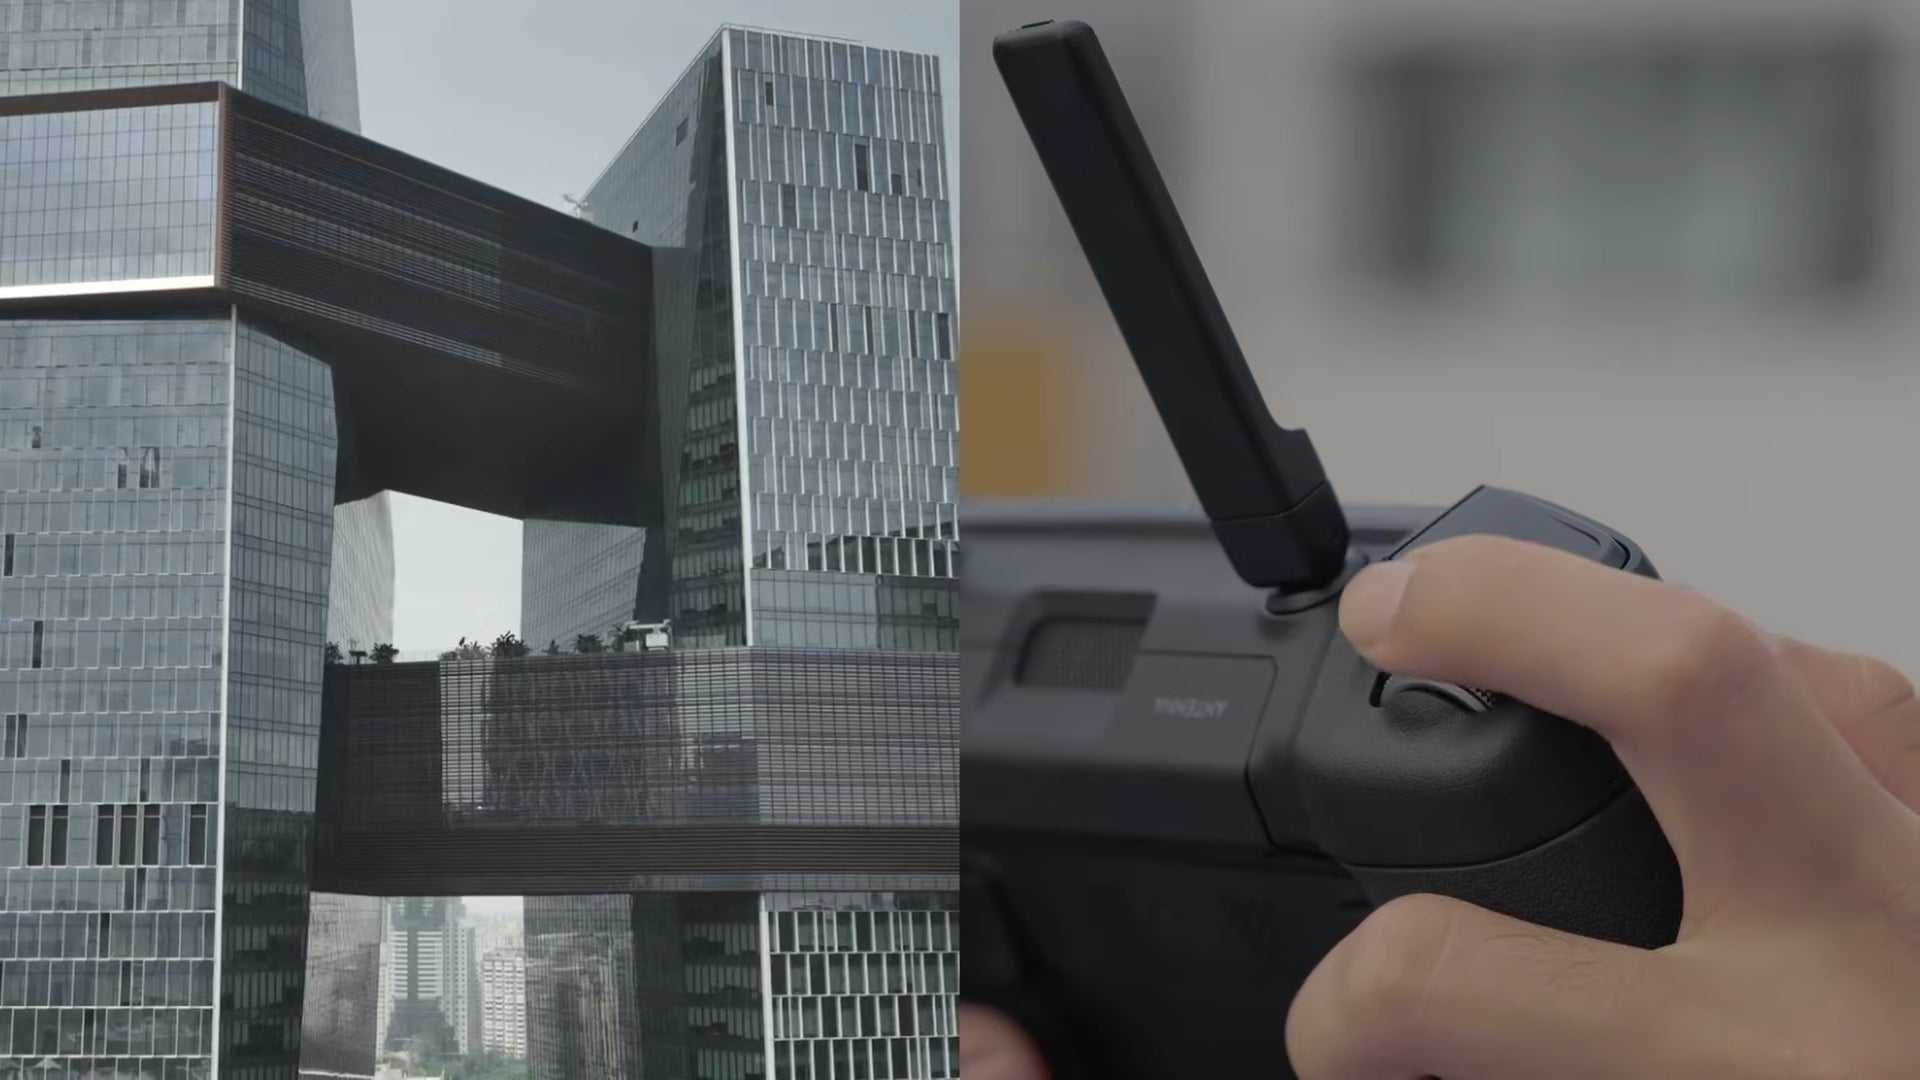
You can use the dial on the right to adjust camera zoom.
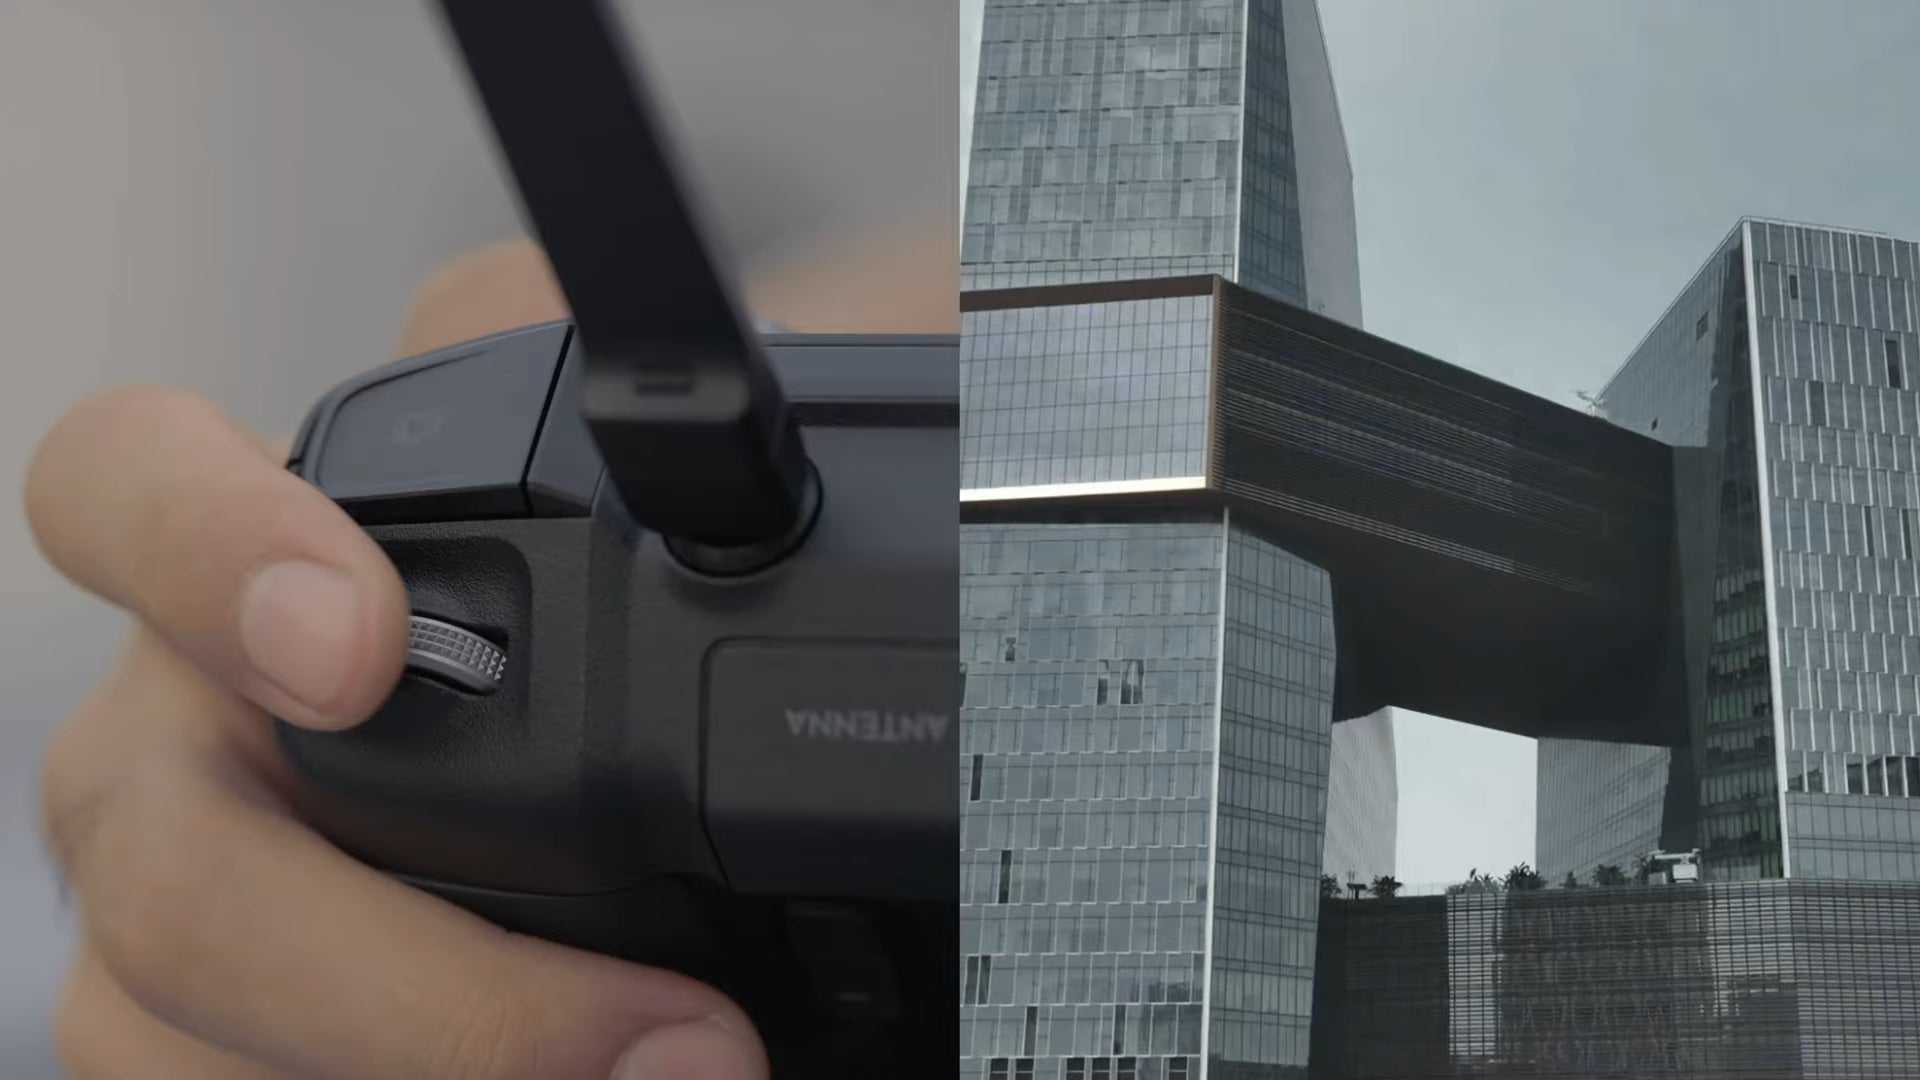
You can adjust the camera parameter setting in the DJI Fly App.
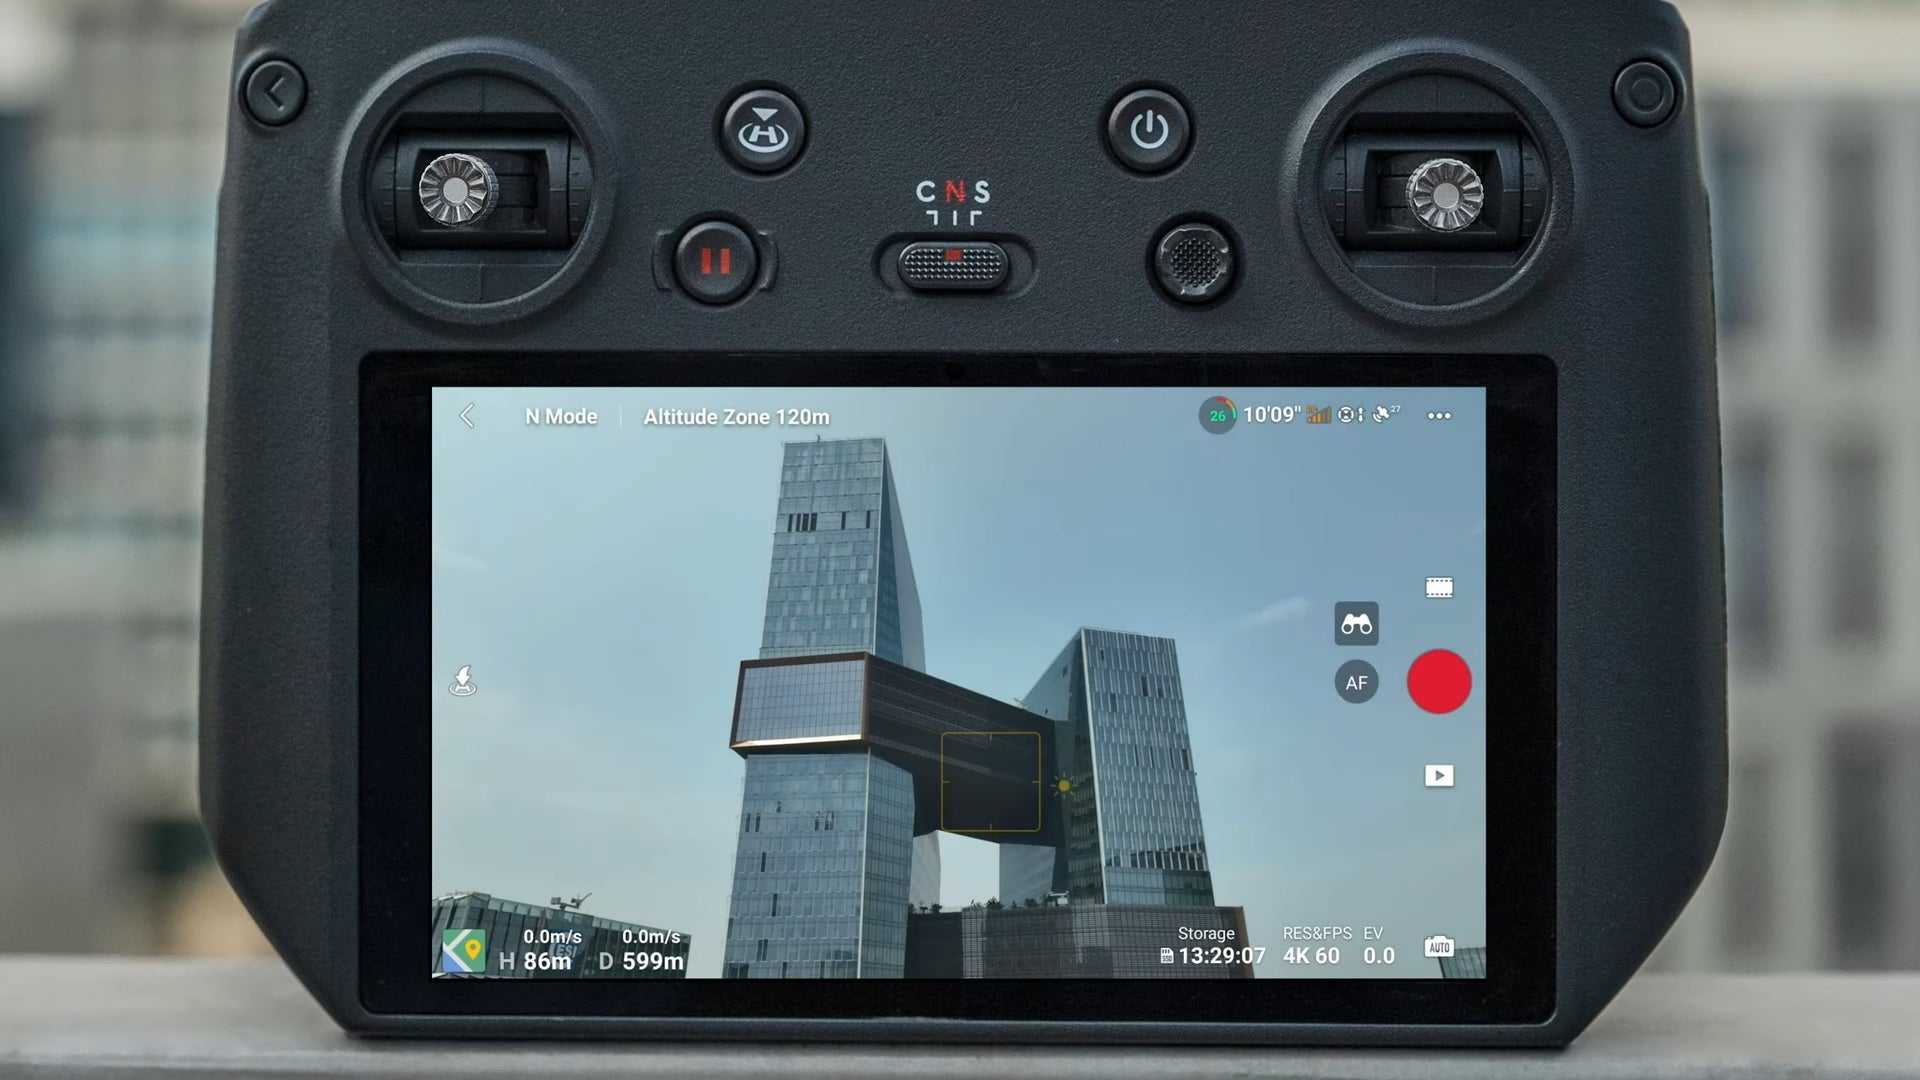
Tap the playback icon on the bottom right to view and download your footage shot on DJI Mavic 3 Cine.
