Products
DJI Mavic 2: How To Update Firmware
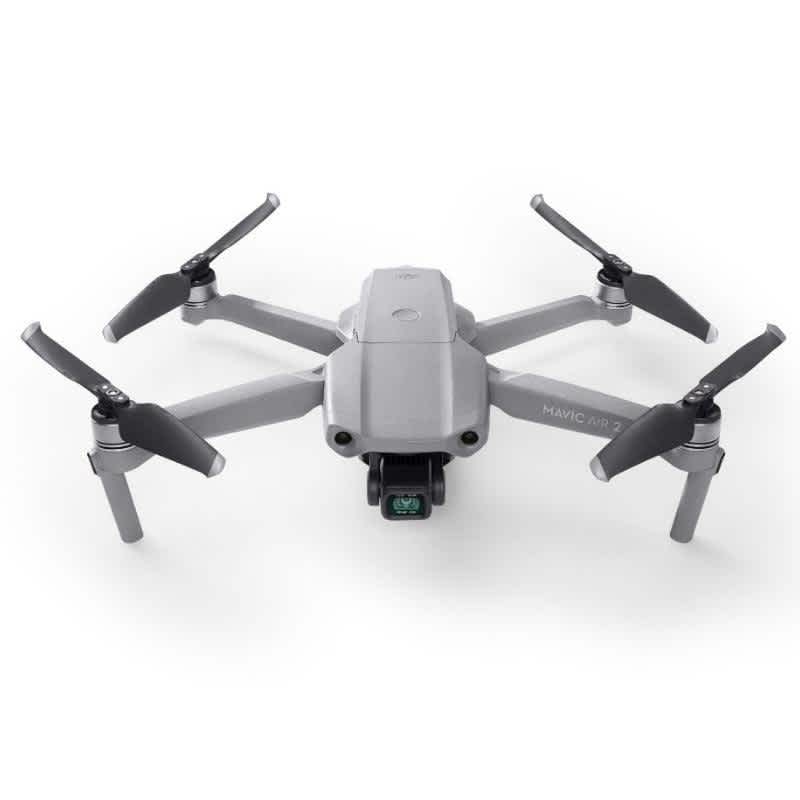
Updating your DJI Mavic 2 firmware is simple and easy with this fast tutorial.
To ensure your DJI Mavic 2 can fly to its full potential, it's pivotal that you update your firmware when prompted. It only takes a few moments and will help fix any bugs or issues you may currently be experiencing.
Updating the firmware means the latest firmware has been uploaded to your DJI Mavic 2 and Remote Controller. This will result in a smoother and safer flying experience.
Turn On Mavic 2 and Remote Controller
Connect Phone to Internet
Link Mavic 2 and Remote Controller
Launch DJI GO 4 App
'New Firmware' Notification will Appear
Click 'Download'
Change Each Battery to Update Them
Firmware is Updated
It's vital to keep your firmware updated, as it ensures your aircraft functions at its fullest capabilities. If you need any help, support, or advice regarding firmware updates, give us a call or email.
