Products
DJI Mavic Air 2: How To Update Firmware
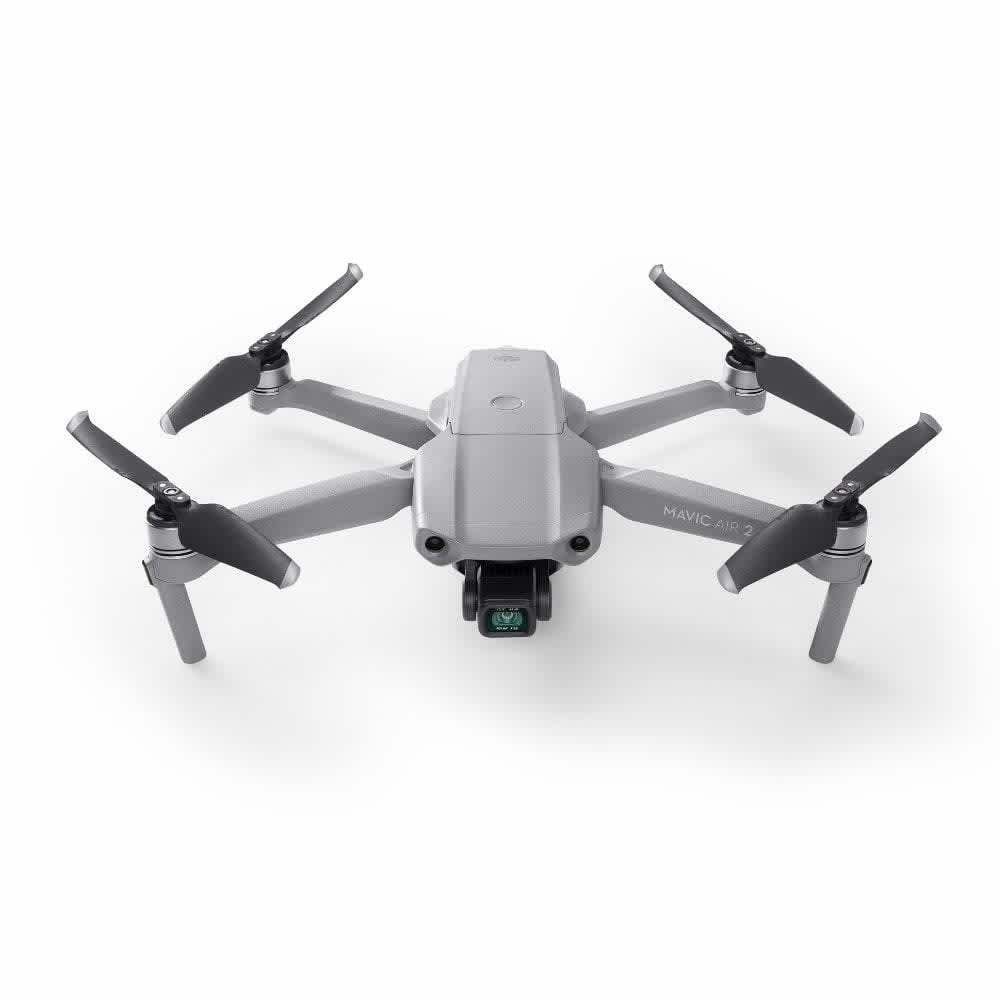
Learn how to easily update your DJI Mavic Air 2 firmware with this fast heliguy™ tutorial.
There are multiple reasons why you should be updating your DJI Mavic Air 2 firmware.
Some examples include; better GPS tracking, improved Intelligent Flight Modes and adjustments to Obstacle Avoidance systems.
Updating your DJI Mavic Air 2 has never been easier.
Grab your DJI Mavic Air 2 and the Remote Controller to get started with this heliguy™ tutorial.
Updating the DJI Mavic Air 2 Firmware
Ensure Battery Level is Above 40%
Turn On the Remote Controller and Aircraft
Connect Your Smartphone to WiFi
Click Firmware Update Prompt
Keep App Open
The Aircraft Will Restart
Updating DJI Mavic Air 2 Controller
Connect Remote Controller to Laptop
Launch DJI Assistant 2
Select Device
Tap Upgrade Firmware
The Remote Controller is Updated
Now you've successfully updated your DJI Mavic Air 2 aircraft and Remote Controller you can safely fly.
It's important that you update your firmware every time there is an update available.
This will ensure your firmware is consistent and reliable during your flights.
