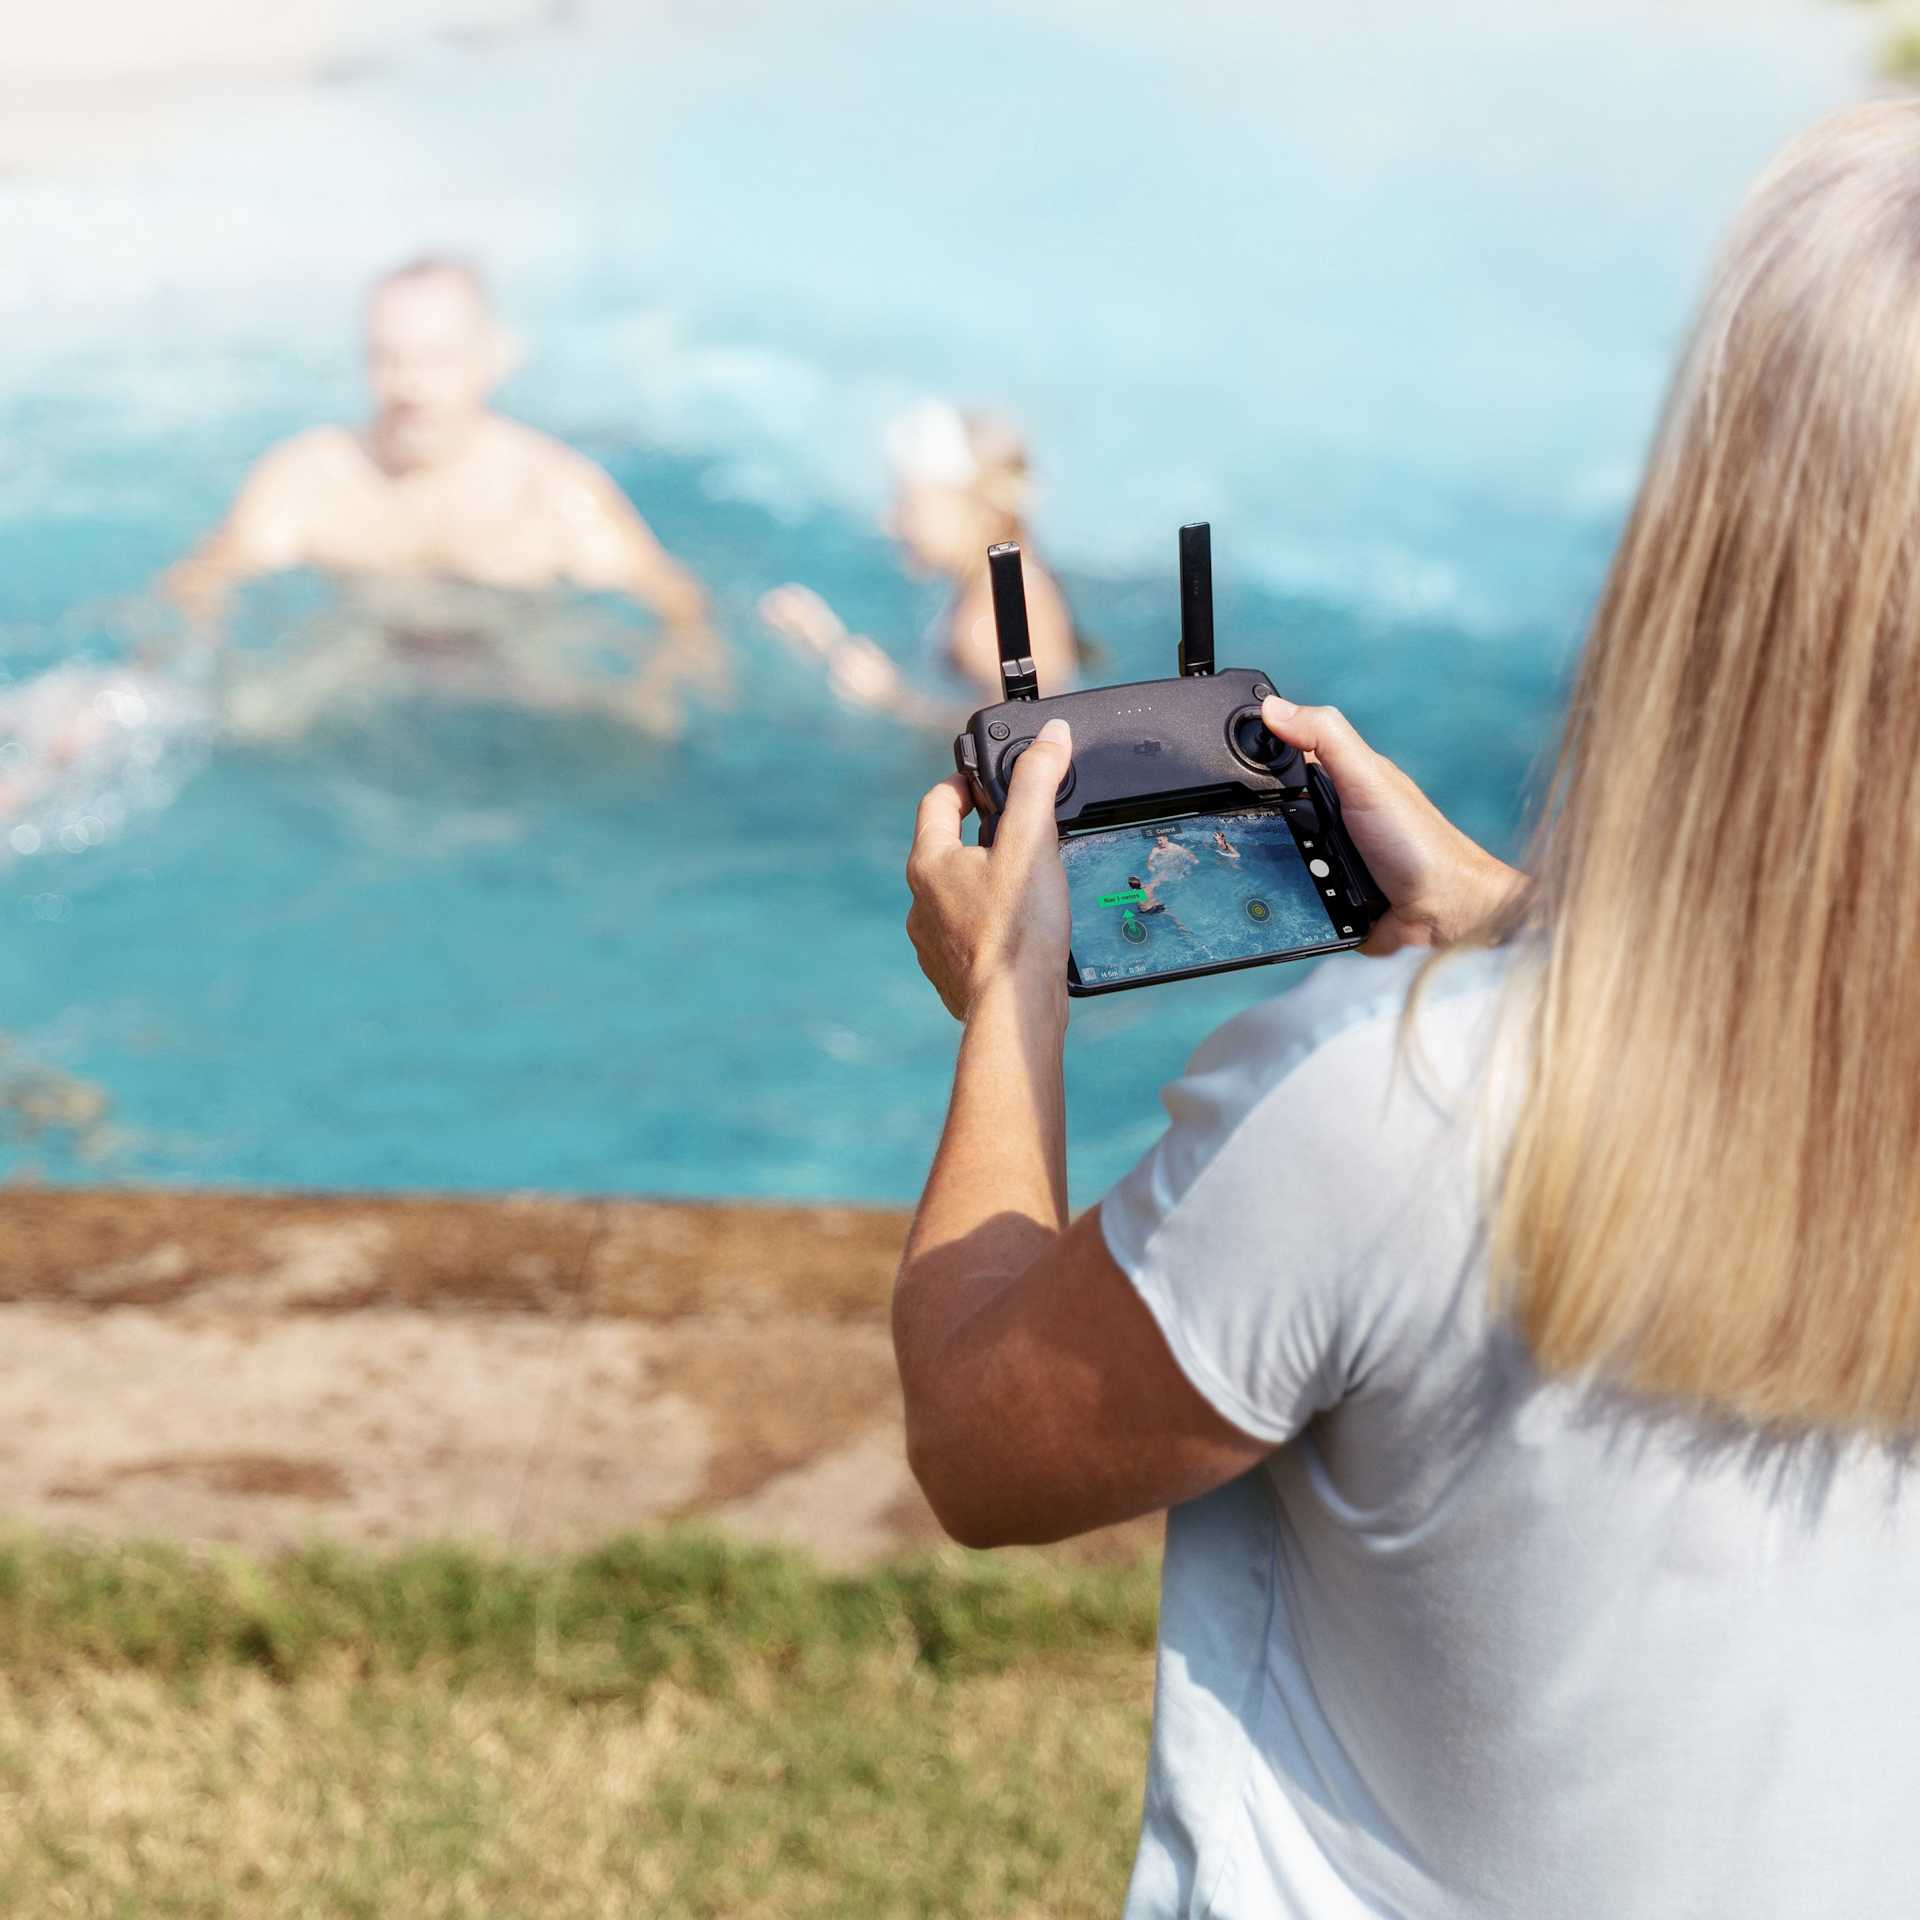
DJI Mavic Mini: How To Connect To Remote Controller
Learn how to connect your DJI Mavic Mini to the DJI Remote Controller manually through the Controller Settings.
Before you take flight, you must link your DJI Mavic Mini with the controller. Linking is only required when the linking status of the DJI Mavic Mini prompts you to do so.
This is represented as a fast-blinking yellow light at the back of the DJI Mavic Mini. In addition, the remote controller battery LEDs will slowly blink (see images below for reference).
Instructions
Link through the DJI Fly App.
Tap 'Settings' icon.
Select 'Control'.
Choose 'Connect to Aircraft'.
Hold down aircraft power button for four seconds.
Once all the LEDs on both the controller and DJI Mavic Mini have stopped blinking, you are ready to fly.
Next steps
If you need support or advice when connecting your DJI Mavic Mini with the controller, give us an email or call us.