News
Heliguy's Guide to the DJI GS PRO App
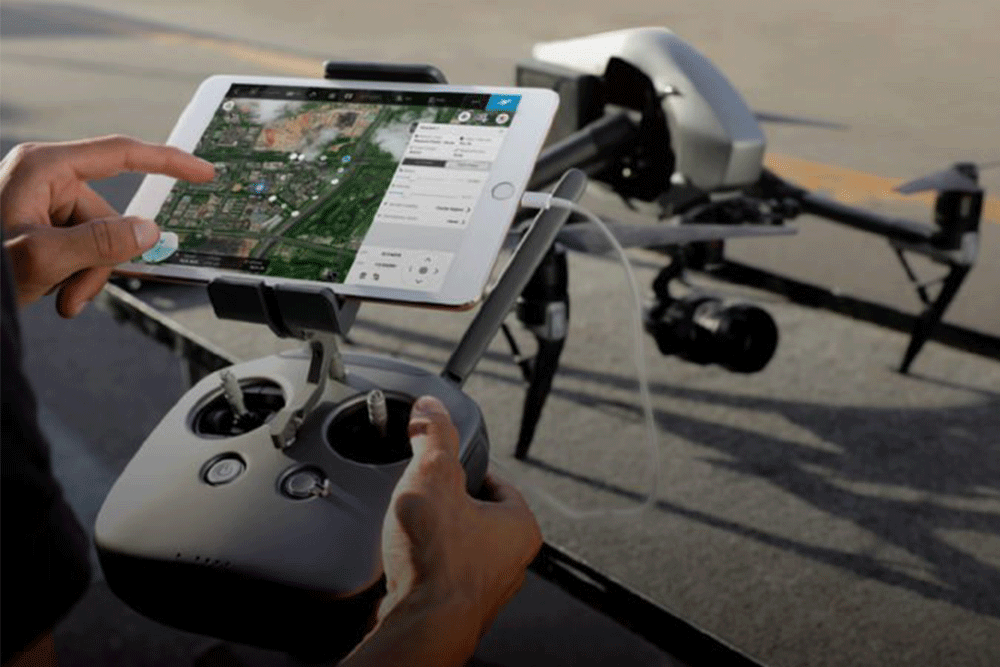
DJI recently release the DJI Ground Station Pro, also known as the GS Pro. Click here to see more about its features and our user guide. ... Read More

Features
See some of the great features of the GS Pro below.
Virtual Fence
The Virtual Fence increases safety and ease by locking the aircraft’s height and speed within a designated area. The function is useful when flying close to no-fly zones or if flight should only happen within a specific area. It can also be used during pilot training situations. As the aircraft approaches the virtual fence, it will brake and hover to ensure it stays within the flight area.
GS-Pro-2.png
Waypoint Flight
During a flight, up to 99 Waypoints can be set with up to fifteen consecutive actions. These include Aircraft Rotation, Stop and Start Recording, Gimbal Pitch, Photo Capture and Hover. These waypoints can be customised to fit your needs during the mission.
3D Mapping
Create accurate 3D maps with the GS Pro’s 3D Map Area. Simply draw a custom polygonal flight zone onscreen or fly around the zone to mark the area using the aircraft’s GPS. The GS Pro will then automatically generate the most efficient flight paths, taking the required images for 3D mapping, to be input into 3D reconstruction software.
3D Map Point of Interest (POI)
Create detailed renders of tall structures with 3D Map POI. Simply choose the subject and set a distance between it and the aircraft. GS Pro will moderate the parameters including speed and time required to circuit the structure to gather precise data required. A number of fantastic features are available, such as the Circle Mode to generate a composite 3D image by flying a circular path at different altitudes, and Vertical Mode to create accurate imaging of structures. Please note, these feature come at an additional cost to the base app. This comes as an in-app-purchase.
Compatible Products

Using the App
The GS Pro’s mapping interface is well-designed and simple to use. On opening the app, a standard satellite map appears, as well as any previously saved missions.
Interface Features
Home button
Aircraft connected icon
App mode
Number of GPS satellites with signal strength
Settings menu
Controller signal strength
Aircraft battery level and voltage
Name of camera and signal strength
iPad battery level
Start button

Home Screen Functions
During a mission, the GS Pro’s main screen shows the top data bar, mapped area, take off point, aircraft in flight aircraft telemetry and camera view. Additionally, the following options are present:
Show/hide waypoint paths switch
Current location target button
Satellite view
Map view
Hybrid view toggle switch
Map rotation lock and unlock switch
The app will track your current location when connected to the internet by Wi-Fi or 4G network.
Creating a New Mission
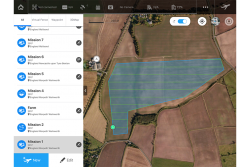
To create a new mapping mission, simply tap the ‘New Mission’ button and select the desired type of mission from the icons. For example, select a ‘3D Map’, then outline a new map area on the underlying map or, if your drone is airborne, select the ‘Aircraft’ mode to select your desired perimeter points for your map. Once you have outlined your mission area, the Mission data panel will appear. Once the map has been plotted, a panel containing information on your map will appear including the map’s parameters which can be adjusted as required. The map’s shape and size can also be edited by dragging the handles on the app. This allows you to create indents in your set perimeters. This feature is not available in most third party apps, however, it is available in DroneDeploy. With Pix4Dcapture, only square or rectangular map areas can be created. To delete any points or handles, simply highlight and tap the trash icon.
App Settings
The app has many different parameters you can change to suit your aircraft's mission. These are broken down into Basic and Advanced settings.
Basic Settings
GS-Pro-Basic-Screenshot-250x167.png
Camera Model
The Camera Model will automatically update when the app is connected to your aircraft. This should be checked to receive the best image quality and your optimal flight path.
Shooting Angle
You can choose from Parallel to Main Path, where the angle of the camera is adjacent to the to the angle of the path, or Vertical to Main Path, where the camera angle is vertical to the main path.
Capture Mode
Hover & Capture at a Point – In this mode, the aircraft will hover and capture images at each of the generated waypoints. This provides stable shooting and more accurate mapping, however, a greater number of waypoints are required increasing the mission length. Capture at Equal Dist. Interval & Capture at Equal Time Interval – Both modes are quicker than the Hover & Capture at a Point as fewer waypoints are required. The capture interval and flight speed are automatically calculated. Missions will be shorter due to short exposure times.
Flight Course Mode
Scan Mode – Scan Mode will provide the fastest route to cover your specified area. This mode will not be suited to concave polygons flight areas. Inside Mode – In this mode, every part of the flight course will be inside the specified area. For a convex polygon, the course will be the same as in Scan Mode, however, for a concave polygon, an accurate course will be provided.
Speed
The flight speed can only be set when using the Hover & Capture at a Point. Speed can be set from 2 to 15m/s.
Altitude
The aircraft’s altitude can be set between 5 and 200m with the default being 50m.
Advanced Settings

Front Overlap Ratio
The Front Overlap Ratio is the percentage each picture overlaps on the main path. The default is set at 90% and can be adjusted from 10% to 99%. Reducing overlap can reduce mission time, however, can decrease map quality.
Side Overlap Ratio
The Side Overlap Ratio is the percentage each picture overlaps on two parallel main paths. The default is set at 60% and can be adjusted from 10% to 99%. Reducing overlap can also reduce mission time, however, can decrease map quality.
Course Angle
The Course Angle is the angle of the main path. East is 0°, with an increasing positive value when moving counterclockwise. The range can be set from 0° to 360°.
Margin
The margin can be expanded or narrowed for control over the area of flight. In Scan Mode, the range can be set between -30 and +30m. In Inside Mode, the range can be set between -30 and 0m.
Gimbal Pitch Angle
The Gimbal Pitch Angle can be set at each waypoint. The range can be set between -90° (downwards) to 0° (forward). This function is useful when mapping an area with hills.
End-Mission Action
Several actions can be selected following the completion of the aircraft’s mission. Return to Home (RTH) – The RTH altitude can be should be set before beginning your mission. The RTH default is 50m but can be set between 20 to 150m. Hover – The aircraft will hover at the final waypoint allowing the user to manually control the aircraft. Land – The aircraft will automatically land below the final waypoint and stop its motor.
Overall, the features in DJI's GS Pro app are great for both hobbyist wanting to pre-plan their routes and take their missions further, as well as professionals who want to create 3D maps and images. Its features are adaptable to fit the needs of the user or, for beginners, fully automated giving you a new level of control over your aircraft. It will be great to see DJI release the GS Pro on other platforms and we look forward to seeing this.
Keep checking back to Heliguy’s Insider blog for more information about DJI’s releases and, of course, the latest news from the drone industry.
