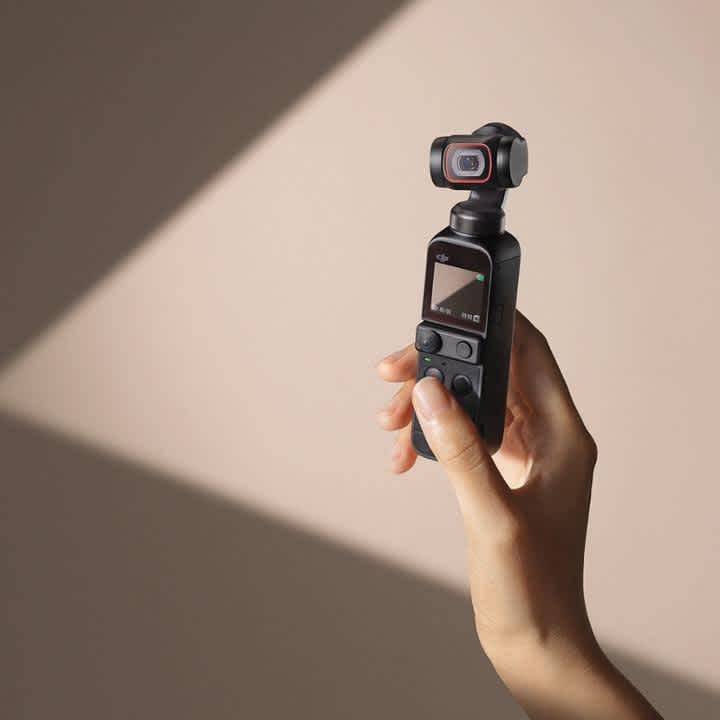
How To Use DJI Pocket 2: Basic Functions Tutorial
Learn how to use the DJI Pocket 2 basic user interface functions with this fast heliguy™ tutorial.
Now you've got the DJI Pocket 2 it's time to learn the basic user interface functions.
Learning the basics will open the doors for creativity and enable you to get the content you want. So let's jump into this fast and easy heliguy™ tutorial and learn all the basics to get started with the new DJI Pocket 2.
Instructions
Turn on the DJI Pocket 2.
Press the Function Button once.
In Camera Mode, tap the bottom left icon.
Press the Shutter Release Button.
In Video Mode, tap the bottom left icon.
Press the Shutter Release Button once.
Press the Function Button twice.
Press the Function Button three times.
Press and hold the Function Button.
Summary
That's all the basics covered! Now you've got the basics down, it's time to move on to more advanced functions. Check out our other DJI Pocket 2 tutorials in order to get the most out of this powerful gimbal.
If you require any assistance with your DJI Pocket 2 be sure to give us a call or email.