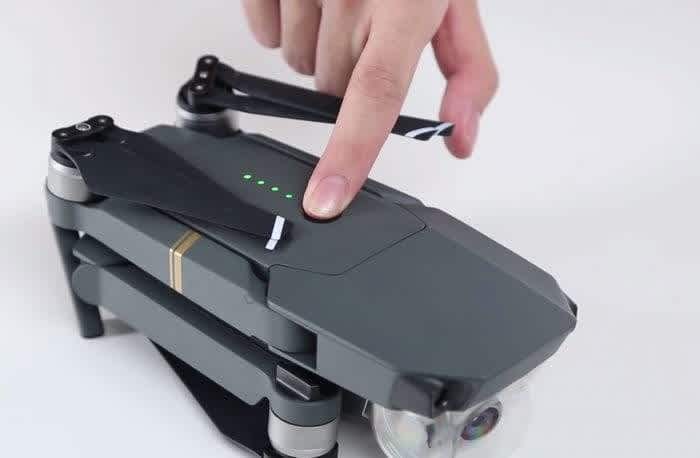
Mavic Pro IMU Calibration Tutorial
Learn how to recalibrate the IMU on your DJI Mavic Pro with this step-by-step guide from heliguy™.
The IMU on your Mavic Pro can sometimes fall out of sync when you’re using your quadcopter. If you have problems flying your Mavic, an IMU calibration may help you get back in the air.
heliguy™ has compiled this step-by-step guide to show you how to recalibrate your Mavic Pro’s IMU.
Before Calibrating the Mavic’s IMU
Install the latest DJI GO app from the relevant app store.
Ensure the aircraft battery and remote are fully charged.
Connect your Mavic’s remote control with your mobile device, which should also be fully charged.
How to Calibrate IMU on the Mavic Pro Quadcopter
You can proceed with the calibration if you’ve put the above prerequisites.
Here is a step-by-step guide:
Fold up your Mavic and place it on a completely flat surface.
Turn on the Mavic.
Open the DJI GO app on your mobile device.
Click the blue ‘Camera’ button.
Click the Main Controller settings option from the top of the screen (the icon that looks like a quadcopter at the top of the screen).
Select the ‘Advanced Settings’ option from the bottom of the menu on the right-hand side.
Tap the ‘Sensors’ option.
Ensure you’re on the IMU tab on this screen, then click the ‘Calibrate IMU’ option.
Follow the instructions on the screen, which tell you to remove the propellers and keep the aircraft on a flat surface. Then click the ‘Start Calibration’ button.
The app will prompt you to move the aircraft into five different positions. Move your aircraft into the position shown on screen and lay it flat on the surface.
Once you’ve moved your Mavic aircraft into these five positions and the app has calibrated the IMU, you’ll see a ‘Calibration Complete’ prompt on the screen - click this button to complete the process.
Next Steps
That’s it – your Mavic Pro’s IMU has now been calibrated.
If you have any issues, please contact us for direct support.