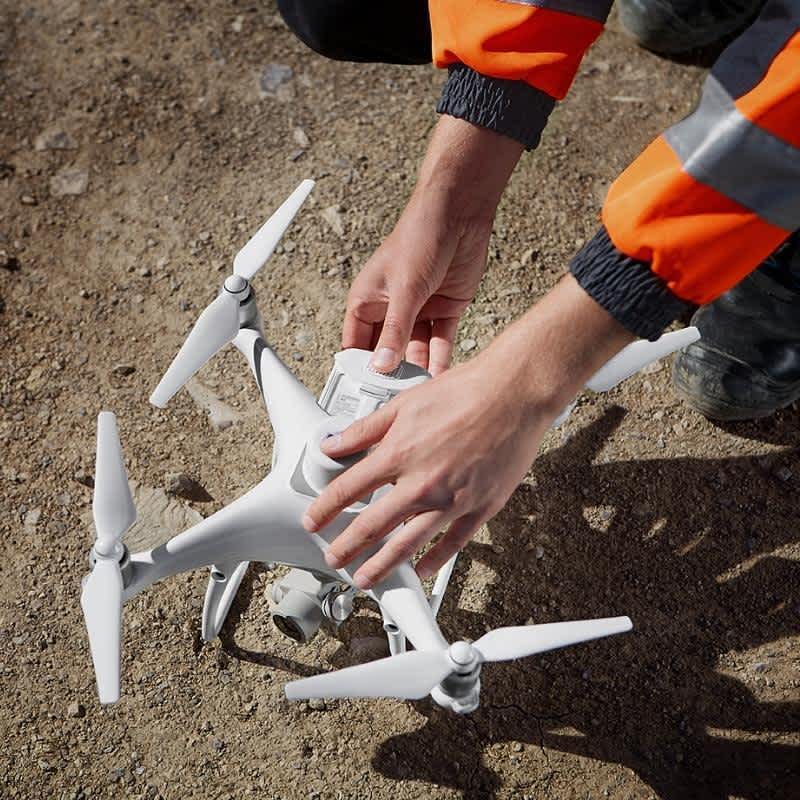
Phantom 4 RTK Tutorial: How to use the Phantom 4 RTK Photogrammetry

Phantom 4 RTK Tutorial: How to use the Phantom 4 RTK Photogrammetry

Need to learn the basics of the Phantom 4 RTK Photogrammetry features? Use this fast and easy Heliguy™ tutorial to get to grips with DJI Photogrammetry.

Last updated: Mar 09, 2021

1 minute read


In this quick Heliguy™ tutorial you will learn how to conduct a photogrammetry or mapping mission using the DJI Phantom 4 RTK.

The DJI Phantom 4 RTK provides unrivalled accuracy and detail when it comes to photogrammetry and mapping.

Most people are already familiar with the Phantom range of drones. The low barrier to entry makes the Phantom 4 RTK version even more attractive than existing solutions. 


  1. Connect to D-RTK 2 Mobile Station or a Network RTK service

    dji phantom 4 trk tutorial photogrammerty

    Ensure your DJI Phantom 4 RTK is connected to the D-RTK 2 Mobile Station or Network RTK service.

  2. Select Plan

    dji phantom 4 trk tutorial photogrammerty

    Select the Plan option.

  3. Choose Photogrammetry

    dji phantom 4 trk tutorial photogrammerty

    Now choose Photogrammetry 2D.

  4. Enter the Map Screen

    dji phantom 4 trk tutorial photogrammerty

    You will automatically be placed inside the Map Screen interface.

  5. Tap Map to Set First Waypoint

    dji phantom 4 trk tutorial photogrammerty

    It's now time to select your first flight waypoint. This will show up as purple dots. The remote controller location is the blue dot.

  6. Set All Waypoints

    dji phantom 4 trk tutorial photogrammerty

    Set all your flight waypoints. Once you have chosen the mapping area you can change the shape of the flight path.

  7. Adjust Flight Settings

    dji phantom 4 trk tutorial photogrammerty

    On the right side of the screen you may adjust the mission parameters.

  8. Tap Save

    dji phantom 4 trk tutorial photogrammerty

    You can now click Save. This will save your mission parameters so you can reliably reconduct the mission again.

  9. Click Invoke

    dji phantom 4 trk tutorial photogrammerty

    By clicking Evoke you will begin the flight.

  10. Execute Task

    dji phantom 4 trk tutorial photogrammerty

    Once prompted, slide to execute the mission task.

  11. Keep Antennas Pointed at Phantom 4 RTK

    dji phantom 4 trk tutorial photogrammerty

    Whilst the DJI Phantom 4 RTK is conducting the mission be sure to have the antennas facing the aircraft at all times. This promotes an uninterrupted connection between the remote controller and DJI Phantom 4 RTK.

  12. Complete Mission

    dji phantom 4 trk tutorial photogrammerty

    After the mission is complete you can now repeat the mission or upload your data where they can be processed.


The DJI Phantom 4 RTK is an expert piece of technology which provides accurate and reliable data.

If you need support or advice during your DJI Phantom 4 RTK Photogrammetry mission - contact us.


Leave a comment

Please note, comments must be approved before they are published

If you have a question or require urgent assistance, please contact us to ensure your query is dealt with quickly.

Please note, this hidden field is to prevent bot submissions and entering data will result in your comment being discarded without moderation.