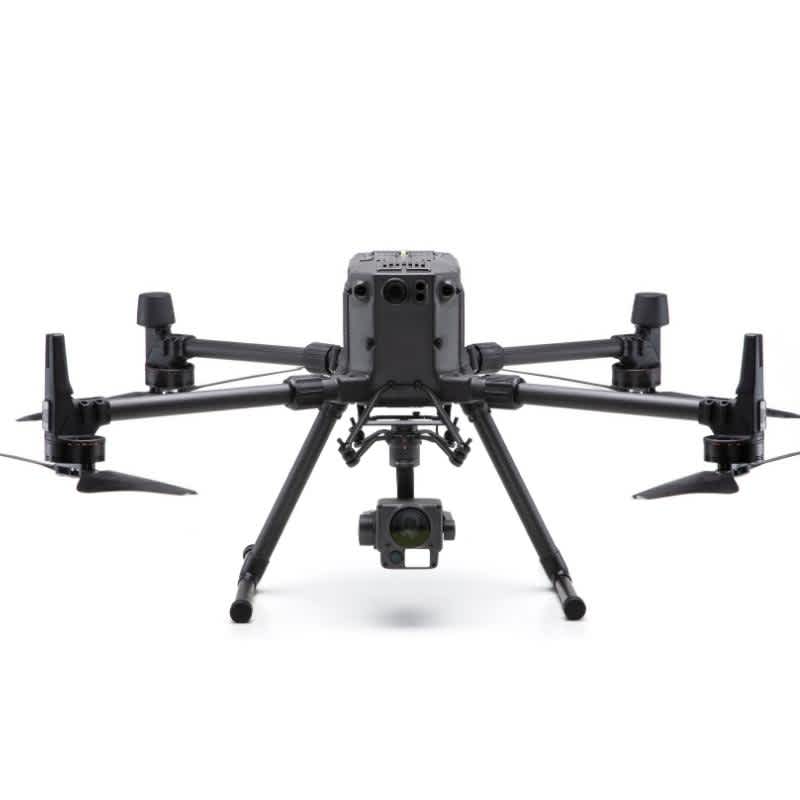
Zenmuse H20: Attaching & Activating Camera on the DJI M300 RTK
Learn how to attach the Zenmuse H20 to the DJI M300 RTK gimbal mount.
The Zenmuse H20 and H20T are IP44-rated multi-sensor cameras designed to enhance mission efficiency across various commercial applications, including firefighting, law enforcement, search and rescue, powerline inspections, and oil and gas operations.
Follow this quick heliguy™ tutorial to securely attach your Zenmuse H20 camera to your M300 aircraft.
Installation Steps
Align Gimbal Markings: Ensure the alignment of the gimbal and drone markings.
Attach and Rotate: Insert the gimbal and rotate it to lock into place.
Align Red Markings: Confirm that the red alignment markings match correctly.
Ensure Gimbal Camera is Attached: Double-check that the camera is securely mounted.
Turn on Aircraft and Remote Controller: Power on both devices.
Activate Camera: Complete activation in the DJI app.
Next steps
Now that your Zenmuse H20 camera is attached, explore its full range of advanced features to optimise your drone operations.
For further guidance, check out our detailed blogs on using DJI drones with Zenmuse cameras. If you need additional support, contact heliguy™ via phone or email.