News
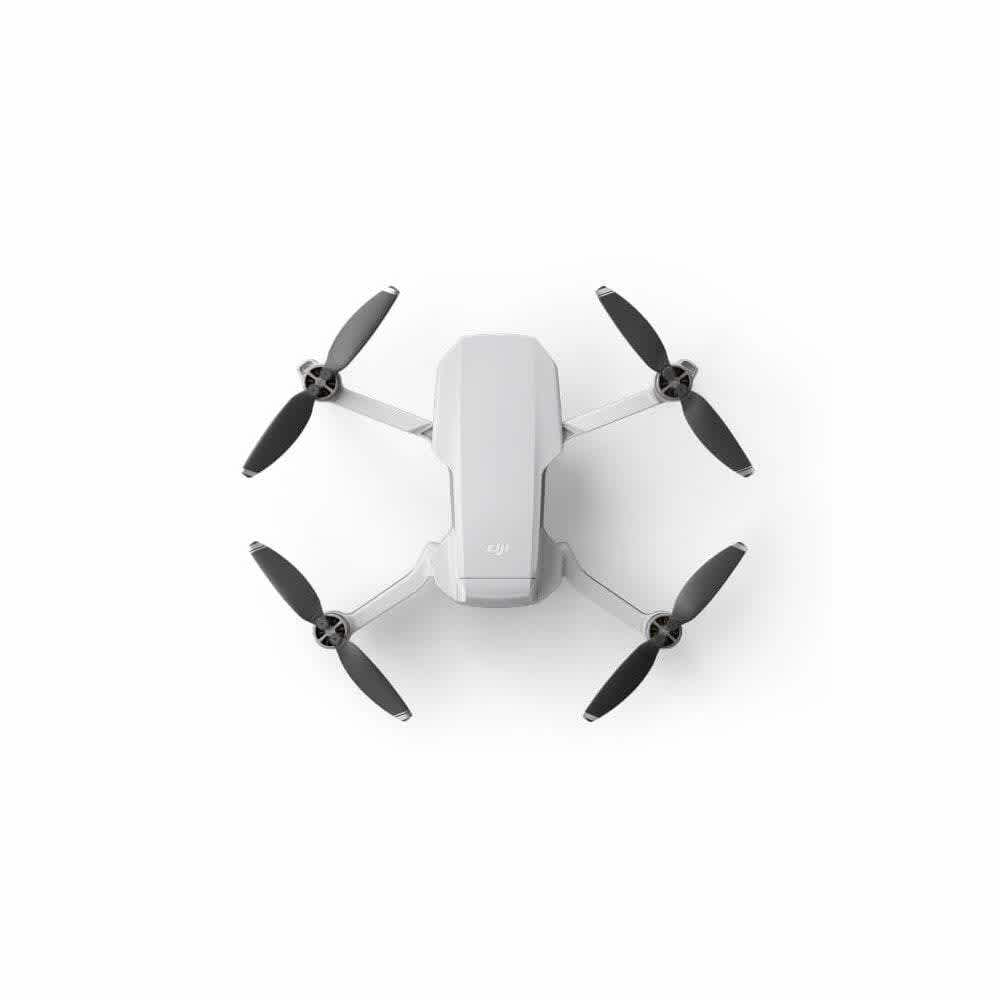
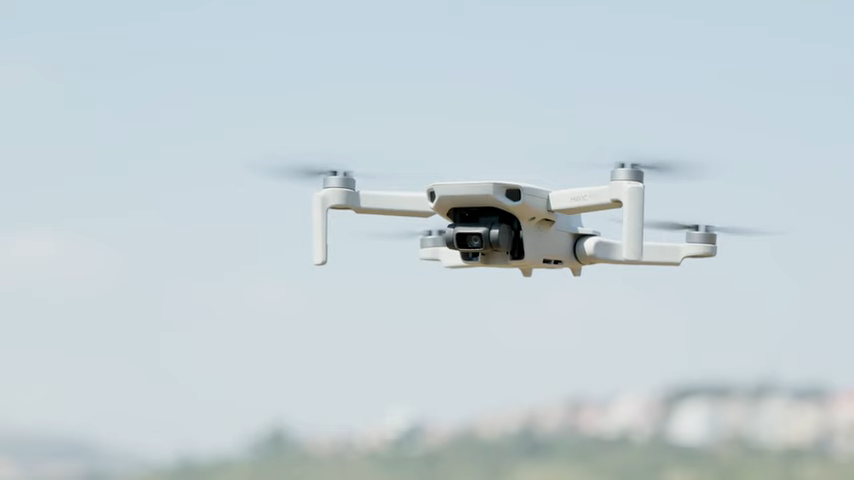
DJI Mavic Mini: How To Perform 'Helix' QuickShot
Use Helix for the DJI Mavic Mini and get a creative edge on your content creation game. Learn how to use Helix in this fast Heliguy™ tutorial. ... Read More
In 'Helix' mode you can create enchanting cinematic footage with just a few taps.
Fly complicated routes has been made easy with the 'Helix' mode offered by the DJI Mavic Mini.
In this fast Heliguy™ tutorial you will learn how to use the DJI Mavic Mini 'Helix' mode to create stunning content.
Take-Off

Choose 'Helix' in QuickShots
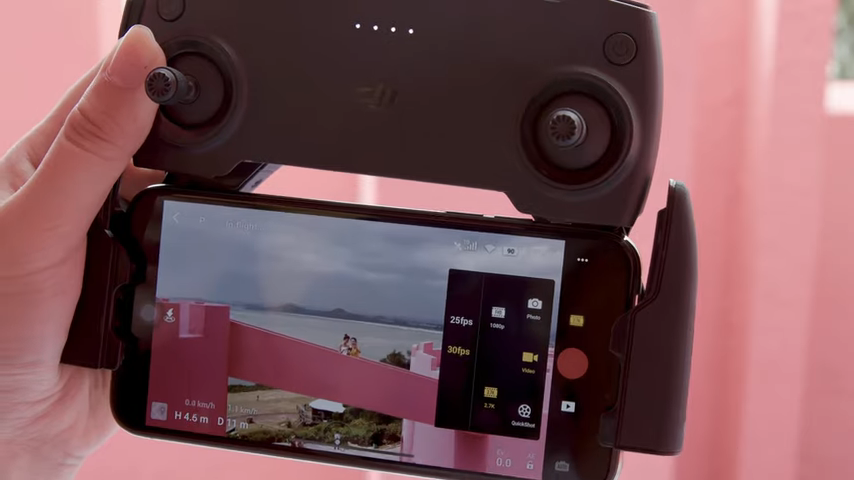
Select you flight radius
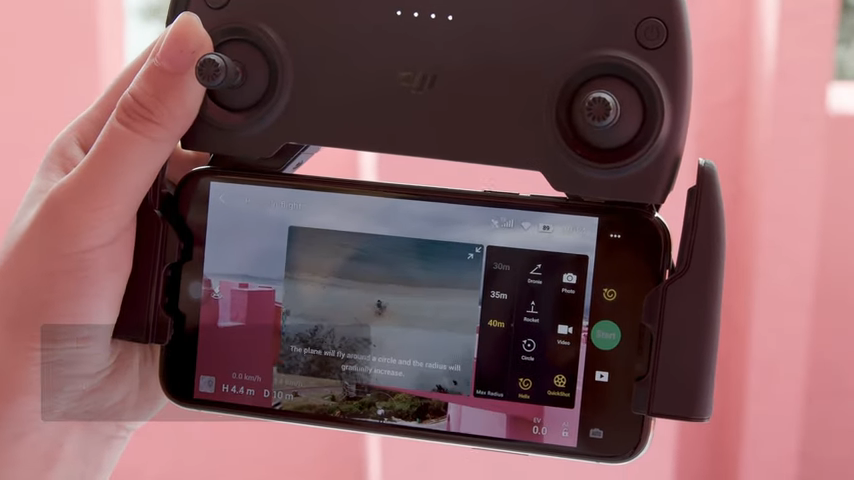
Define your subject
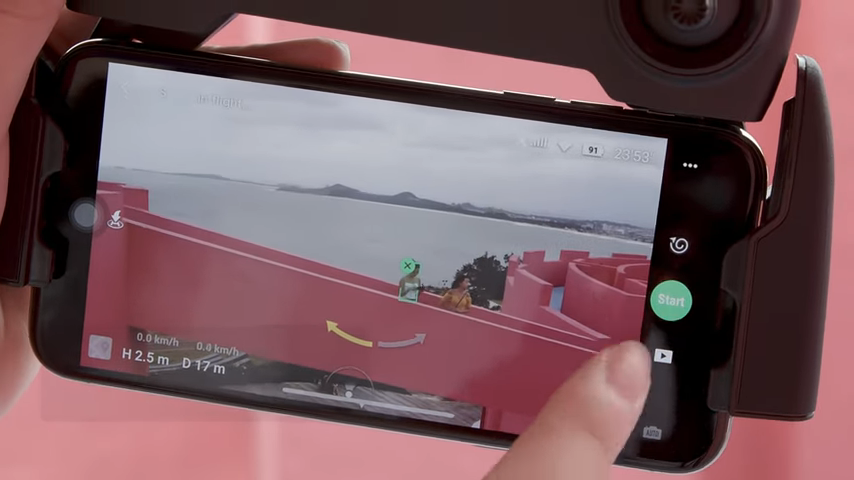
Tap 'Start' and wait
Exit QuickShot
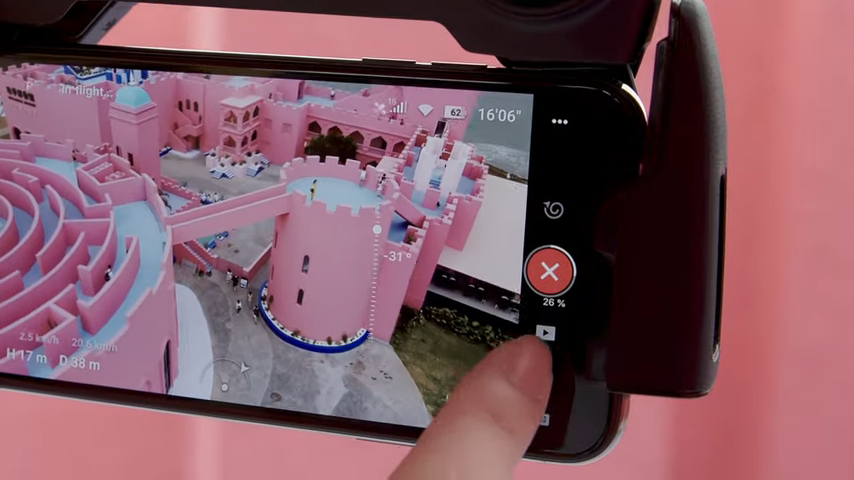
Remember, you can always preview and edit your video in the DJI Playback Interface.
Get creative with the 'Helix' QuickShot mode and show off your new cinematic footage.
If you require any assistance be sure to give us a call or email our expert drone team.
