News
DJI Mavic Mini: How To Use 'Dronie' QuickShot
The DJI Mavic Mini is perfect for those wanting to capture easy and stunning drone content. With the new ‘Dronie’ QuickShot mode, your creative freedom can be released to it’s fullest potential. In this fast Heliguy™ tutorial you will learn ... Read More
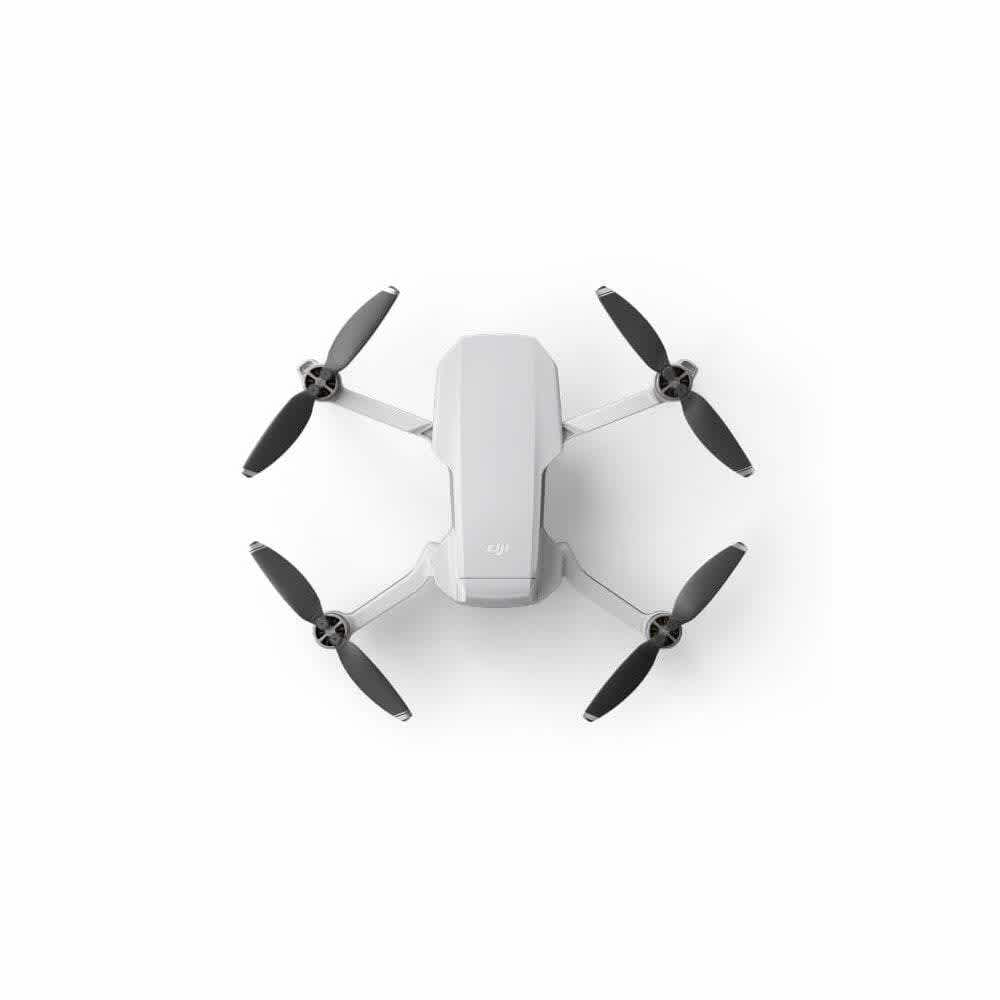
The DJI Mavic Mini is perfect for those wanting to capture easy and stunning drone content.
With the new 'Dronie' QuickShot mode, your creative freedom can be released to it's fullest potential.
In this fast Heliguy™ tutorial you will learn how to use the DJI Mavic Mini 'Dronie' QuickShot Intelligent Flight Mode.
Open 'QuickShot menu
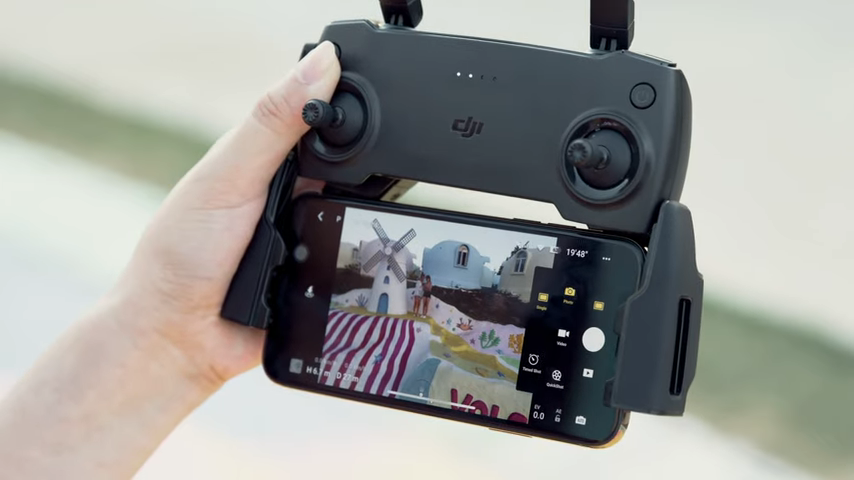
Select 'Dronie'
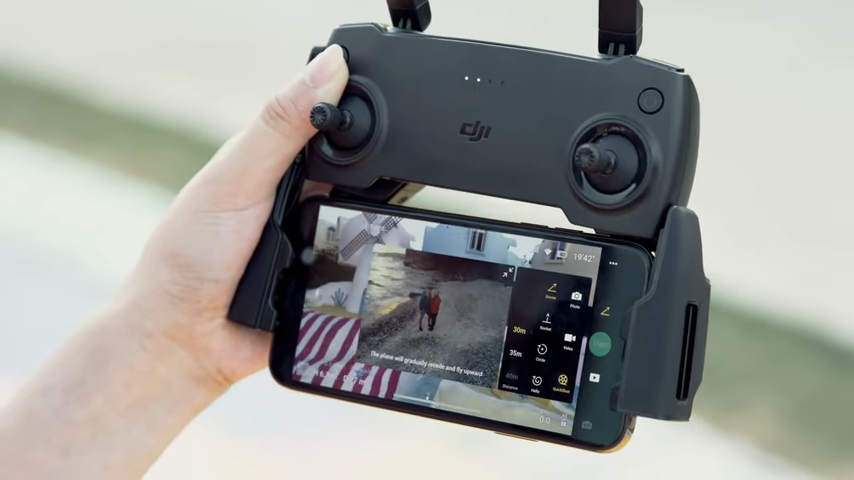
Set you flight distance
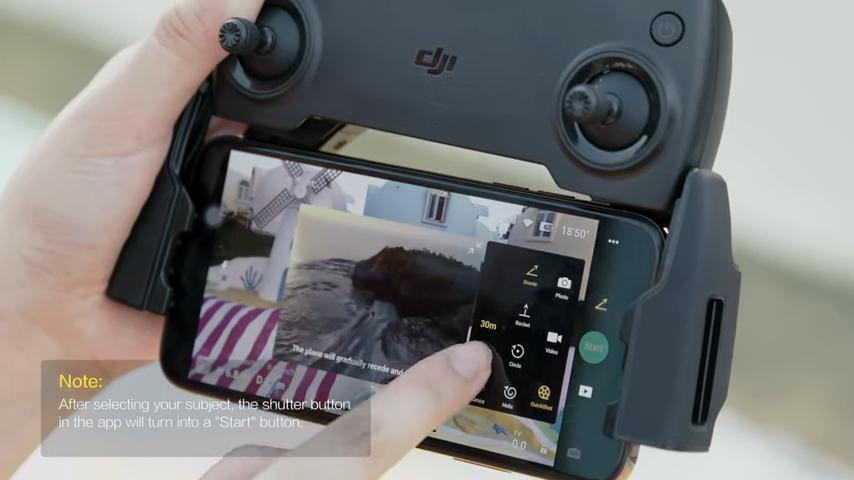
Select subject
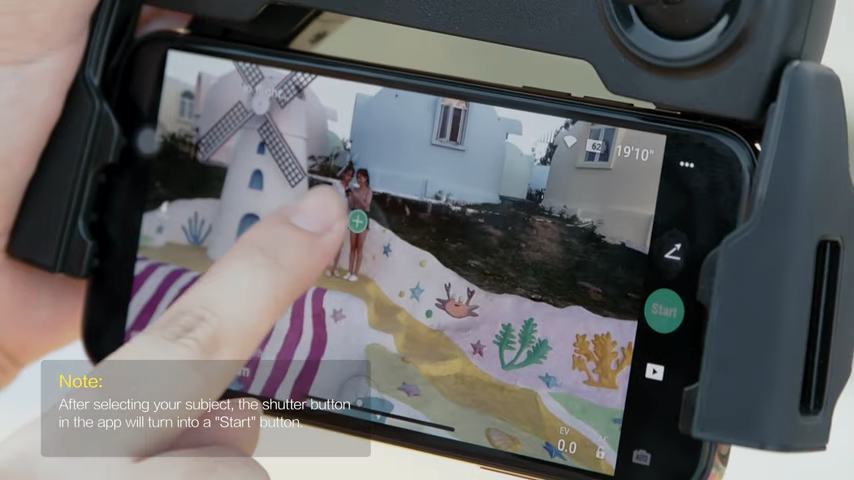
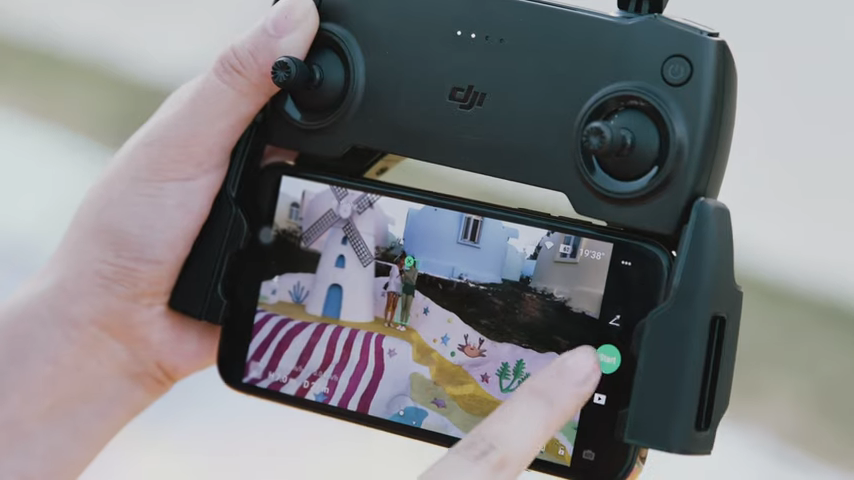
Tap 'Start'
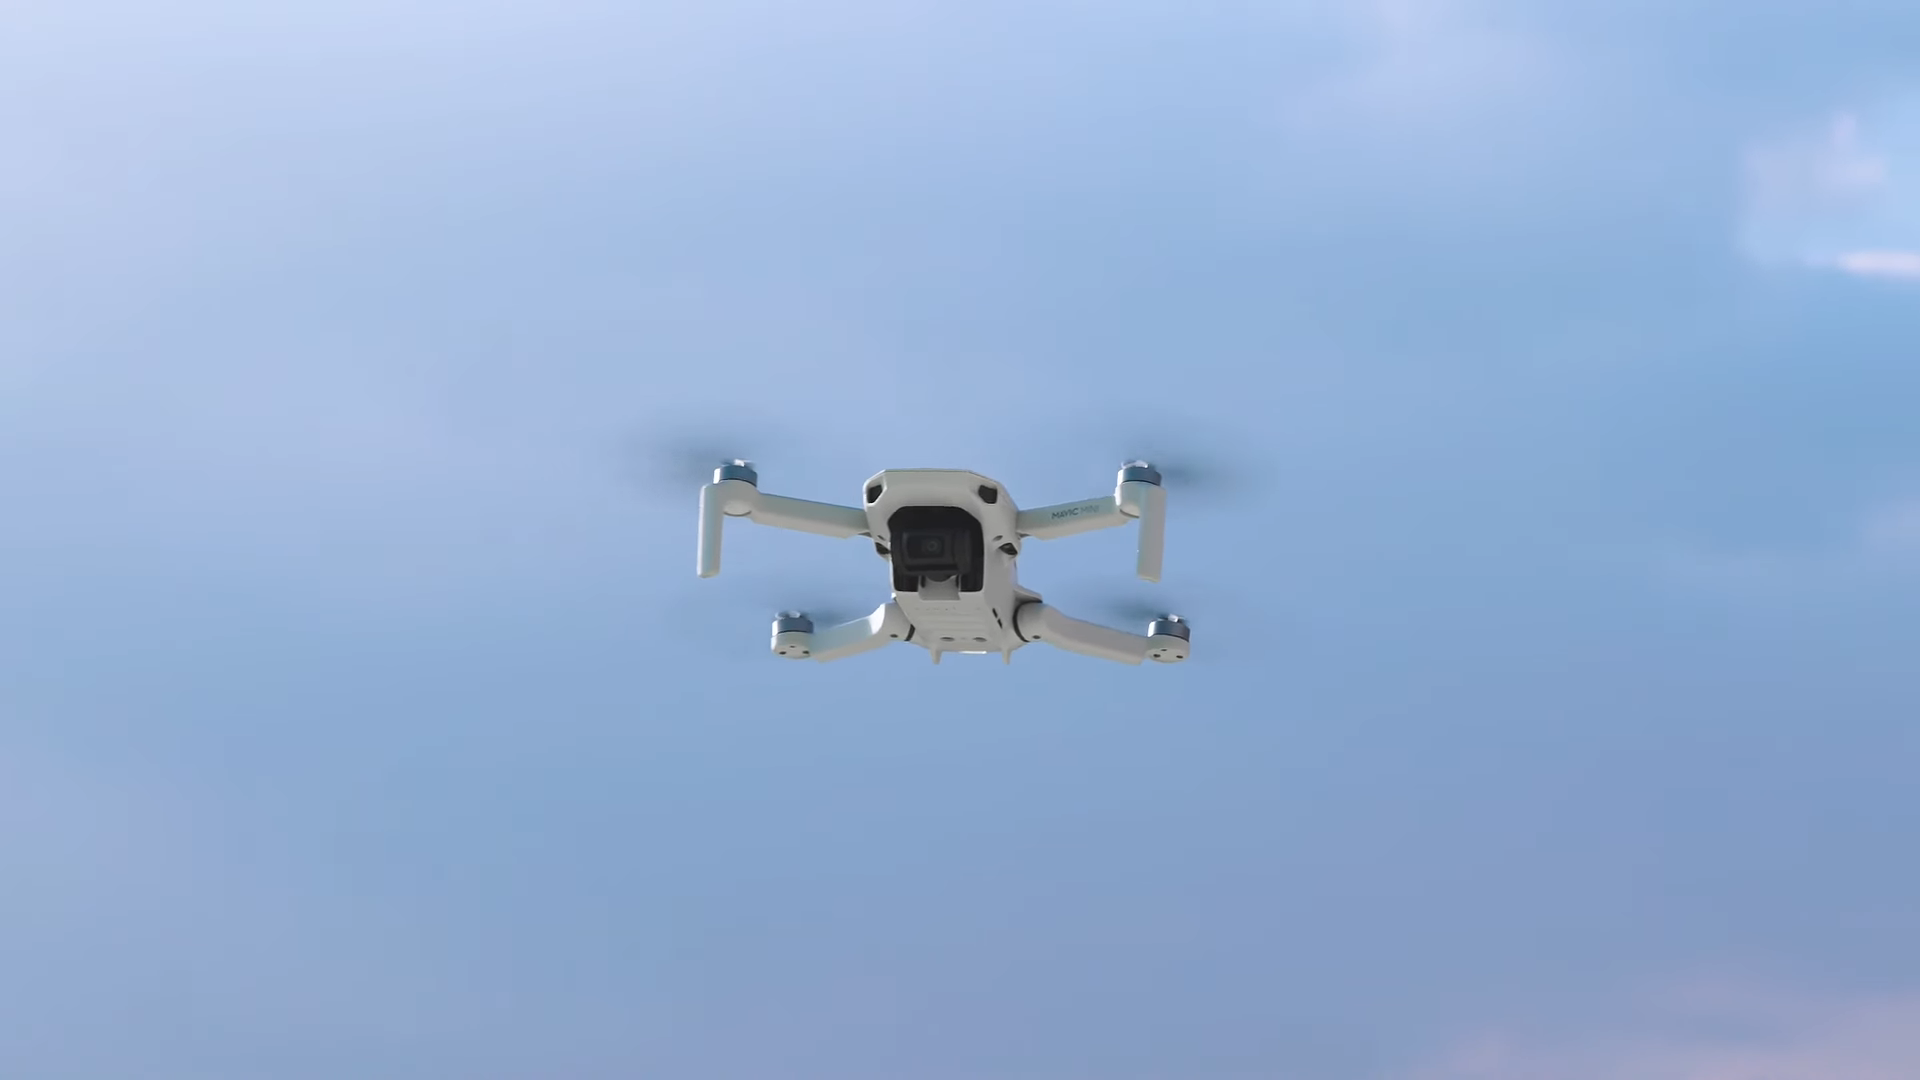
During 'Dronie'
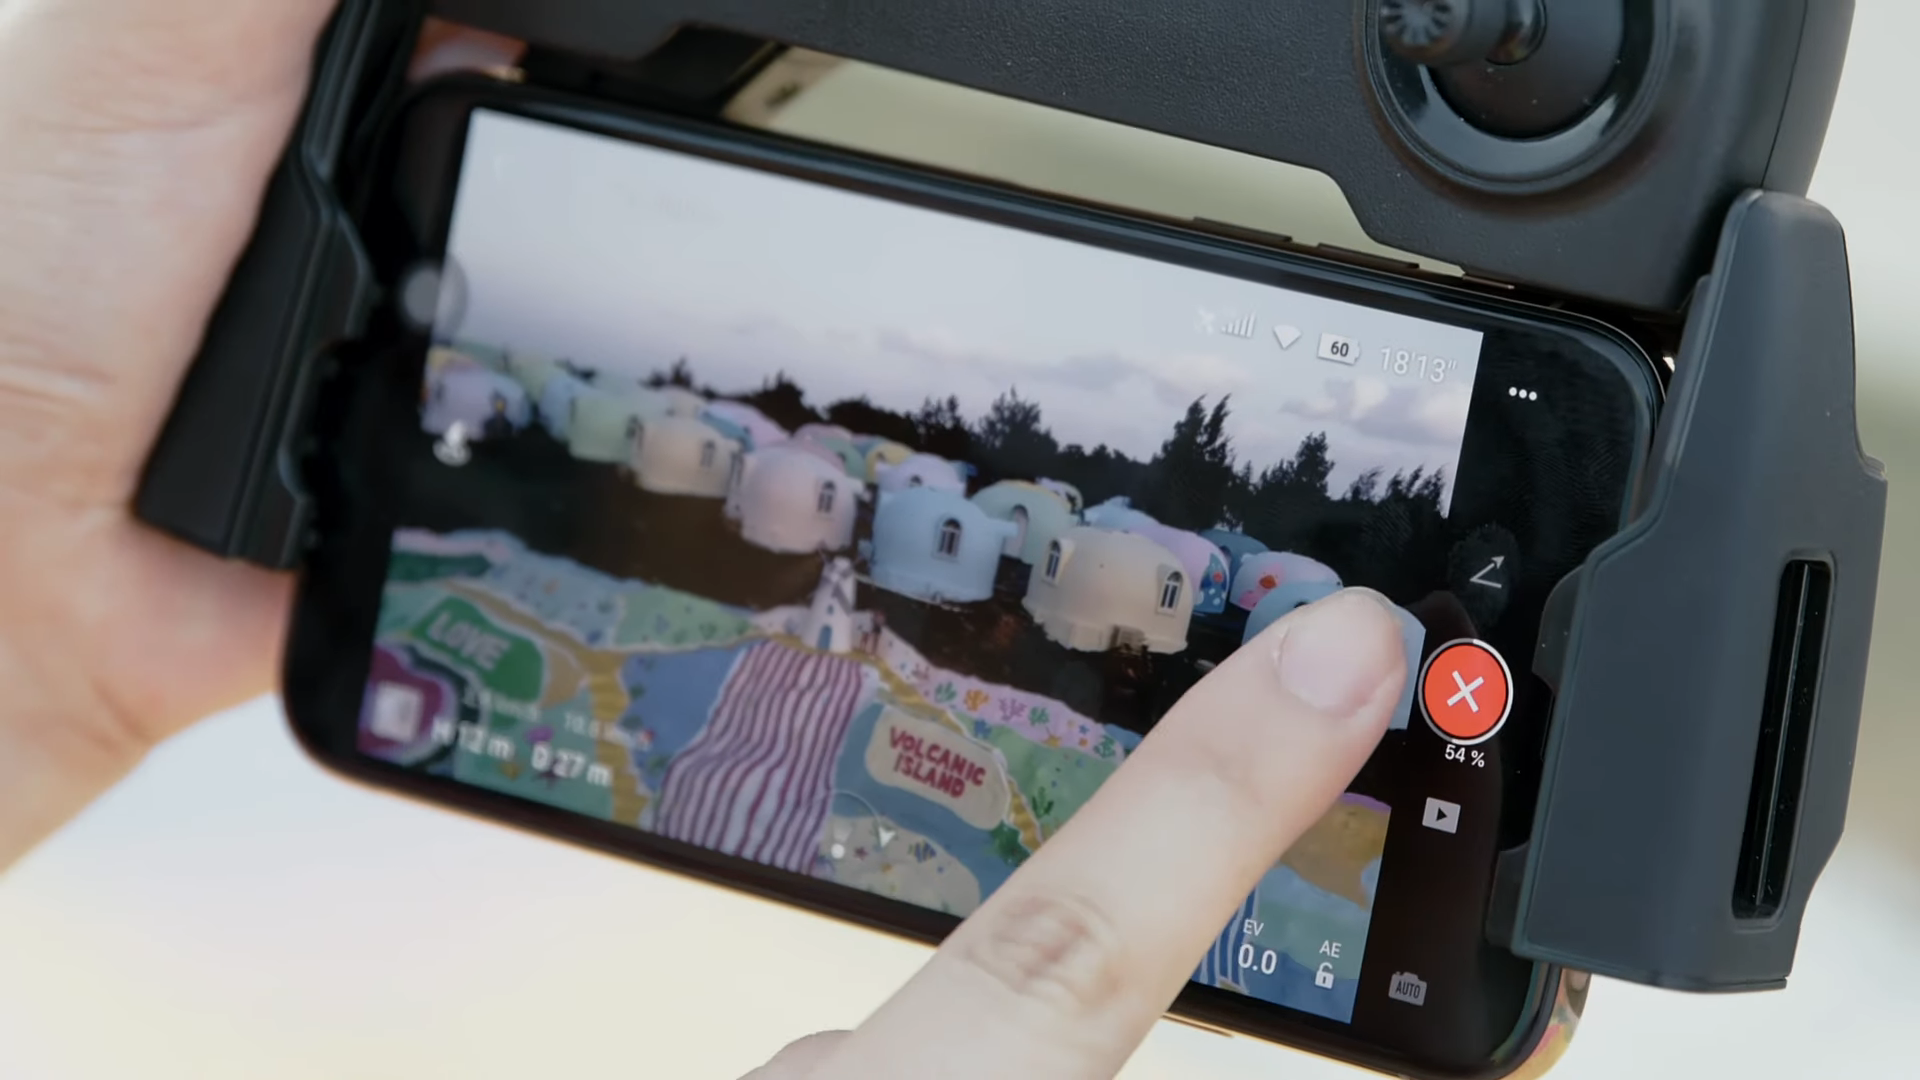
Click 'X' to stop recording
Rendering your recording
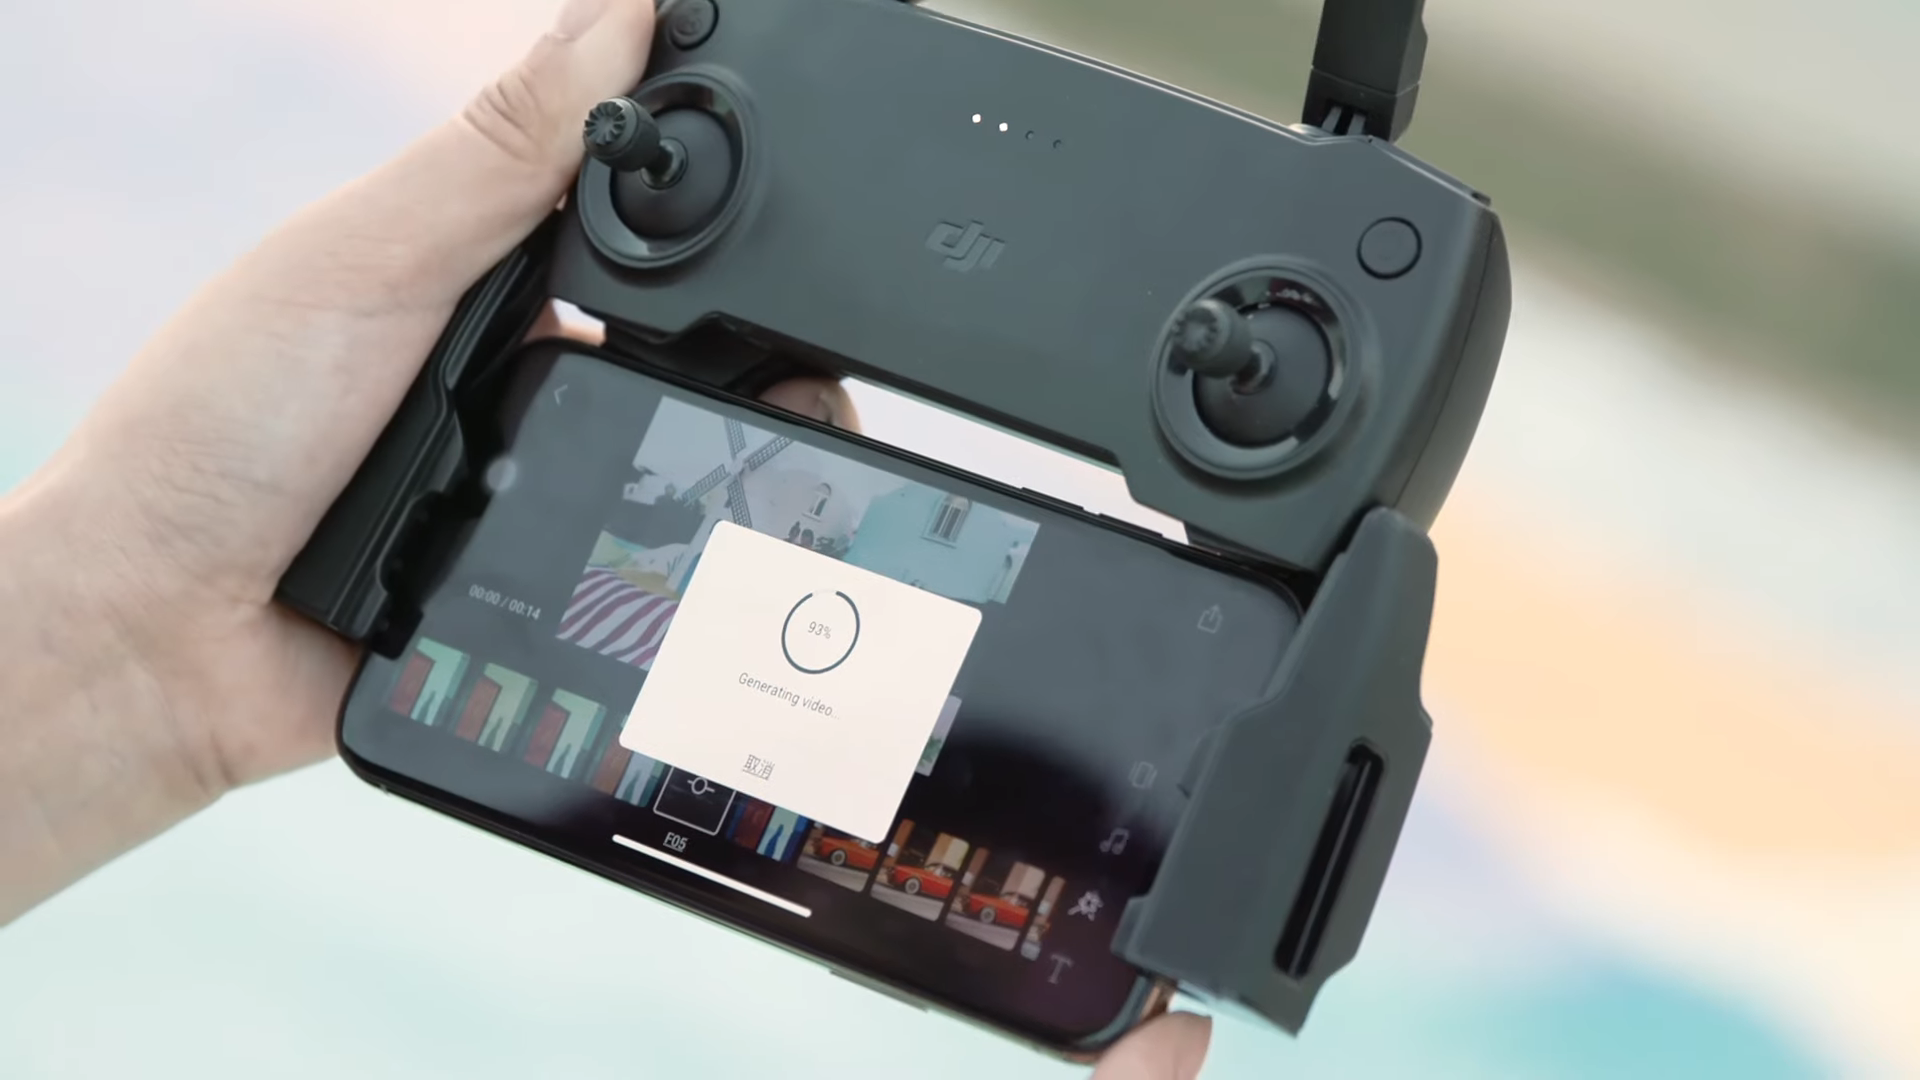
Remember you can always edit certain parts of the footage in the DJI Playback interface.
This gives you the opportunity to select the best parts to post on your social media.
If you require any help or guidance on your DJI Mavic Mini journey be sure to contact our expert drone team.
