News
How To Calibrate DJI Mavic 2
Calibrating your DJI Mavic 2 aircraft can seem daunting. After reading this super simple tutorial you'll calibrate your DJI Mavic 2 with ease. ... Read More
Before you fly your DJI Mavic 2 in a new location, it's important to ensure your aircraft has been calibrated correctly.
Calibrating the DJI Mavic 2 enables you to fly safely, track GPS efficiently and connect seamlessly with the aircraft.
The DJI Mavic 2 takes a matter of moments to calibrate. This is how you do it.
How to Calibrate IMU on the DJI Mavic 2
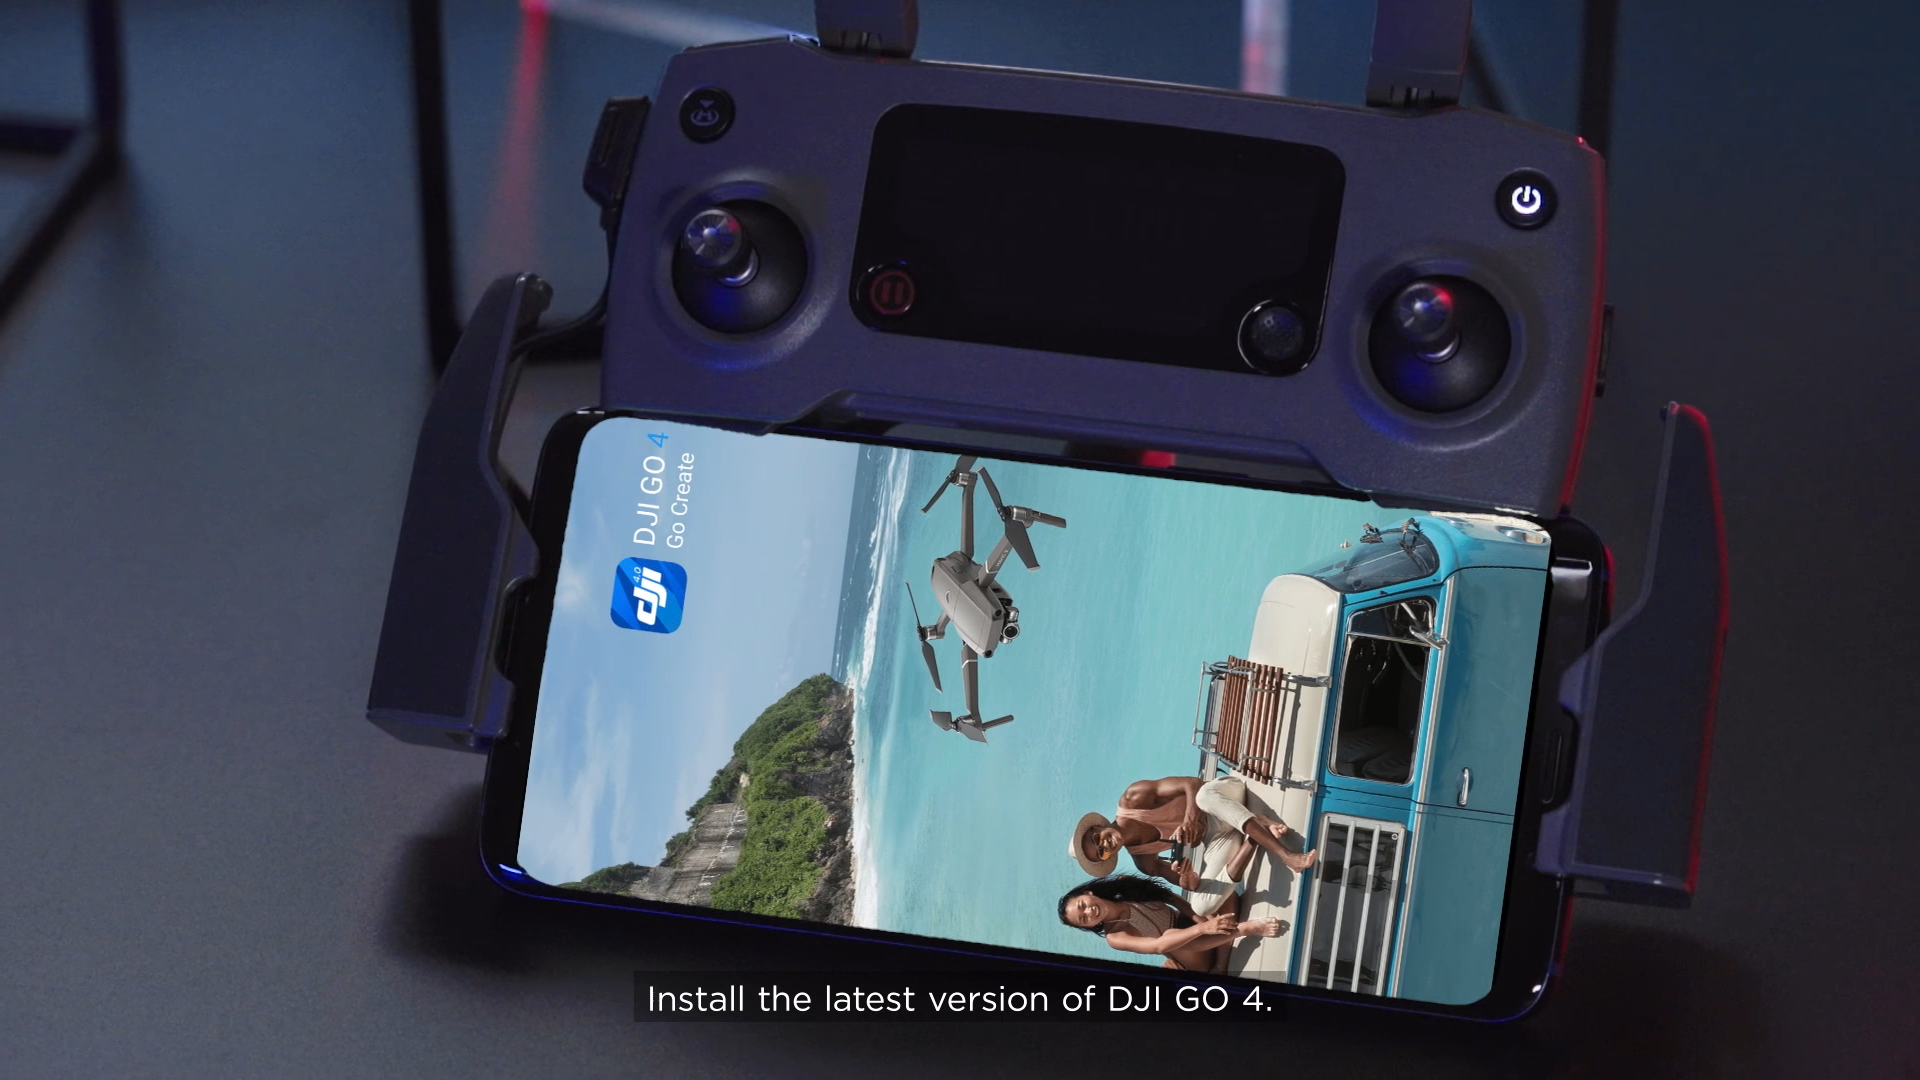
Install Latest Version of DJI GO 4.
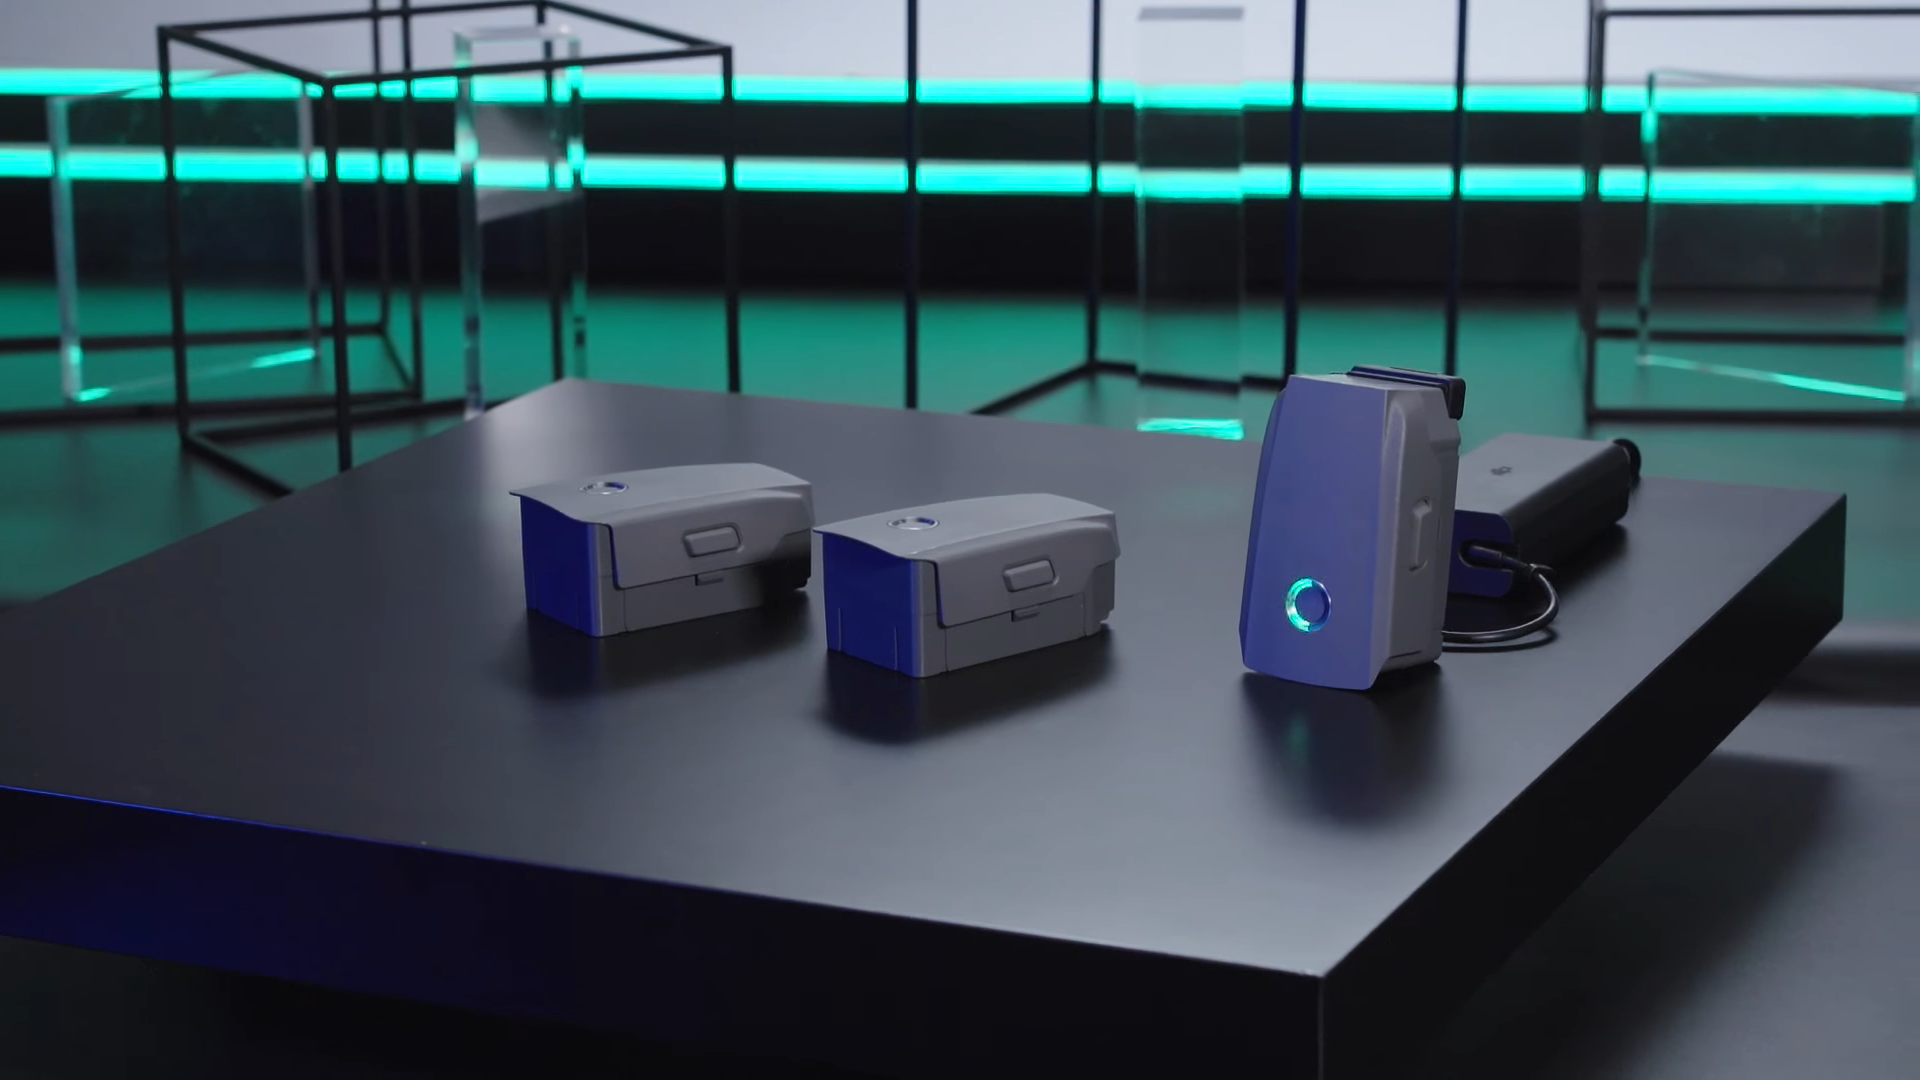
Ensure Battery is Higher Than 50%.
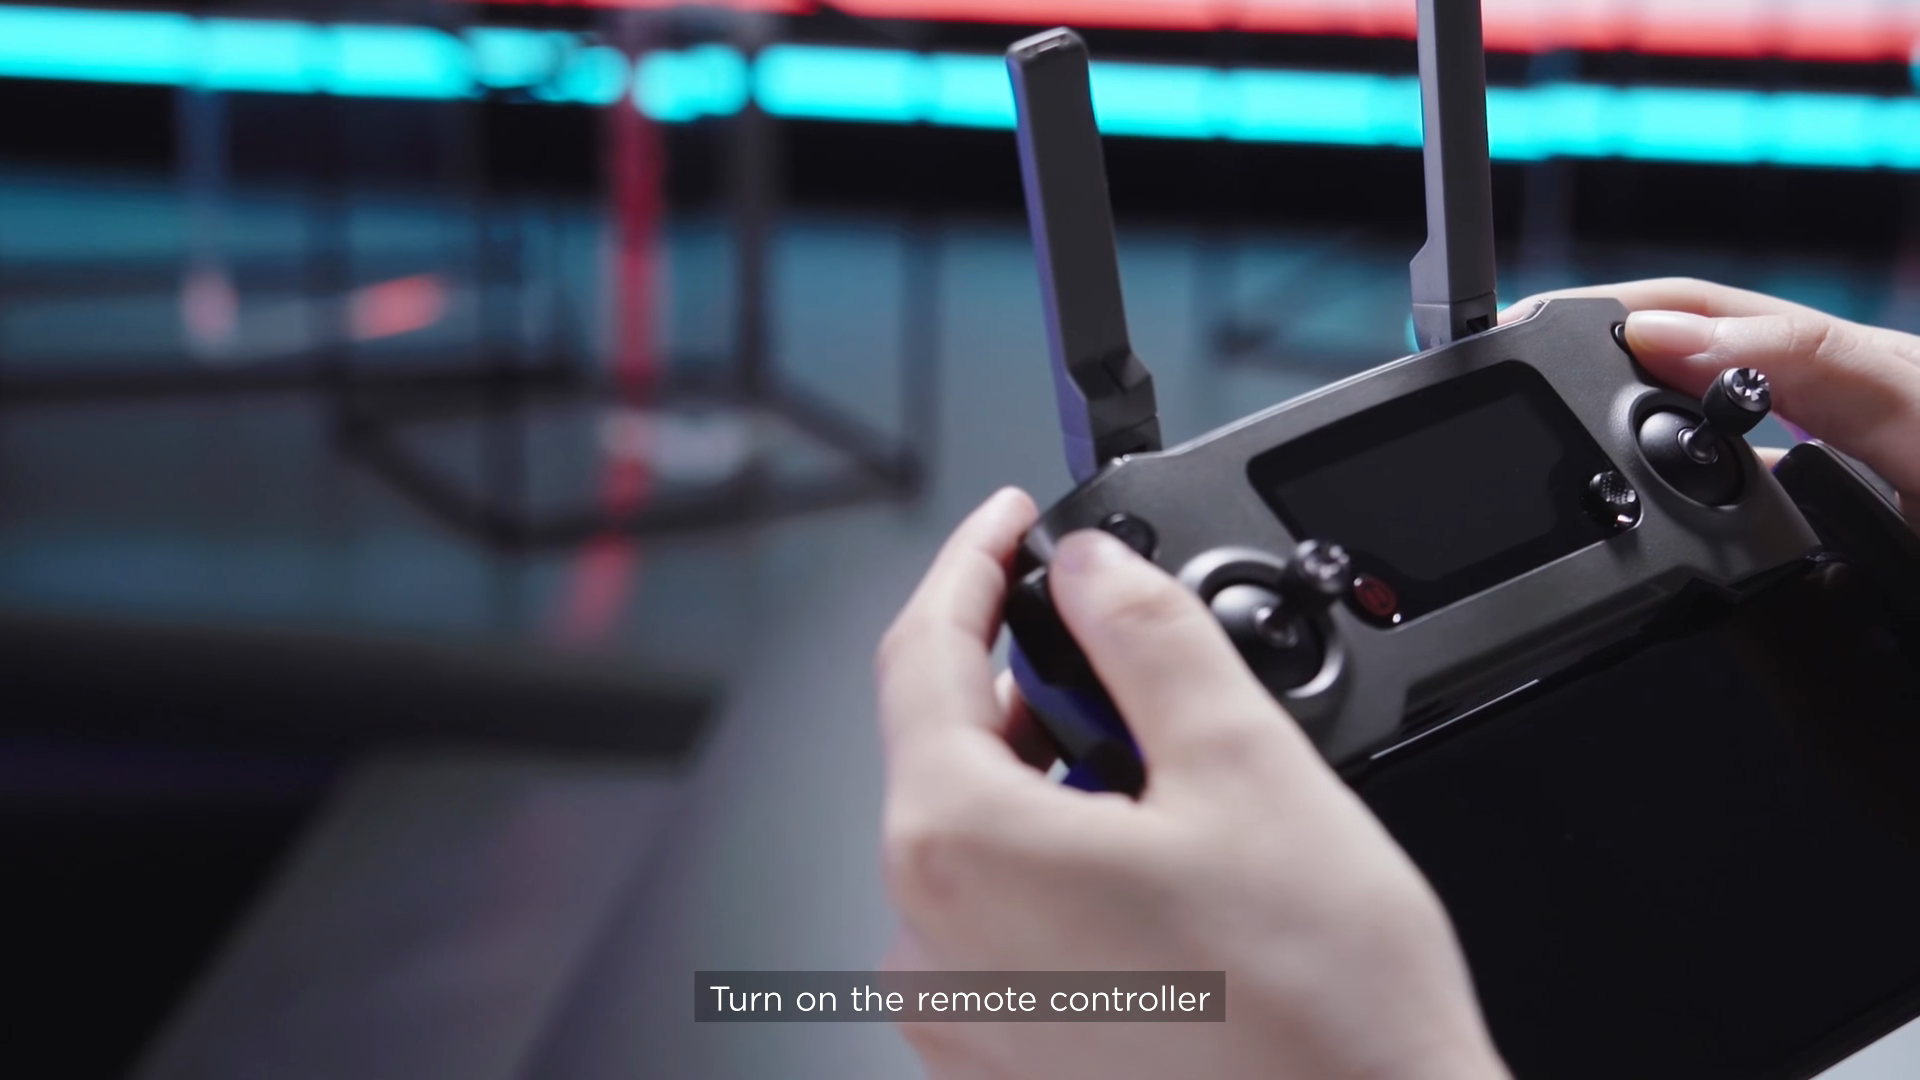
Turn On Remote Controller.
Turn On Mavic 2.
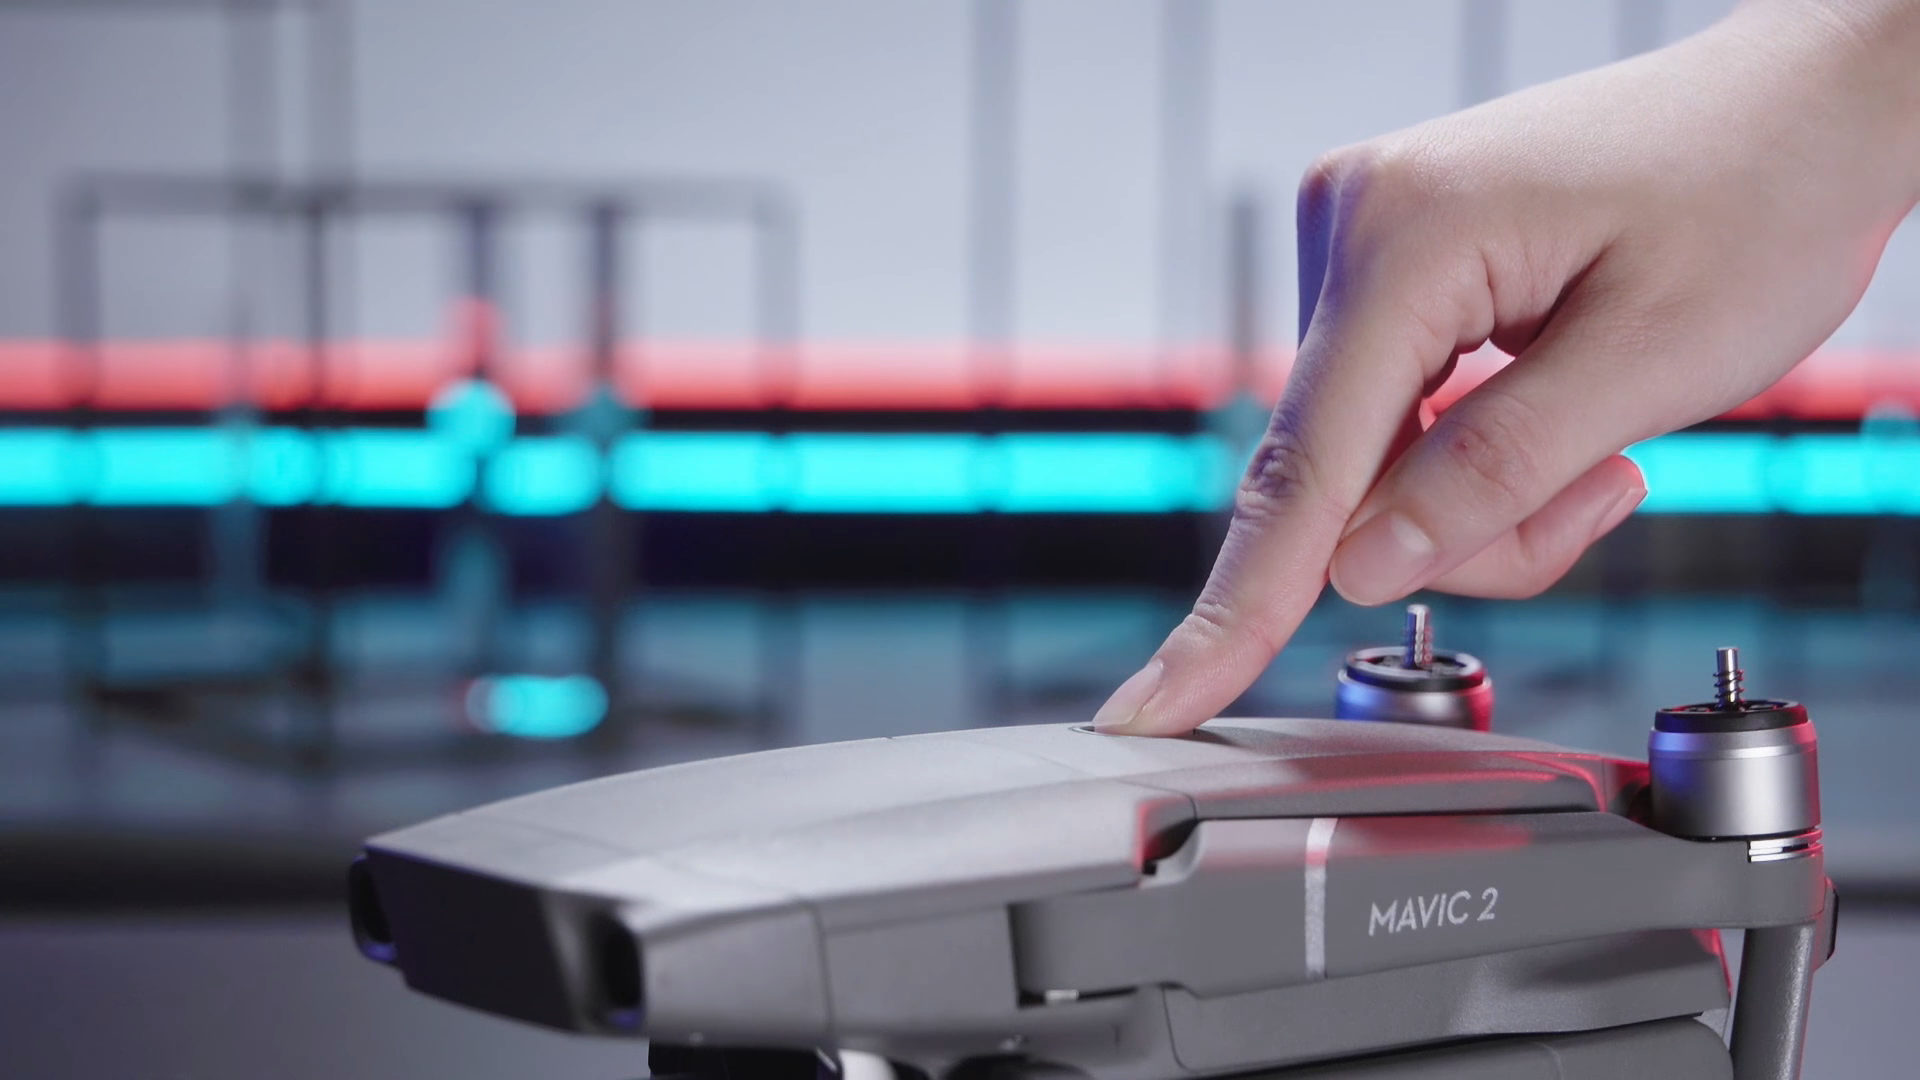
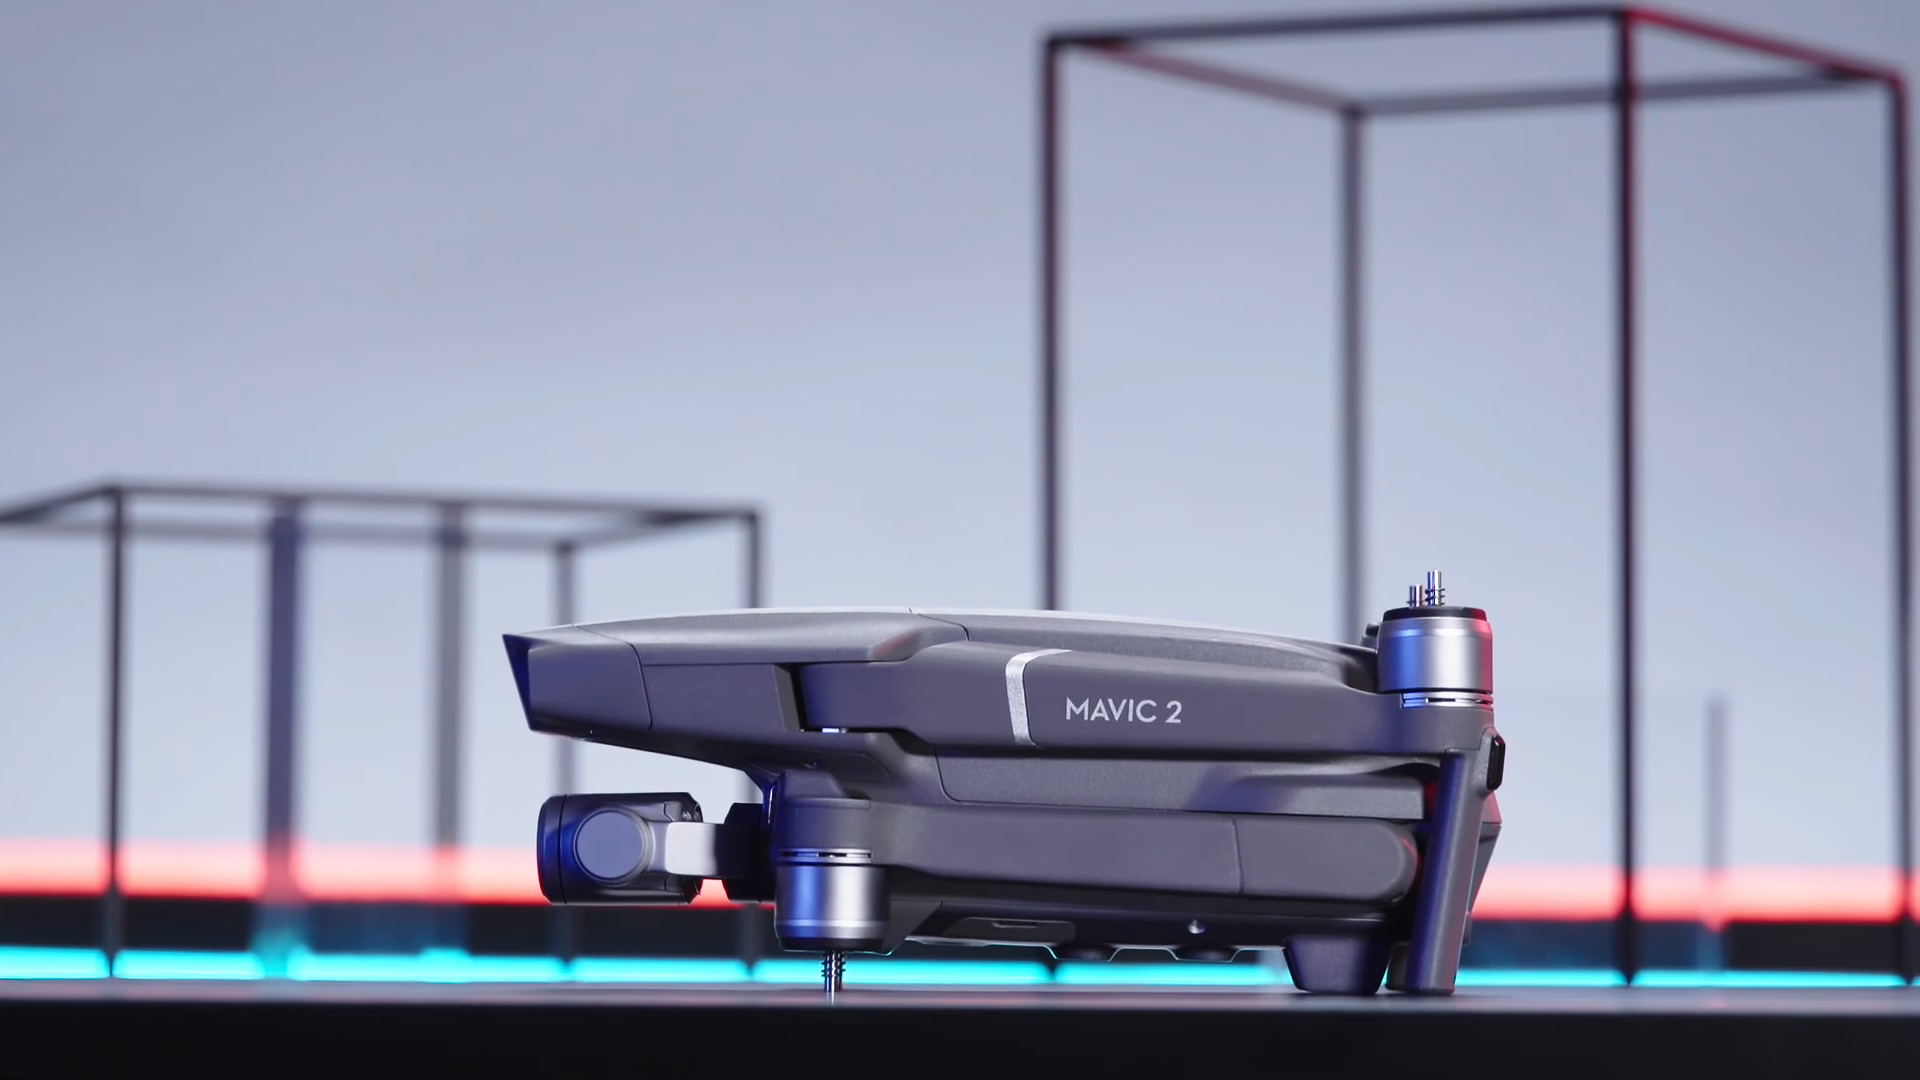
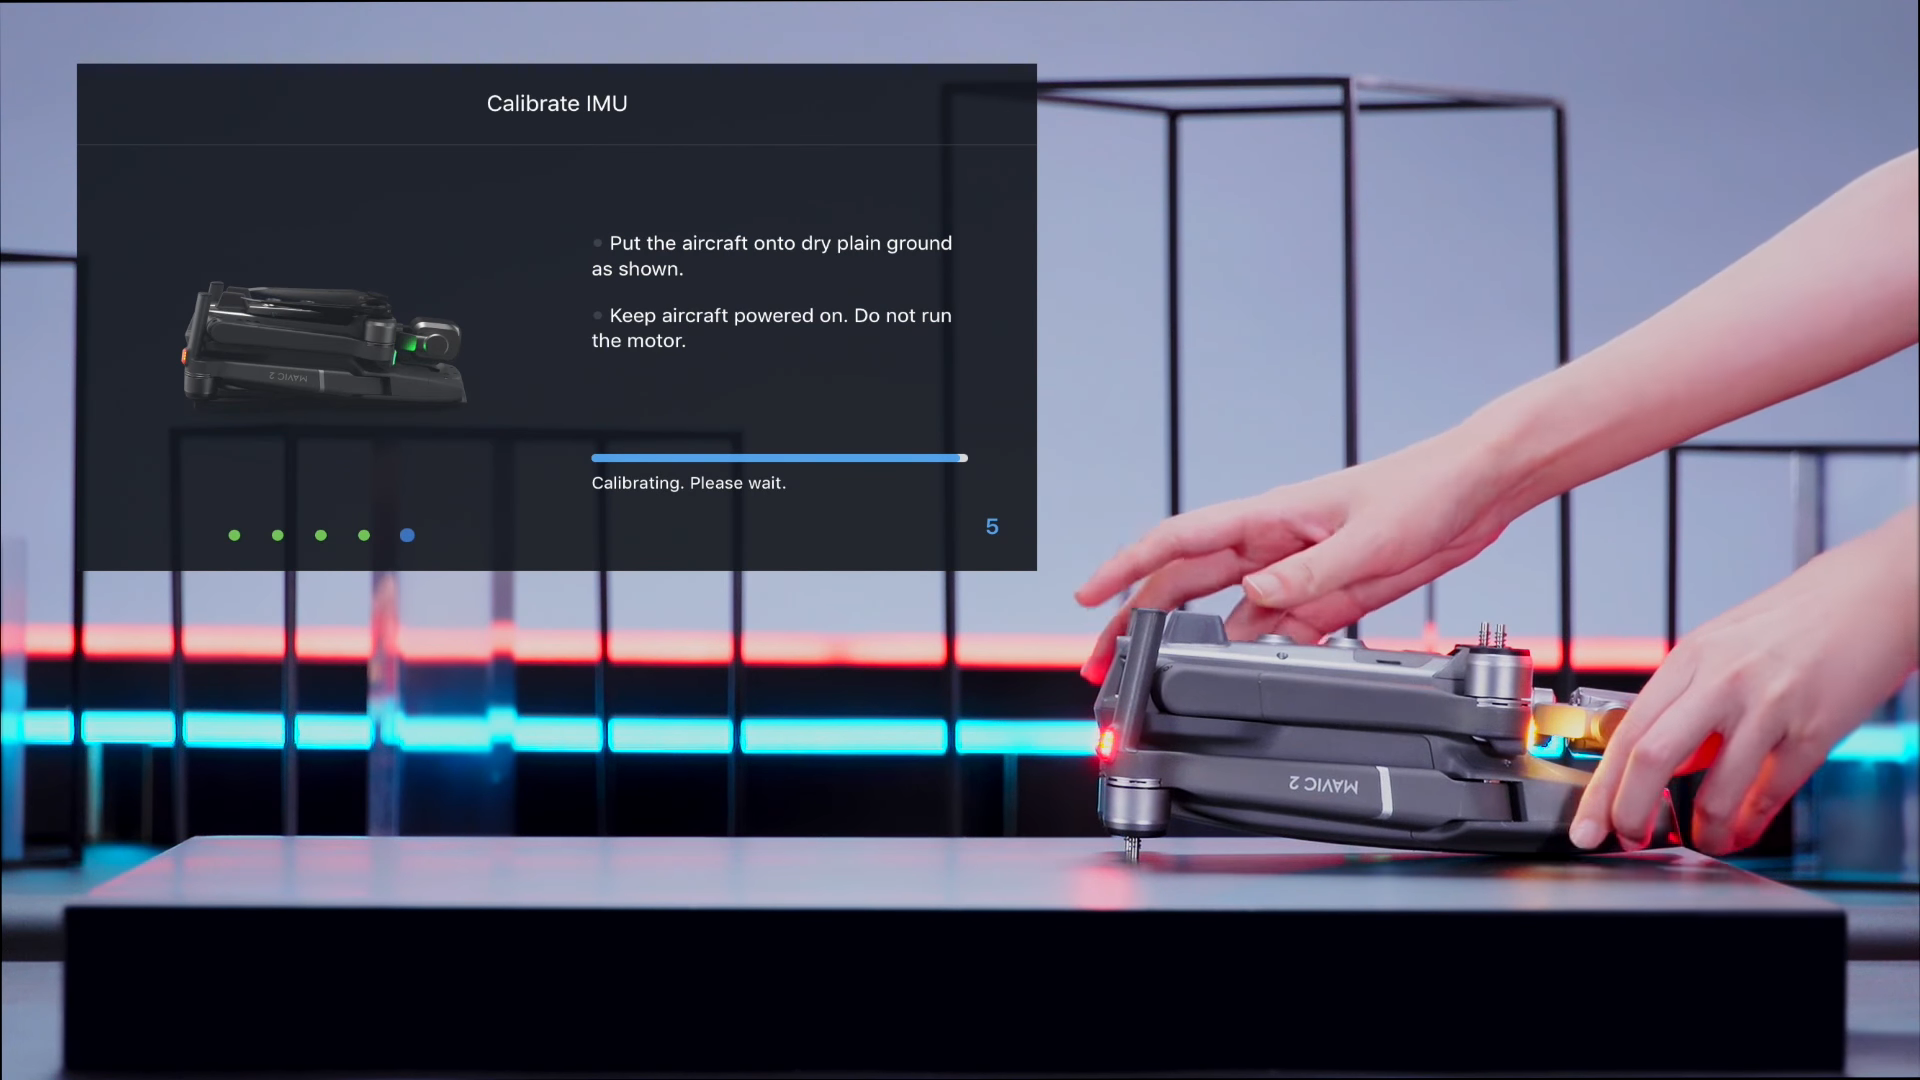
Ensure the Surface is Level.
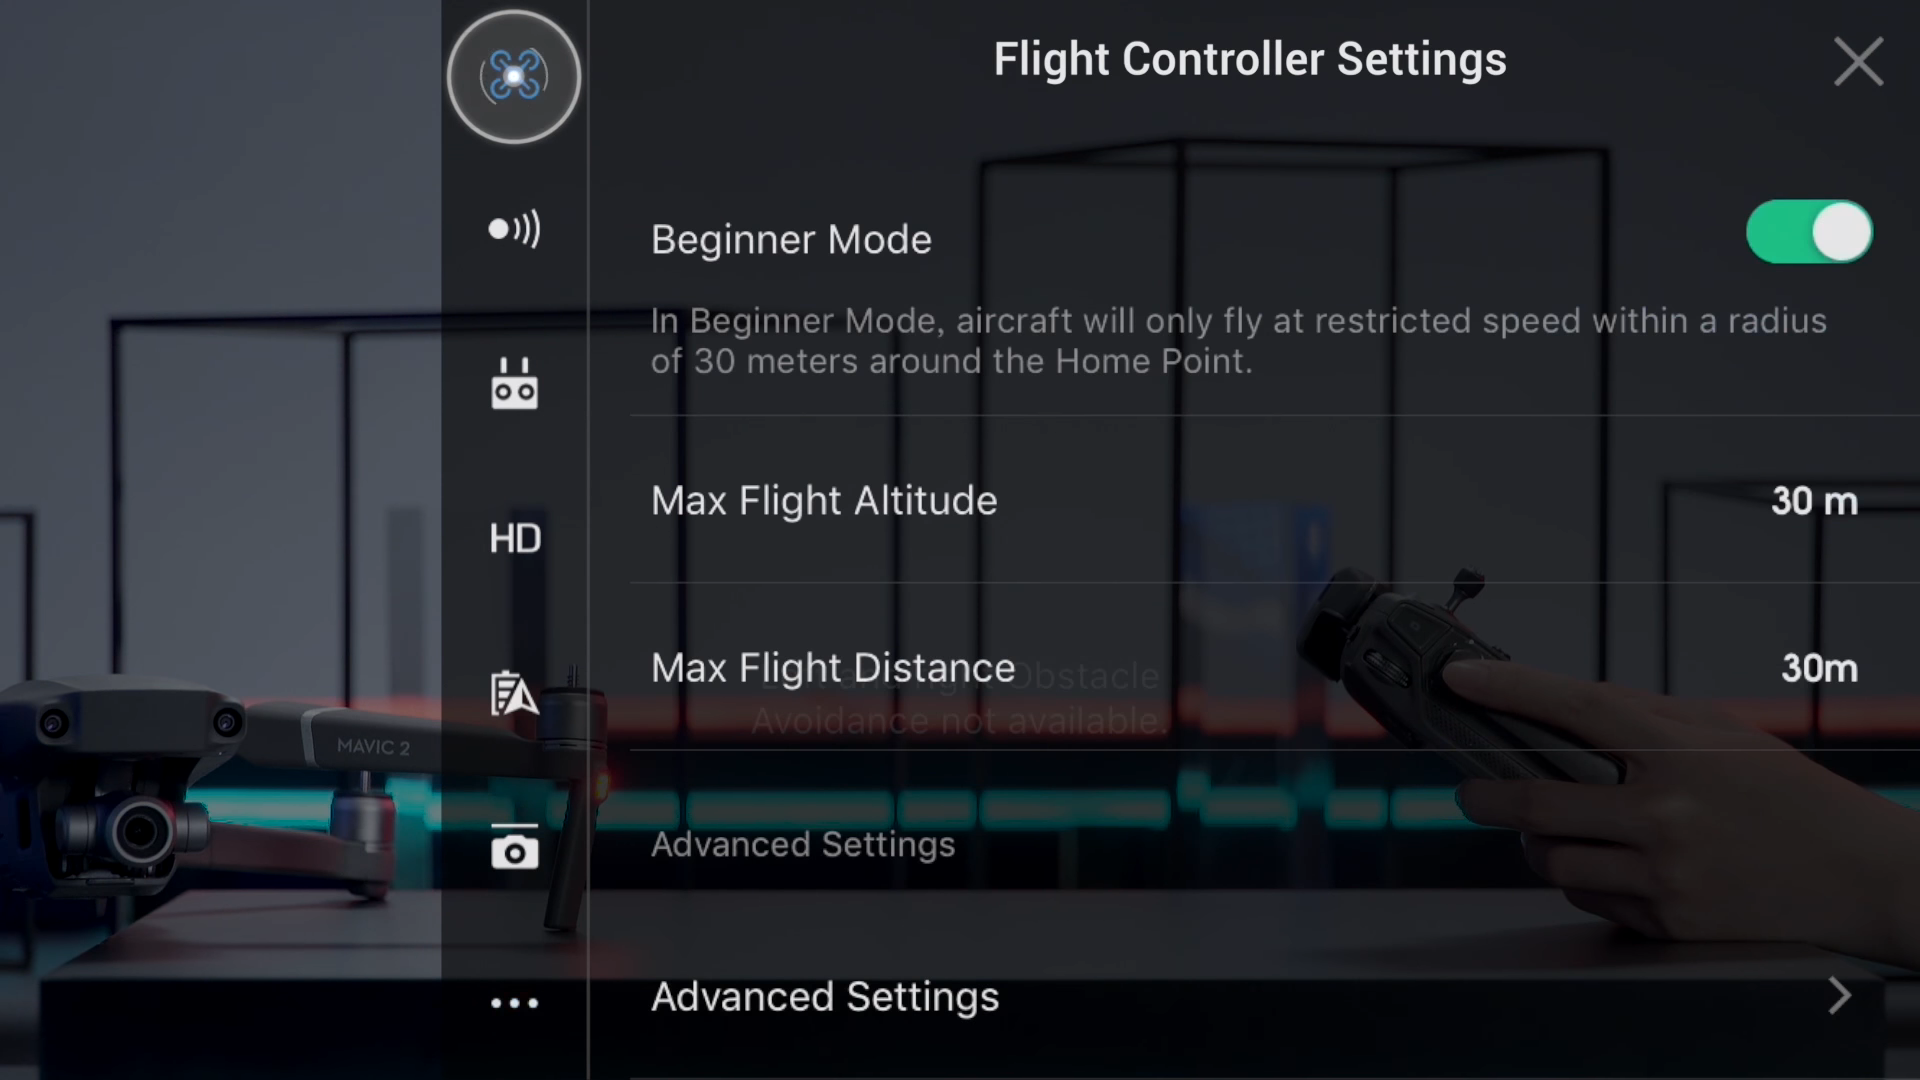
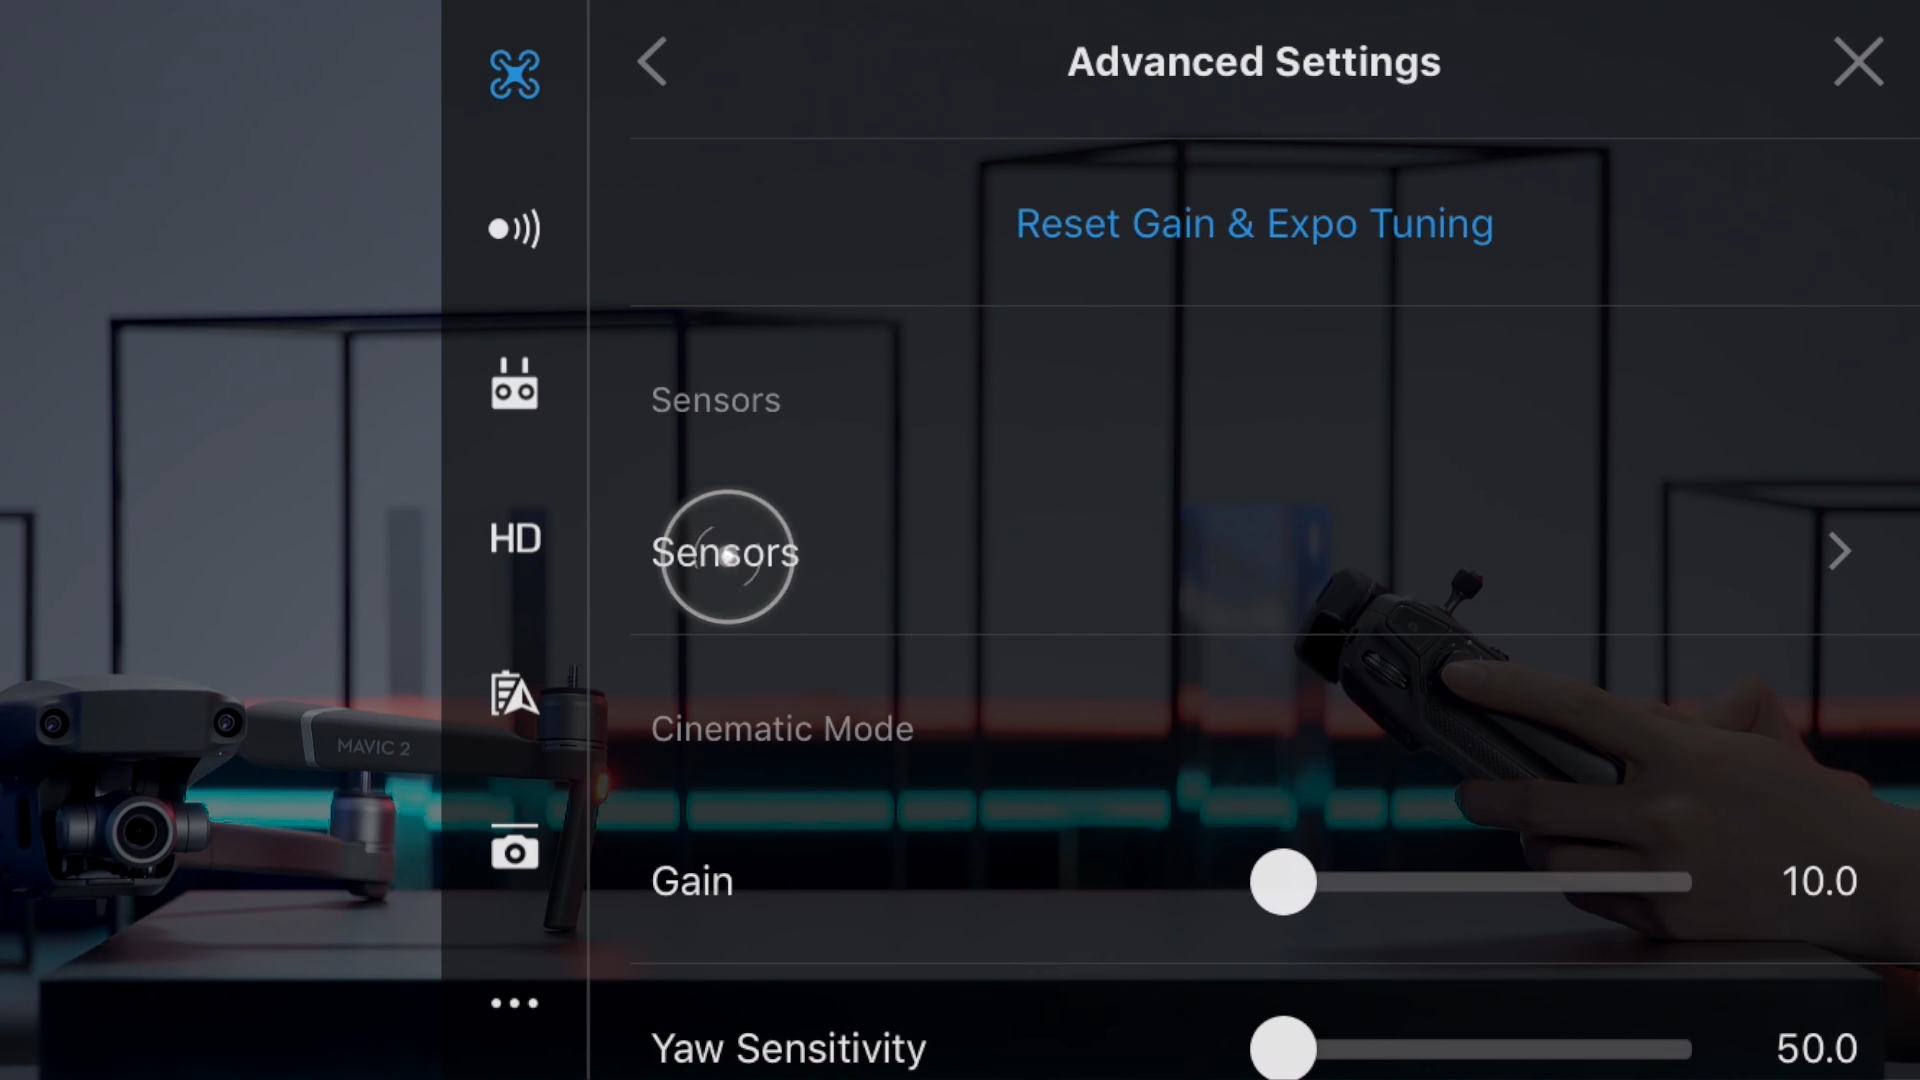
Go to Flight Control Settings.
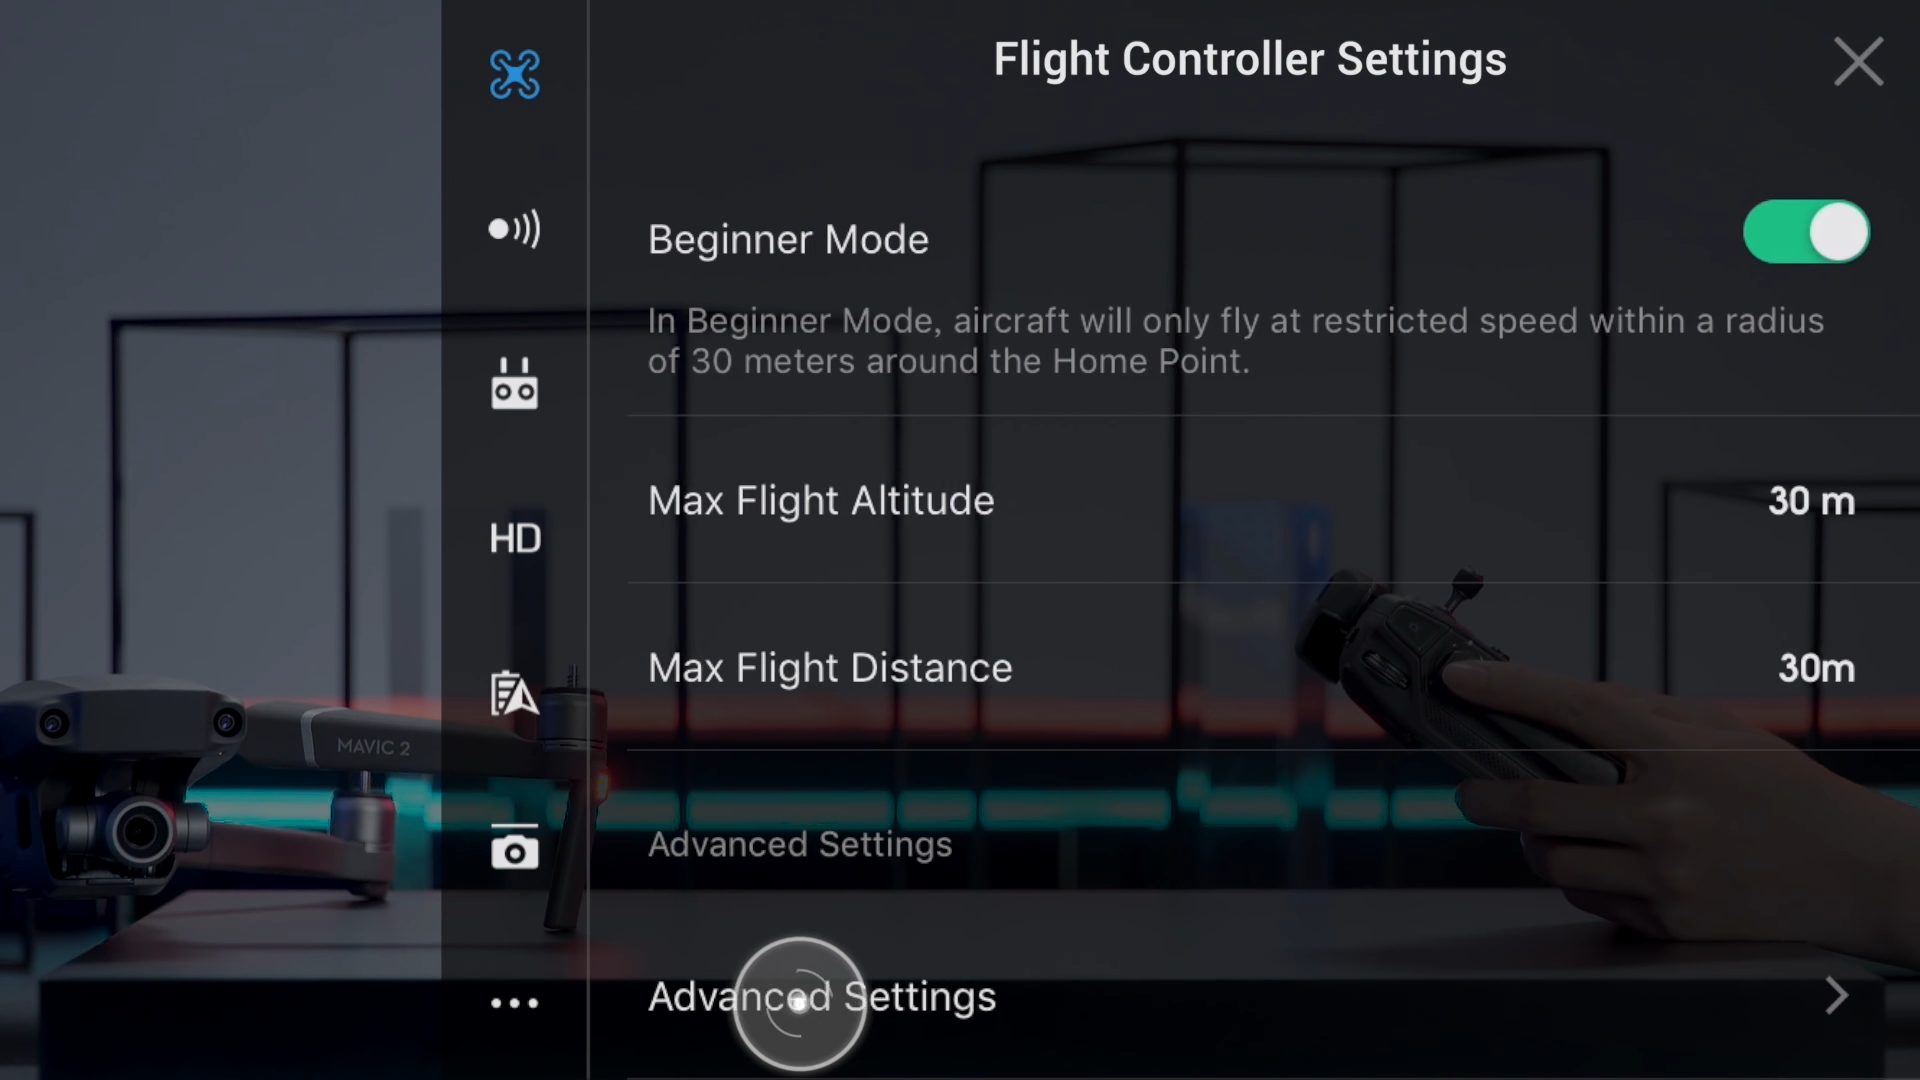
Select Advanced Settings.
Choose Sensor.
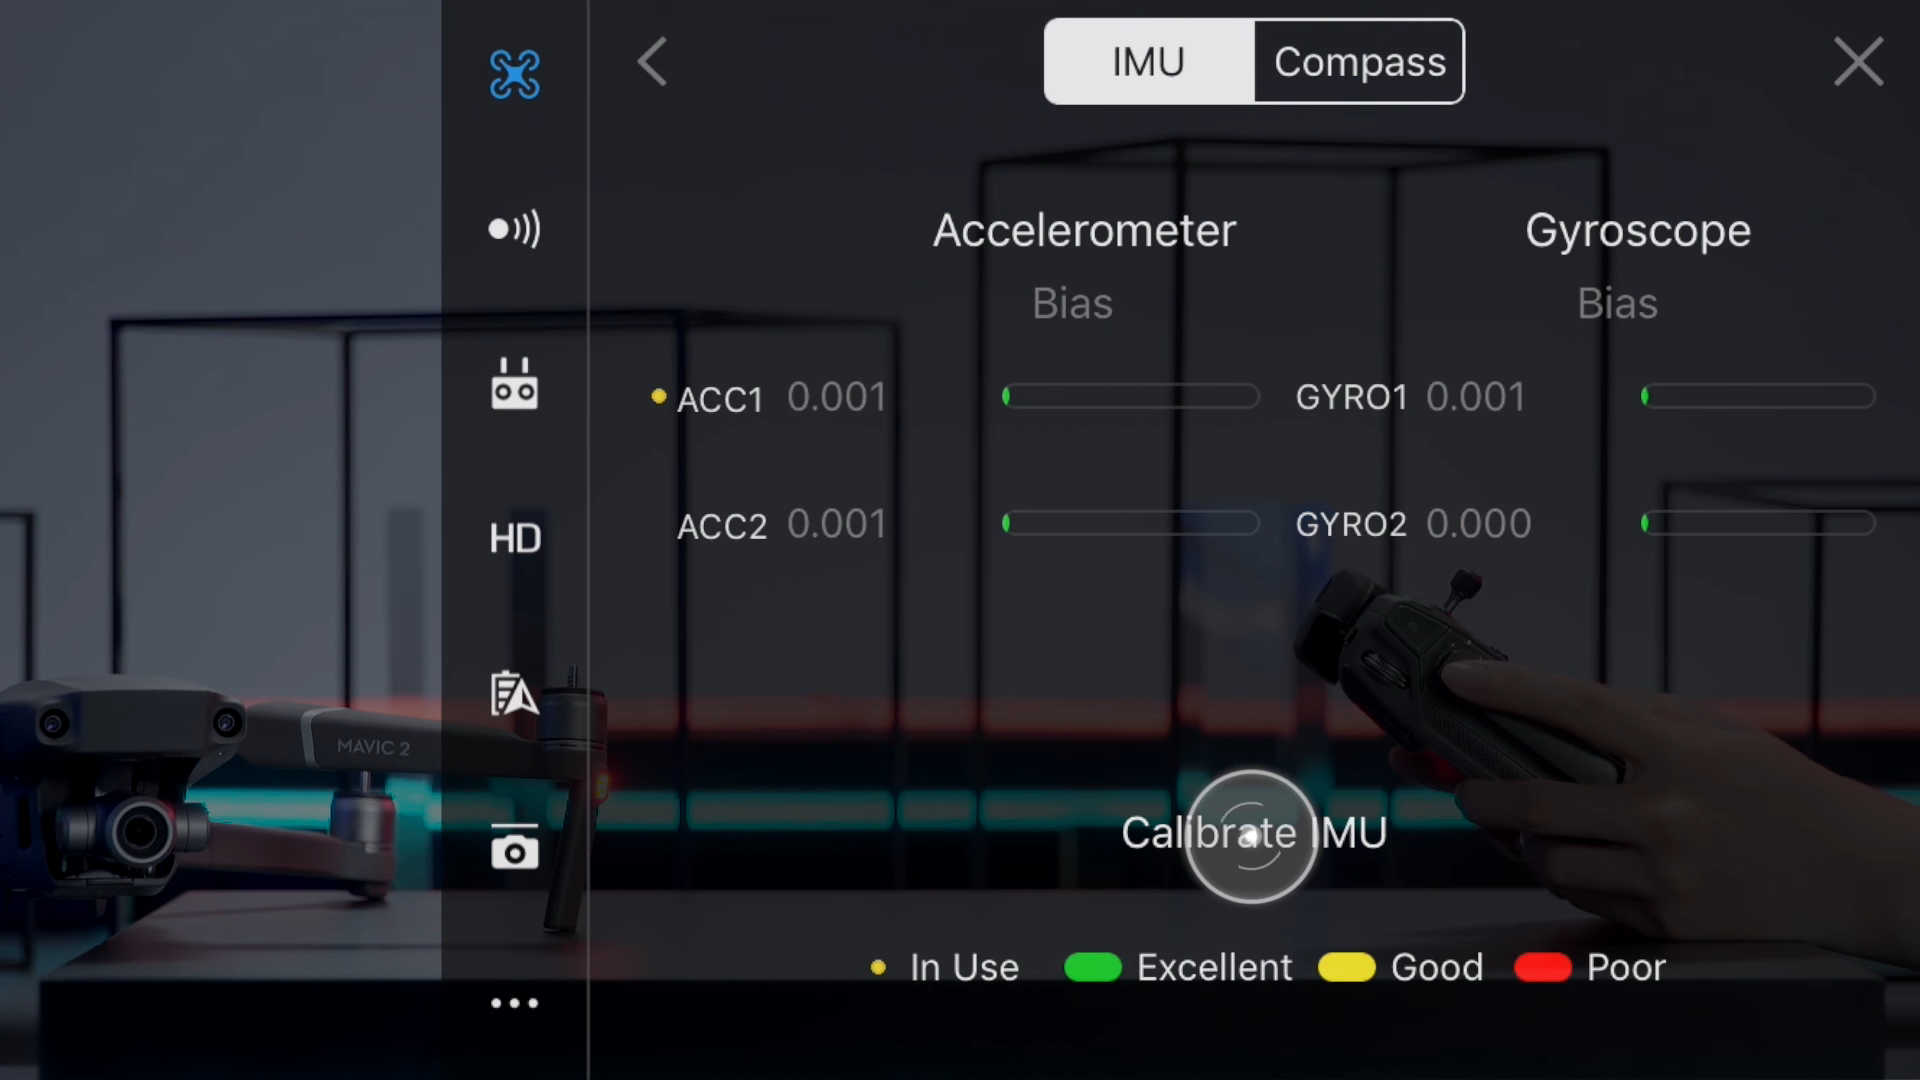
Tap Calibrate IMU.
Follow the Calibration Sequence.
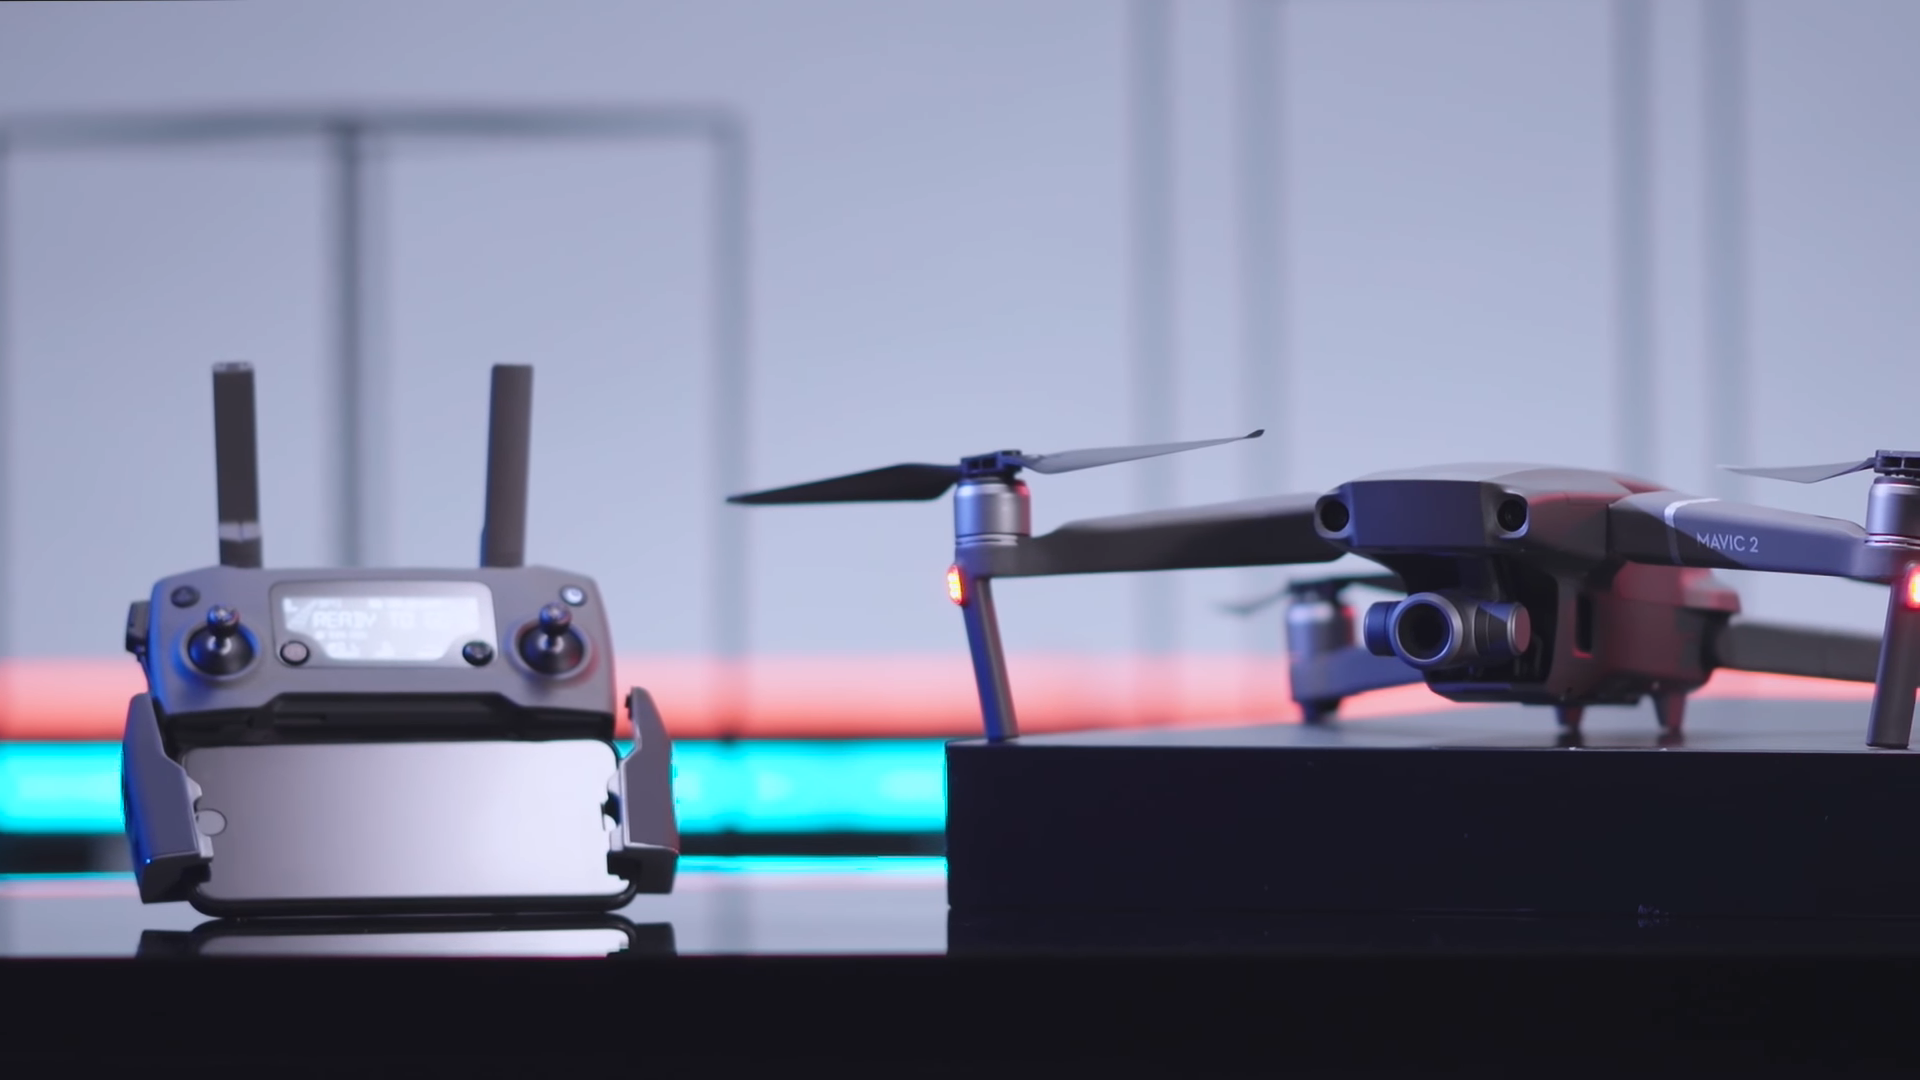
Calibration is Complete.
When you change flying locations the DJI Mavic 2 may require you to re-calibrate the aircraft. Simply repeat these steps to re-calibrate your aircraft.
If you need any advice or support whilst calibrating you DJI Mavic 2 give us a call or email!
