Technical
Drone Mapping with Emlid Reach Receivers And RTK/PPK Modules
How the Emlid Reach ecosystem - including the Reach RS2+ receiver and M2 RTK/PPK module - can bolster drone surveying workflows.

How the Emlid Reach ecosystem - including the Reach RS2+ receiver - and Reach M2 RTK/PPK module - can bolster drone surveying workflows;
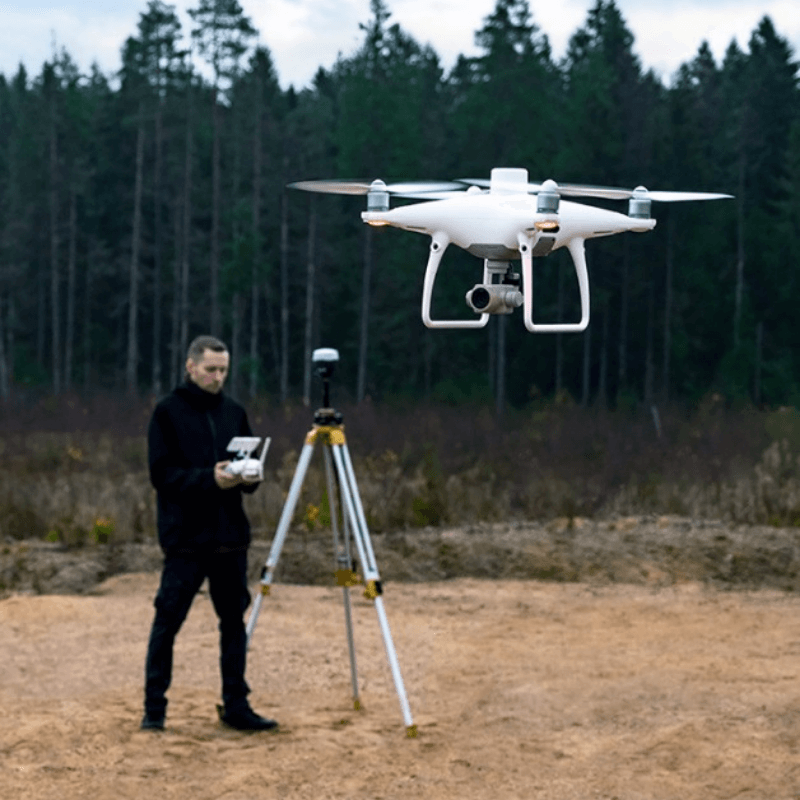
The Reach receivers can be used as a base station with an RTK-capable drone, as well as help set out ground control points for drone mapping;
Use the Reach RTK/PPK module to build accurate maps, with centimetre precision;
Contact the heliguy™ in-house surveying team for workflow support and to add Emlid products to your surveying toolbox.
heliguy™ has partnered with Emlid to help professionals streamline their surveying workflows.
While the industry-leading Reach receivers can be used for land surveying, they can also be deployed to assist drone mapping missions.
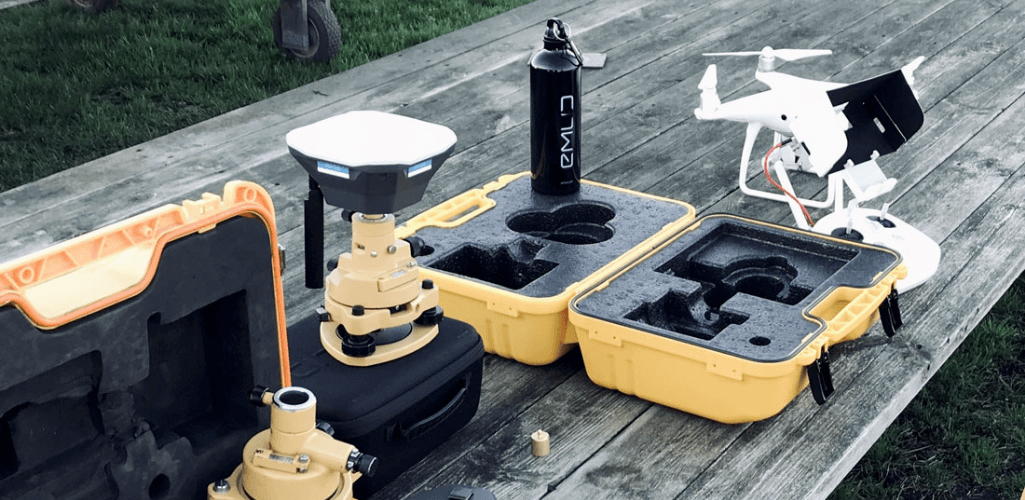
This blog takes a look at how the Emlid ecosystem supports UAV surveys, including using the Reach RS2+ multi-band receiver as a base station and deploying the Reach M2 RTK/PPK module to build highly-accurate maps.
Reach RS2+ As A Base Station For An RTK-capable Drone
The Reach RS2+ - or the older generation Reach RS2 - seamlessly integrate with RTK-capable drones by DJI, such as the Phantom 4 RTK.
For the record, the Reach RS2+ is an evolution of the Reach RS2, featuring a LTE Modem, dual diversity LTE antennas for better cell reception, and 20+ design improvements.
These multi-band receivers work in PPK and RTK mode and are capable of providing extremely accurate mapping and surveying using RTK positioning.
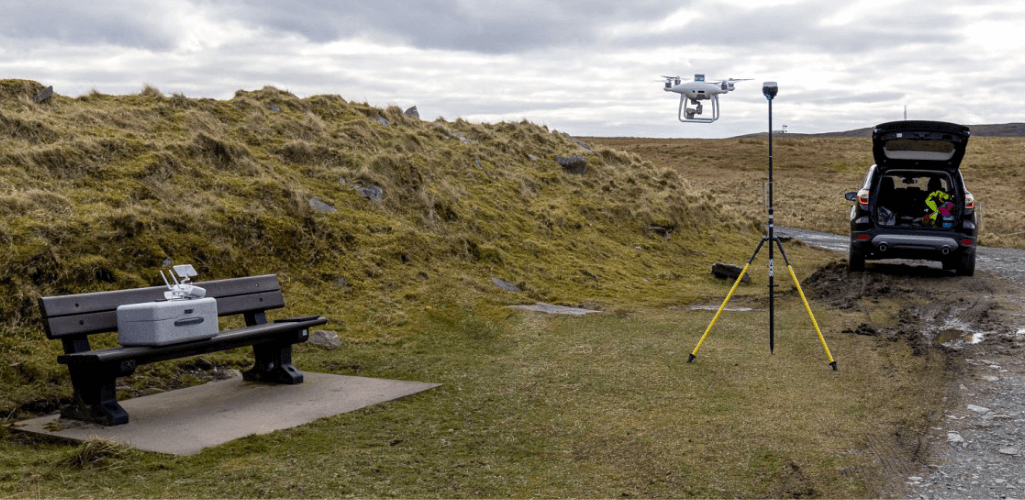
In terms of connectivity, there are two options:
RTK over NTRIP: RTK-capable drones need a base station as a source of corrections during flight. To connect your drone with the Reach base and pass RTK corrections, you can use Emlid NTRIP Caster. Set up your NTRIP credentials in the Emlid Flow app by registering and creating an account. The app allows you to keep accounts for multiple NTRIP services in one place.
Logs RINEX for PPK: For PPK mapping, the Reach RS2+ (or RS2) base station logs GNSS data in RINEX format. After the flight, you can process the RINEX files and align your photos to the coordinates.
In terms of the workflow, there are different processes to follow, depending on whether you are using RTK or PPK.
RTK
1: Сreate an NTRIP mount point
Log in or create an account on the NTRIP service. You will be allocated a particular port and IP address as part of your credentials. You can then use your credentials to input your mount point’s details for both a base and a drone.
2: Set up a base to transmit the corrections
Place your base. Set up the base coordinates for RTK mode and enable RINEX logging for PPK mode in the Emlid Flow app.
3: Connect your base to the mount point
Insert credentials of NTRIP Caster to the Correction output settings in the Emlid Flow app.
4: Connect your drone to the same mount point
Go to the RTK Settings tab on your flight controller and insert your NTRIP credentials for rover that you got on the Emlid Caster.
5: Perform a flight
Provide the drone with a clear sky view and proceed to the mission.
6: Export data
Download the precisely geotagged photos and use them to create orthophotos.
PPK
1: Set up a base
Place your Reach RS2+ or RS2 base. Enable RINEX logging for PPK mode in the Emlid Flow app.
2: Set up logging on your drone
On your flight controller, set up a flight in GNSS mode to record the raw position information.
3: Perform a flight
Provide your drone with a clear sky view and proceed to the mission.
4: Export data
Download the RINEX files from Reach RS2+ / RS2, the raw positioning data, and the photos' timestamps from your drone.
5: Process logs
Process the files in Emlid Studio (cross-platform desktop application designed specifically for post-processing) to get an accurate position for each photo.
6: Create your orthophotos
Proceed to create a map with accurately geotagged photos.
Ground Control Points With Reach Receivers
The Reach RS2+ and RS2 receivers can be used to set up ground control points for drone mapping.
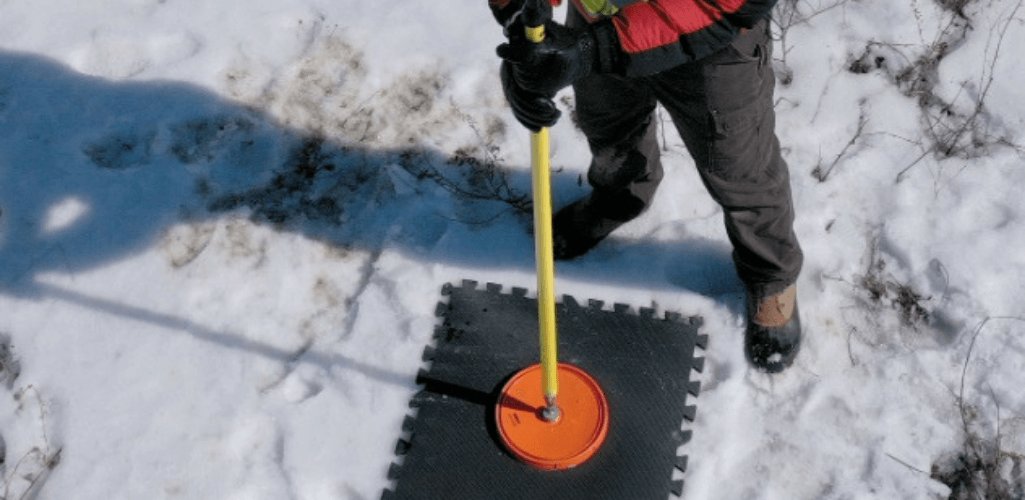
Both these receivers provide accurate coordinates for placing GCPs, ensuring you collect repeatable mapping data.
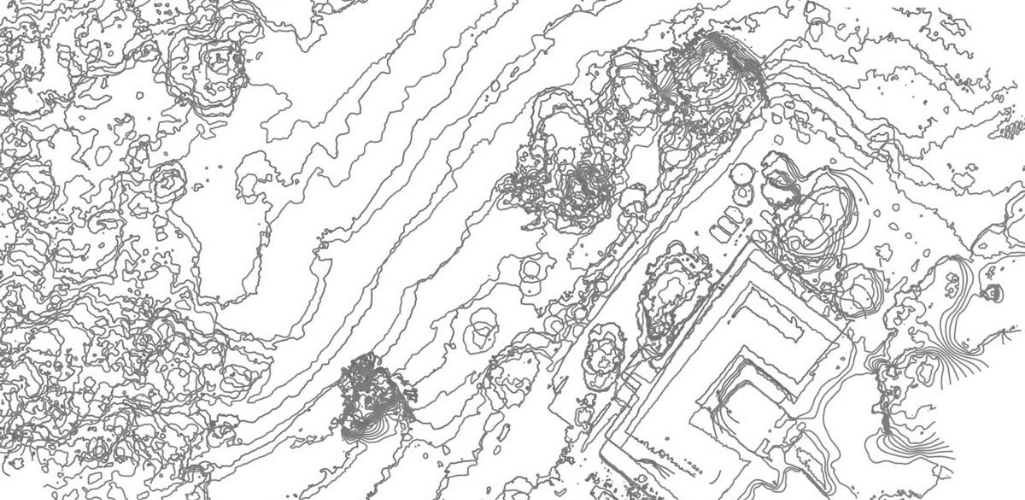
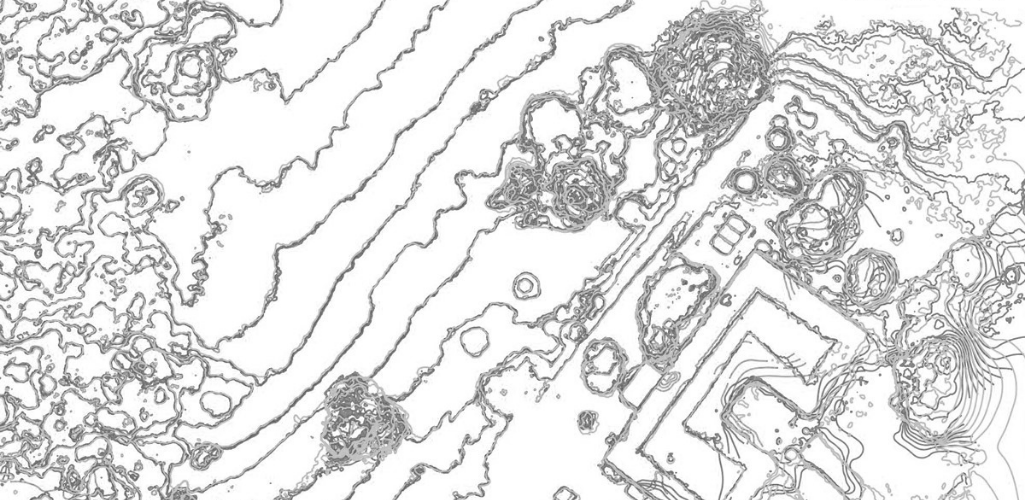
For instance, the two images below - provided by Emlid - show how valuable GCPs are for drone mapping.
The first image shows the extraction of contour lines, as processed without GCPs. In this case, the processing software relied solely on the drone's GPS data recorded in its photos' EXIF. Therefore, the accuracy of the final orthophoto is only metre-level, so contour lines don't match.
However, in this example, the drone images were georeferenced with GCPs. The final orthophotos are accurate so the contour lines are almost identical and have the same shape.
The Reach RS+ and RS2 are RTK receivers. RTK is a technique used to improve the accuracy of a GPS receiver. Traditional GPS receivers could only determine the position with 2–4 metres accuracy, while RTK provides 1 to 2cm accuracy.
So, what is the workflow for placing GCPs for drone mapping, using Reach receivers?
Explore the site and place ground control points: Determine all features of the landscape and analyse the amount of GCPs — in most cases, from five to ten points are required.
Connect your rover to a local base or NTRIP provider: Using the Emlid Flow app, create a survey project and choose your local coordinate system.
Collect the coordinates of each GCP with the rover: The Reach receiver allows you to get centimeter-precise data.
Fly a drone: Fly an area to collect aerial images with any drone such as Phantom, Mavic, etc.
Export GCP from Reach in CSV format: Once data is collected, you can export your project in CSV, DXF, GeoJSON, DroneDeploy CSV, or ESRI Shapefiles format.
Import photos and GCP list to mapping software: Upload CSV file with GCPs to your mapping software for accurate georeferencing. Create your project with DroneDeploy, Pix4d, Agisoft, or other mapping software.
Reach M2 Module Enables RTK/PPK On A Drone
The Reach M2 UAV module helps to deliver centimetre-accurate maps in RTK and PPK.
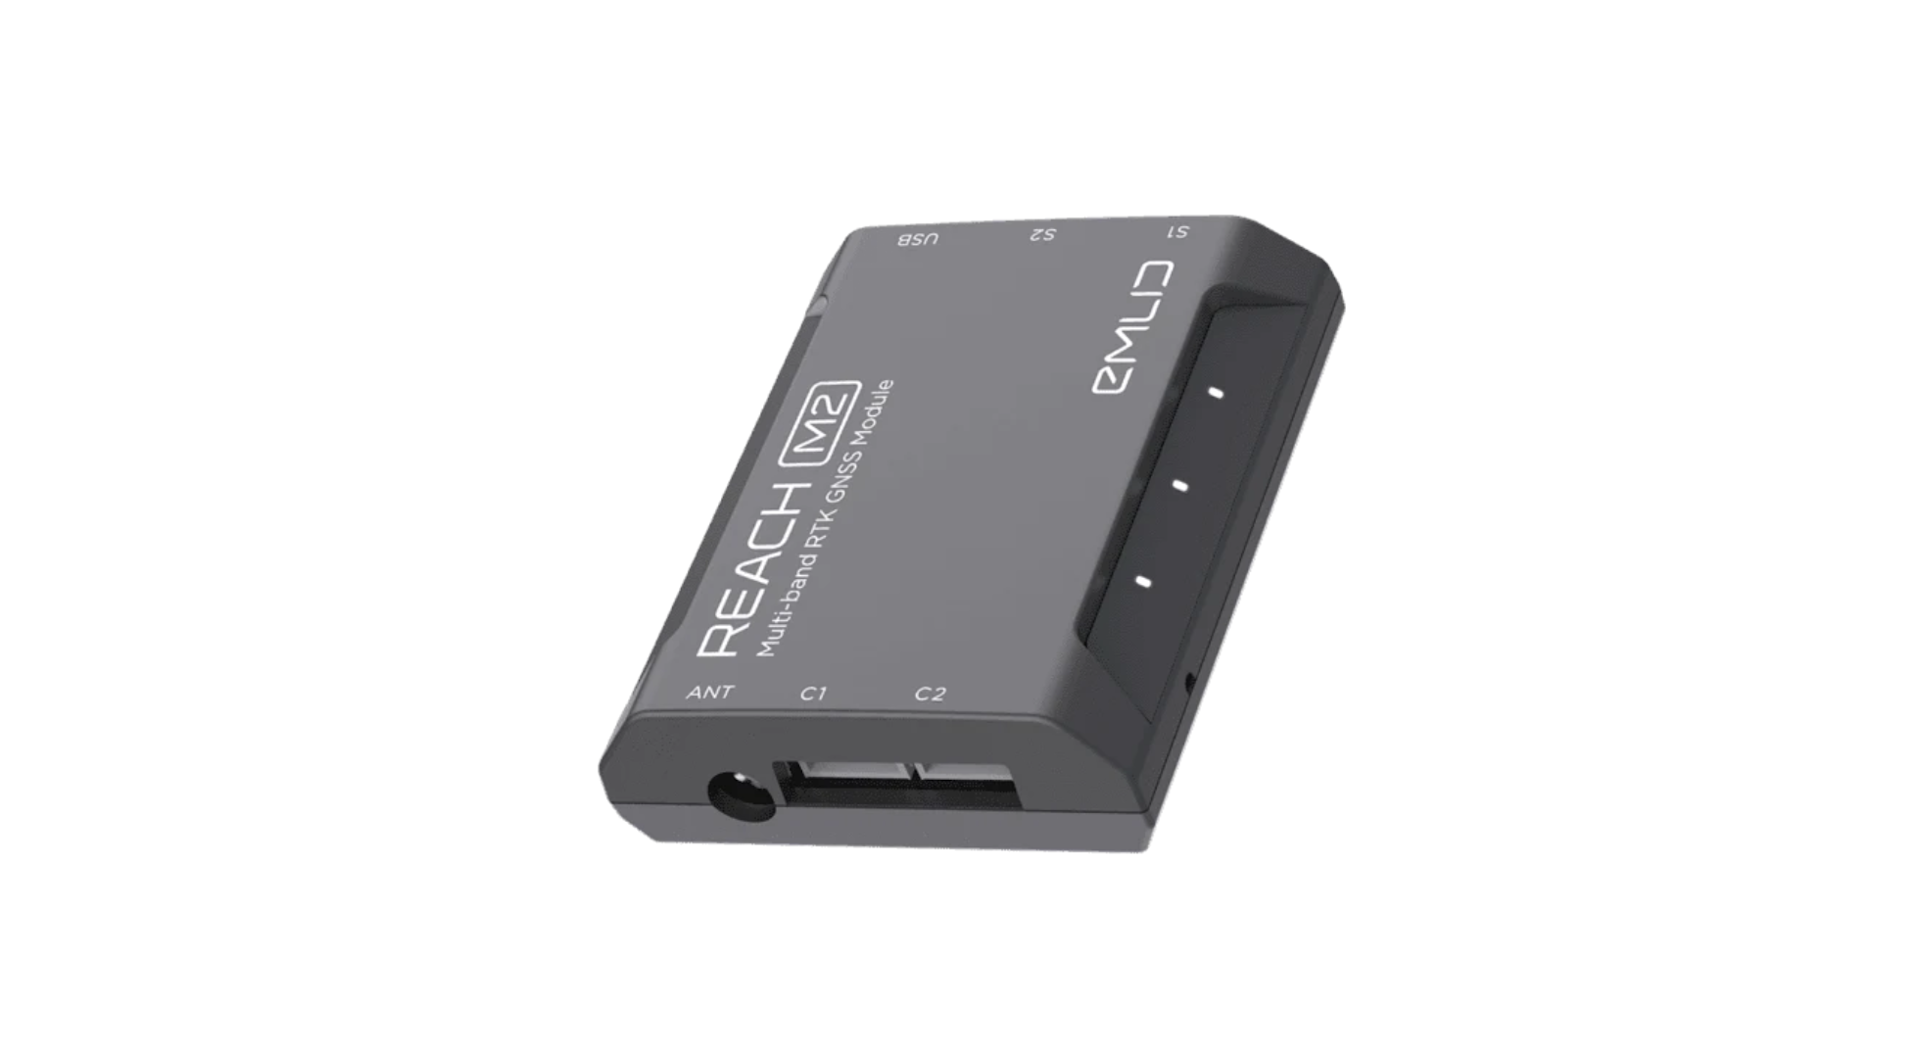
Place the module onboard a drone and drastically cut the number of GCPs required. This simplifies the setup process on-site and accurately maps, even in remote areas.
Reach connects directly to the camera hot shoe port, which is synced with the shutter. This solves the problem of positioning, as the time and coordinates of each photo are logged with a resolution of less than a microsecond.
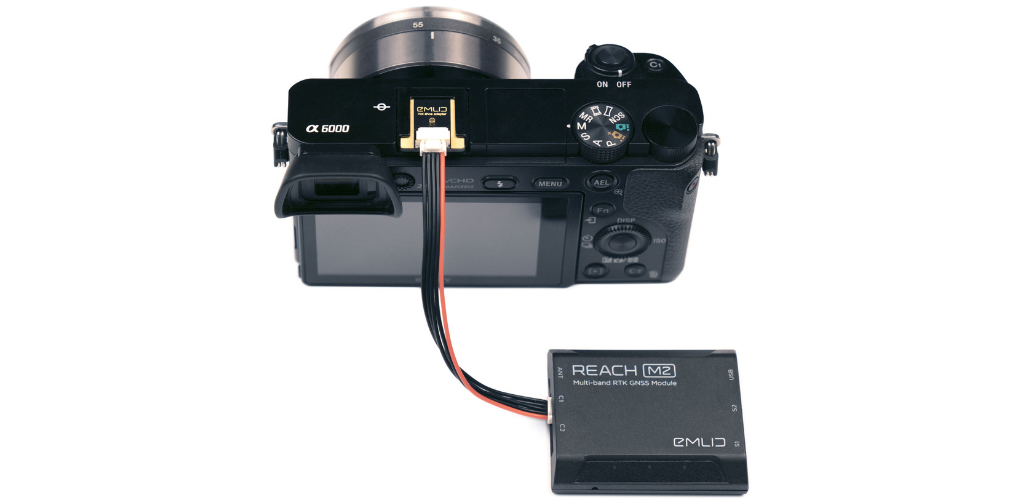
The best workflow is:
1: Connect Reach to a hot shoe port on a camera
Every time a photo is taken, the camera produces a pulse on a flash hot-shoe connector which is synced to a shutter opening.
2: Fly a drone, Reach will record photo events
Reach captures flash sync pulses with sub-microsecond resolution and stores them in a raw data RINEX log in the internal memory.
3: Download logs from Reach and base station
Every time a photo is taken, the camera produces a pulse on a flash hot-shoe connector which is synced to a shutter opening.
4: Process logs and get a file with geotags of photos
Process RINEX files using free RTKLIB software. The produced file with precise coordinates of the photos can be used for georeferencing.
Reach PPK modules are fully compatible with most cameras with hot shoe, including:
Sony A6000
Nikon D3200
Canon EOS 4000D
Canon EOS 700D DSLR
Ricoh GR III
Sony Alpha A7R III
Samsung NX1000
NTRIP or another Reach as a base station
To calculate centimeter-precise coordinates in PPK and RTK, Reach needs corrections from a base station. It could be either another Reach receiver or an NTRIP service. VRS is also supported.
Reach M2 works seamlessly with other Reach receivers over any link and are compatible with any other receiver that supports RTCM3 and NTRIP.
Drone Mapping with Emlid Reach Receivers And RTK/PPK Modules - Summary
Emlid's Reach ecosystem is designed to bolster surveying accuracy and streamline surveying workflows.
A tool for land surveying, the Reach receivers can also be used to benefit drone mapping missions, while the RTK/PPK modules help UAV operators build precision maps.
As an added advantage, Emlid's Reach ecosystem is a cost-effective solution and the receivers are rugged weatherproof solutions.
Contact the heliguy™ in-house surveying team to find out more about integrating the Reach products into your drone workflows or learn more about heliguy™ survey assist.
