News
How To Replace The Propellers On The DJI Mavic Mini Drone
A simple step by step guide on how to replace the propellers on the DJI Mavic Mini drone. ... Read More
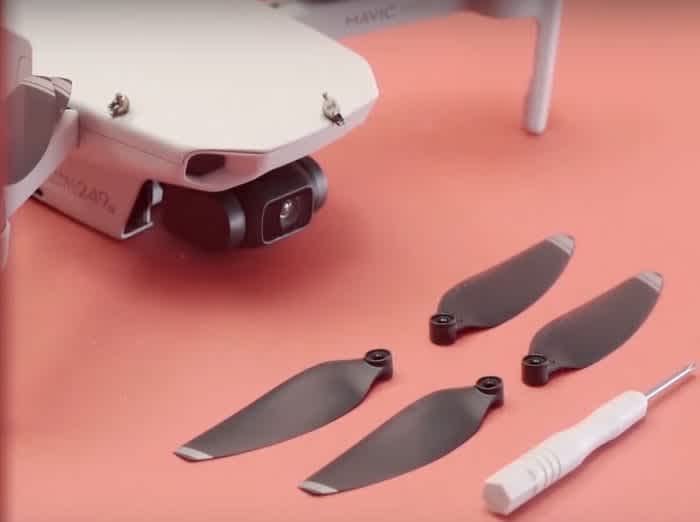
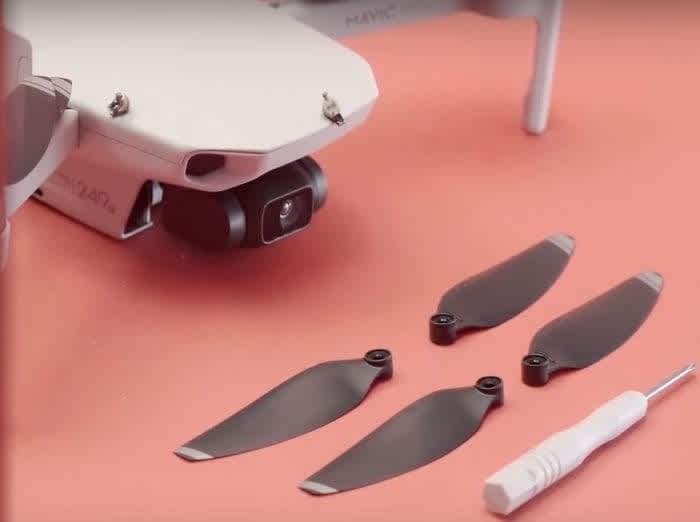
Here’s a simple step by step guide on how to replace the propellers on the DJI Mavic Mini.
To ensure flight safety you will need to switch the propellers if they are damaged, cracked, distorted or if the screws become loose.
Tip: Use the original screwdriver and screws in the box to replace the propellers.
Identifying Propeller Types
One propeller pair has to be mounted clockwise, and another pair has to be mounted counter-clockwise, on the motor. You need to attach the propellers to their respective motors.
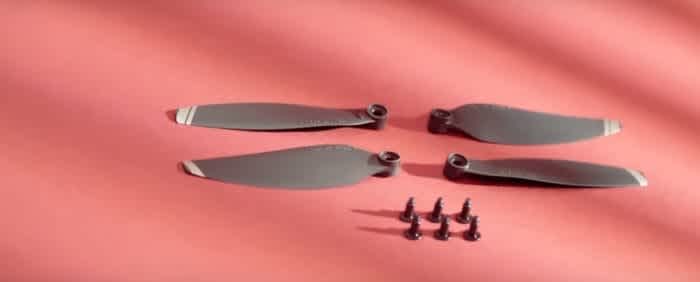
Propeller types can be identified by looking at the design of the silver stripes.
If there is one wide and one narrow silver stripe on the propeller's tip and a raised mark next to the screw hole mount the propeller counter-clockwise on the motor with the corresponding concave mark next to it.

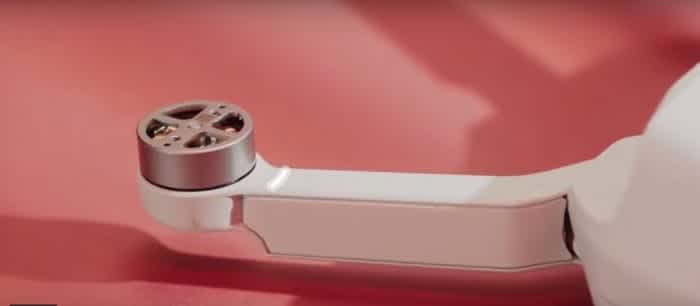
If there is just one white silver stripe on the propeller, mount it on the motor without a mark on the aircraft arm.
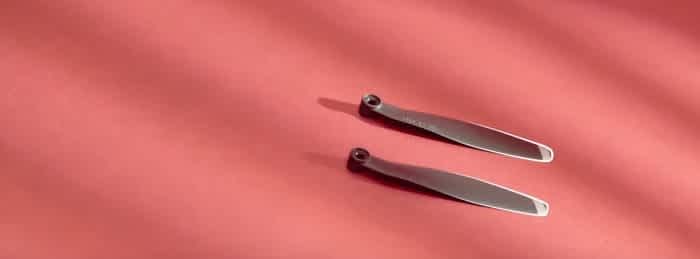
How To Replace The Propellers
Step One: Place the screwdriver on the screw's cross recess and rotate it counter-clockwise to unscrew. To ensure flight stability, replace both propellers attached on the same motor. Old propellers and screws should be discarded.
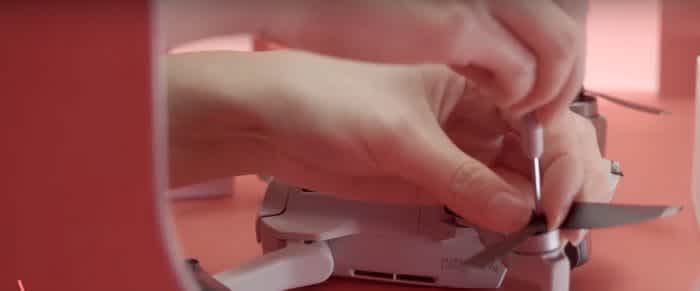
Step Two: Before attaching the new propeller remove the blue threadlocker in the screw hole. You can screw the old screws in and out multiple times to clean the screw-hole.
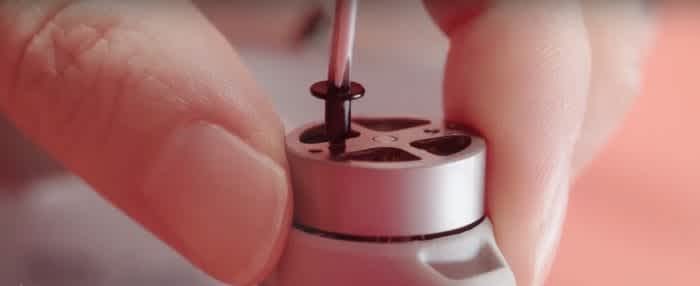
Step Three: Place the new screws into the screw holes of the propeller and insert the screwdriver into the screw's cross recesses.
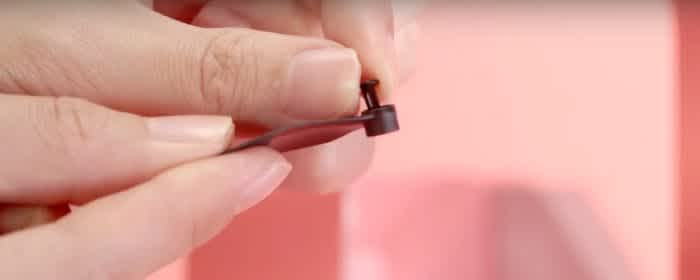
Step Four: Align the screw's propellers and rotate screwdriver clockwise until screws are secure.
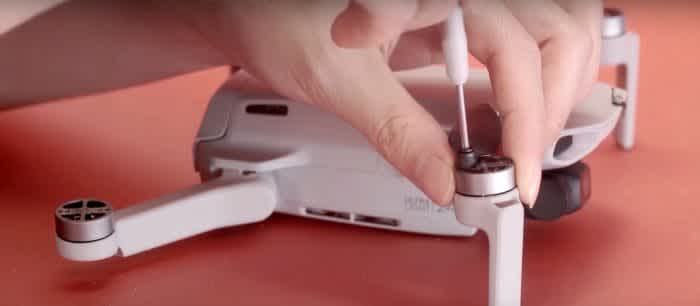
If you feel strong resistance, check that the screws are inserted correctly. If not, remove the screws and insert them properly.
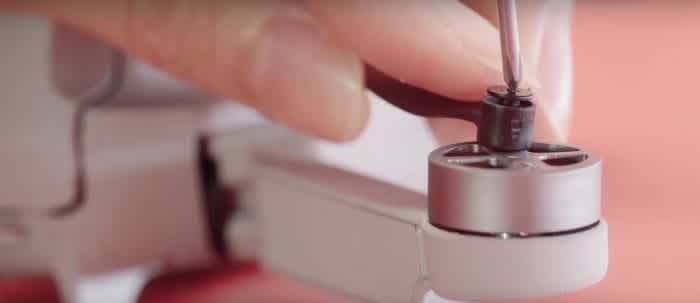
Step Five: Then hold the motor and rotate the screwdriver until the screws are tightened firmly.
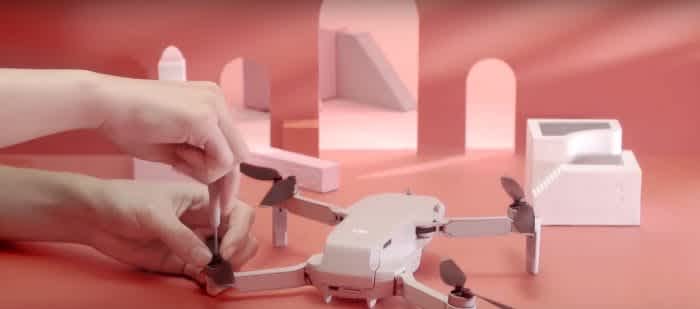
Step Six: Check that the screws are securely tightened after replacing the propellers. Gently pull on the propellers to check they are attached properly. Hold the aircraft and turn it to one side to check if all the propellers rotate smoothly. If not, repeat the whole process.

Tip: Flight stability will be affected if the propellers aren't properly attached. Please install the propellers by carefully following the instructions and check the condition of the propellers regularly to ensure flight safety.
